
Hello and welcome to my re build diary,
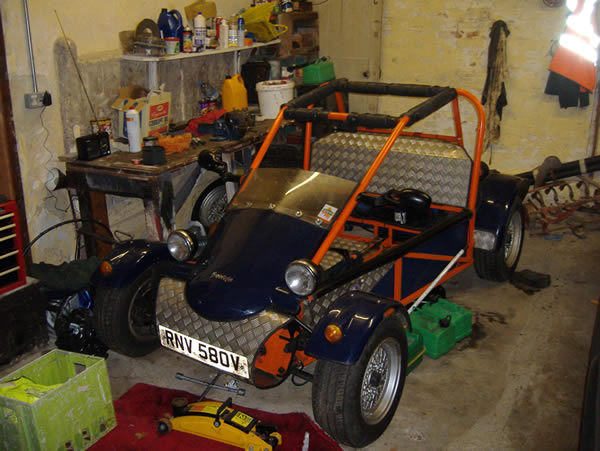
In september I was meant to be heading down to somerset for 5 days then up to New Quay (wales) in my Freestyle buggy.
But on the M4 motorway my buggy over heated so i pulled over on to the hard shoulder and slowed down to 50mph the oil light started to flicker so I turn off the ignition and rolled to a stand still.
After inspection by myself I found copious amount of oil over the engine bay and thought the worst, I phoned the RAC and they arrived and took the buggy back home while I carried on my trip to Somerset.
So in those 5 days I thought about what I wanted to do with the buggy and well this is what I came up with.
Chassis
strip all panels off repaint
re paint chassis
cut floor pan out and re fit with chequer plate
fit new style pedal box
fit new style bumper
Fit all brand new fibreglass
Fit fuel Tank behind seats
Wheels
Replace alloys with 7 x 13 starmags
Engine
1380cc A series Engine
sw507 race cam and duplex chain from Swiftune
High lift roller rocker assembly
45DCOE Webber
Electric Fuel pump
2 x 4 core radiators
Oil cooler
So there you have it my plan… so let the build Diary Begin………………………………………….
Tuesday 6th November 2007
Drove to bedford to see Mahesh and borrow a behind the seat fuel tank to see if it will fit behind my seats and that I can still fit in the buggy. I am 6ft 4 so leg space cant be compromised.
The fuel tank fits and so do I so I am a happy chappy today.
Wednesday 7th November 2007
Removed roof box filled with helmets overalls ect and took to my stable for safe storage. I removed all the panels down passenger side which involved drilling the heads off the pop rivets I also removed bulk head and all the fiber glass.
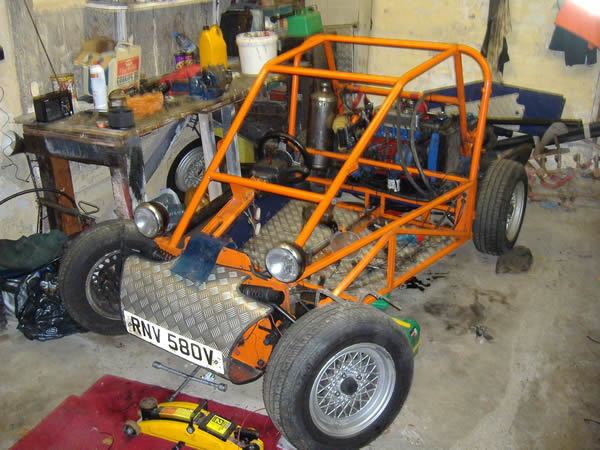
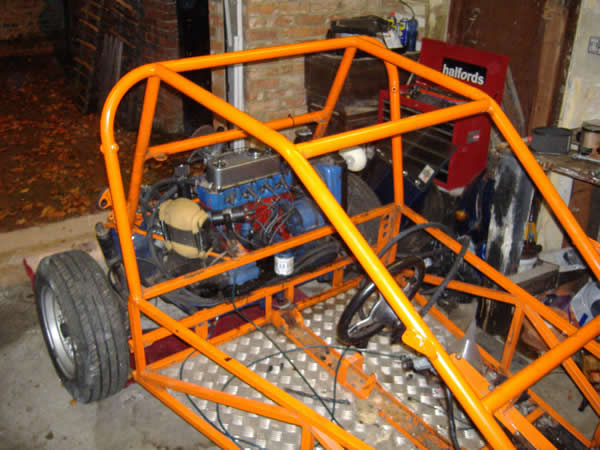
As you can see the stripping off the buggy is really pushing on.
My plans for tomorrow is to push it out and turn around and remove the panels on the other side and then start removing engine and subframe.
Thursday 8th November 2007
Today I push the buggy out of the garage and turned it around so that the back of the buggy is facing the garage door ready for when the engine comes out.
I removed the floor mounted pedal box which was bit of a pain because the helicoils where spinning but I put a pair of mole grips to good use and we are back in business again.
So with the battery disconnected I start untangling the rats nest of a wiring loom from the front of the buggy and I then work my way back to the engine and disconnect the loom from the engine bay and take the wiring out of rear lights.
All the big panels have now been removed all that’s left now is 2 little panels and the floor.
The fuel tanks have now been both removed along with the gear selector.
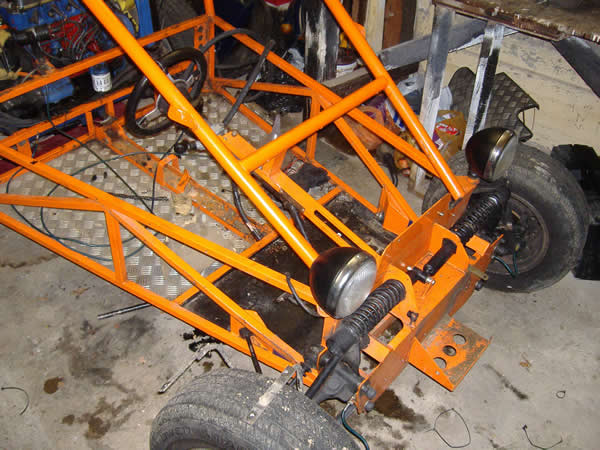
With the chequer plate nose removed and the battery there is not much left to the front end
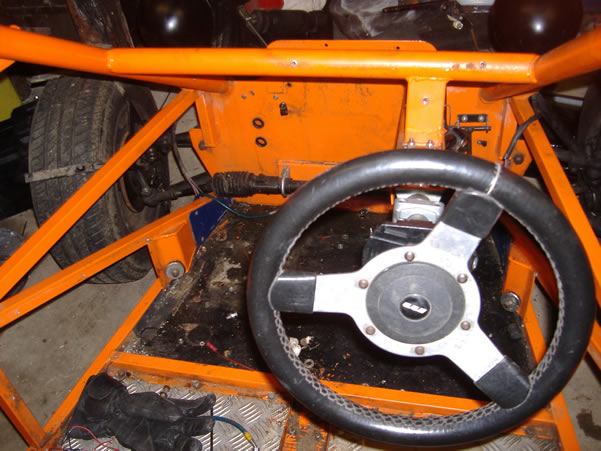
Pedal box and dash is now removed
Just the subframe left now all this will come out in one go …hopefully
Monday 12th November 2007
So today I tried nitromors to remove the powder coat but really think that it will be too long a process but if I cant find a sand blaster then I might just have to stick at it for a few hours one night.
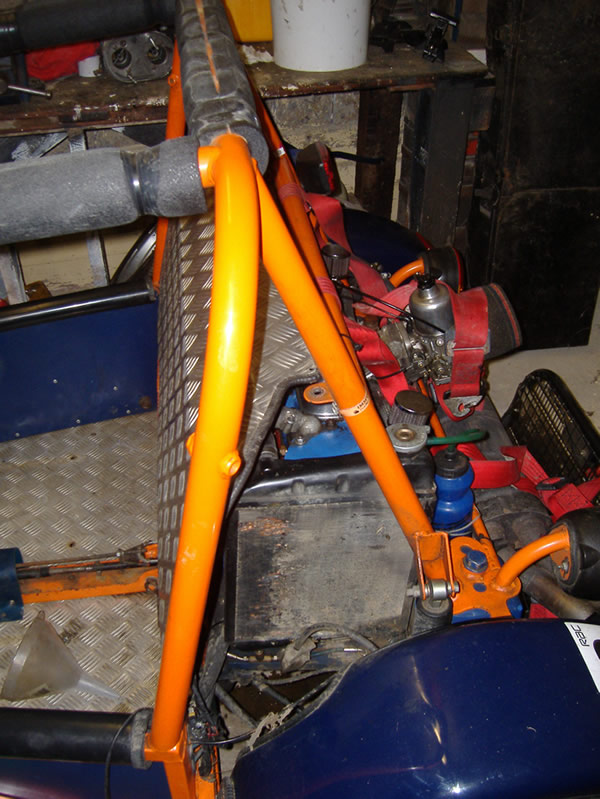
So with my hands burn with the paint stripper I decided it was time to take the subframe away from the chassis, this was done by undoing the 4 bolts and making sure that everything was clear from the chassis. I soon realised that the the HIF44 (carb) needed to come off to enable the chassis to go over the engine so I removed that and the exhaust manifold.

As you can see the bar wont go over the carb so this had to be removed
So we are all ready now for the chassis to come off and with a bit of jiggling it was over the engine and resting nicely on the ground.

Chassis is now off the subframe where the engine can now be removed from subframe
So now all I have to do is remove the engine from the subframe and clean up the subframe. SO now is when the engine hoist is needed so a quick phone call to simon (esdebe) and he says all is good to borrow for a few days… perfect!!
Get to simons load the hoist into the van and then barrage him with questions about pedal boxes and suspension set ups he as simon always is willing to help and with a few photos later i am so much the wiser… thanks simon!!
Tuesday 13th November 2007
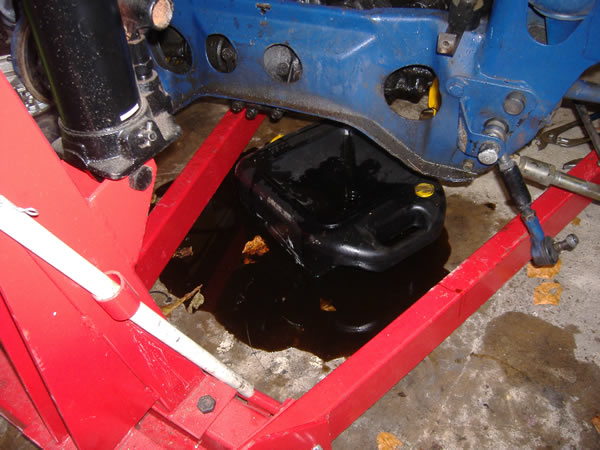
So today I started taking the engine out of the subframe with the the help of simons engine hoist, just one problem didn’t remove the drive shafts while it was on the buggy so I had to struggle to get them off and then when I did I completely forgot about the oil it was about to dump all over my garage floor…Happy!!!
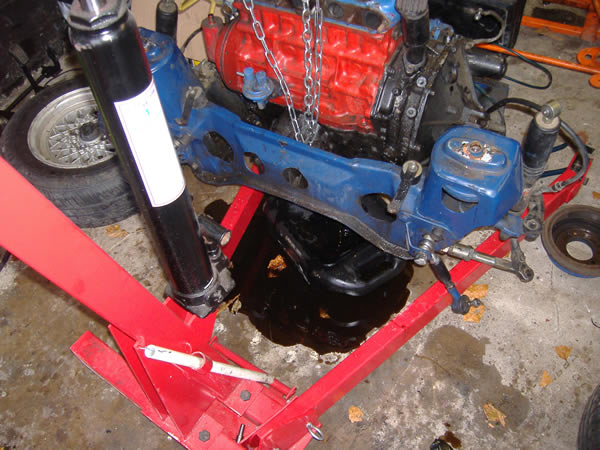
So with the engine now split from the subframe I lowered the engine down in the corner of the garage ready for a buyer to come pick up.
I then used the engine hoist to lift the back of the chassis so I could start undoing the bolts for the floor and nock the heads of the pop rivets of so that the floor can be removed.
I have to now start thinking about when I remove the floor what will be weakened and how I can over come the problem.
So while I was thinking of that I decided to try a little tip on removing powder coat. I spoke to a couple of chaps on site today about how to get powder coat off, they said burn it off using a glow torch.
So I started heating the powder coat off and low and behold it started burn right off straight back to bare metal… I am very happy with the result and how quick it is… THANKS CHAPS!!!
To carry on reading to page 2 of my re build diary click here
