l may as well start this thread as l have started the biuld,
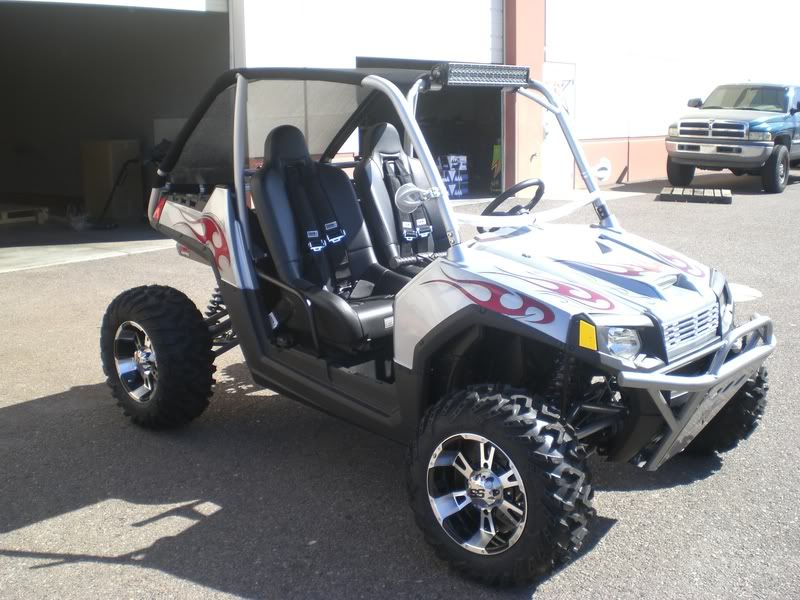
l dident particually want a 4 wheel drive buggy 2 wd would have been fine, l have a honda pilot and where that will go offroad never ceases to amaze me, l have come by a subaru justy which just happens to be 4 wheel drive, they also come as 2wd and if this one had been 2wd then the buggy would have been 2wd with out a doubt, but never look a gift horse in the mouth or some thing like that, so 4 wd it is, unless a 2wd gearbox falls in my lap and it might all change :")
one of the things l like about this justy is the cvt gearbox, rubber band drive like the old daff variomatics, well steelband really, so you get a gear stick with basically 2 positions forward for forward and backward for backward, simple huh, but its the way it transmits its power to the ground that siuts an offroad buggy, they seem to bite more and get constant traction with no shifts to unsettle the grip, the pilot uses the same sort (ish) of drive
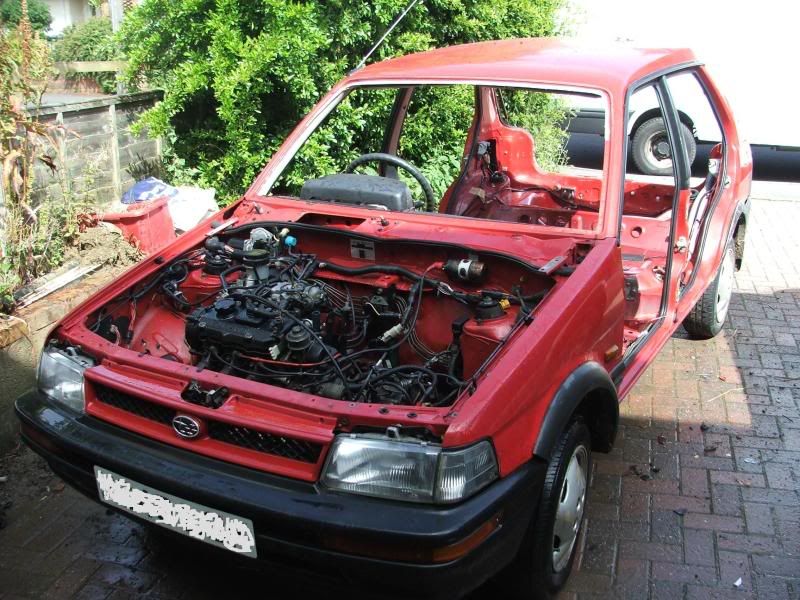
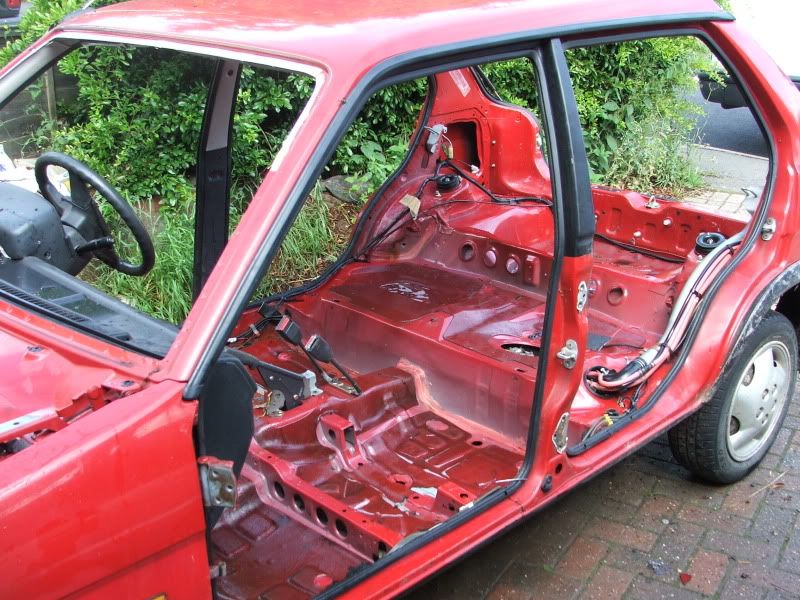
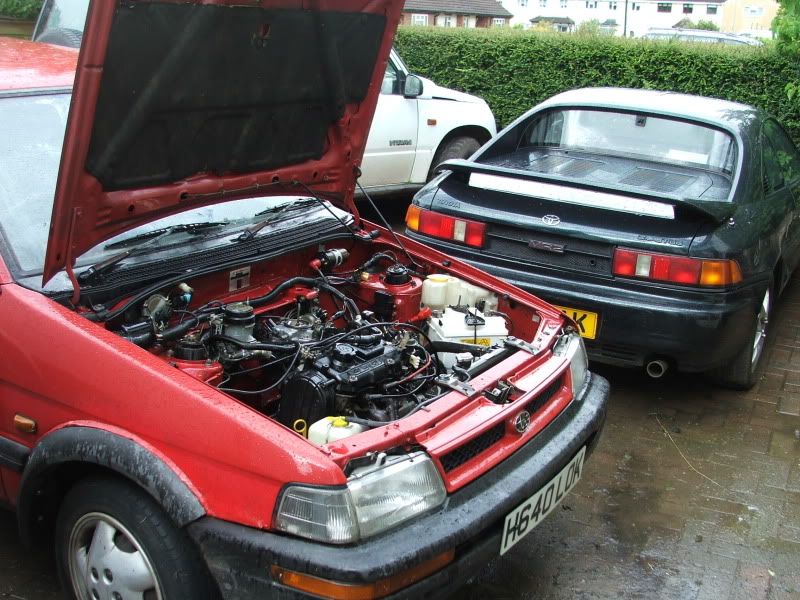
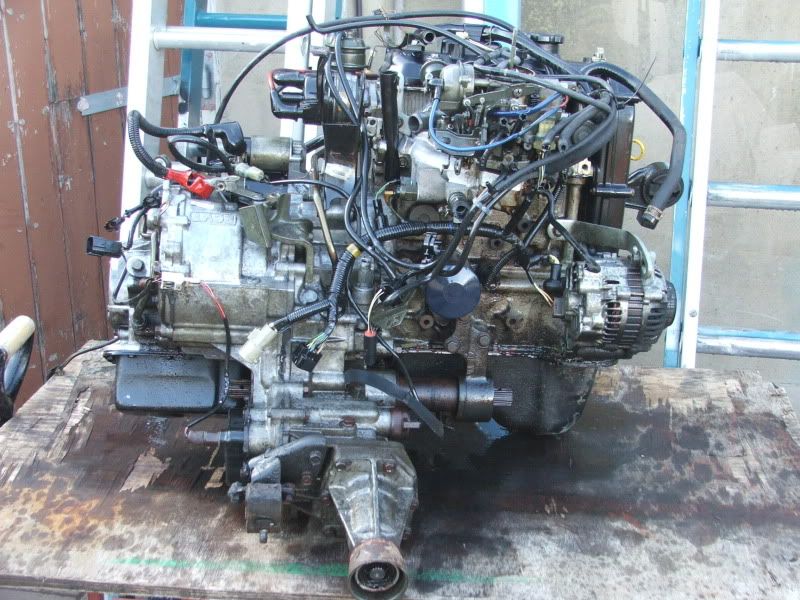
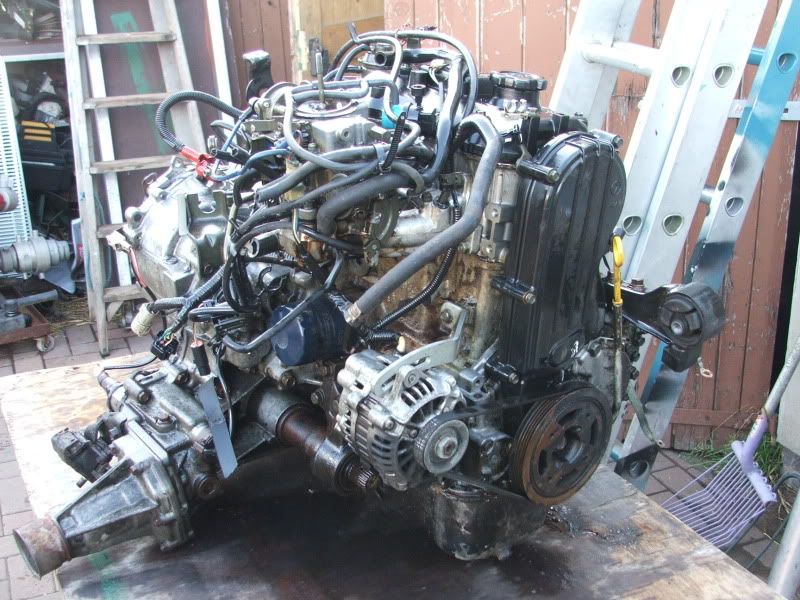
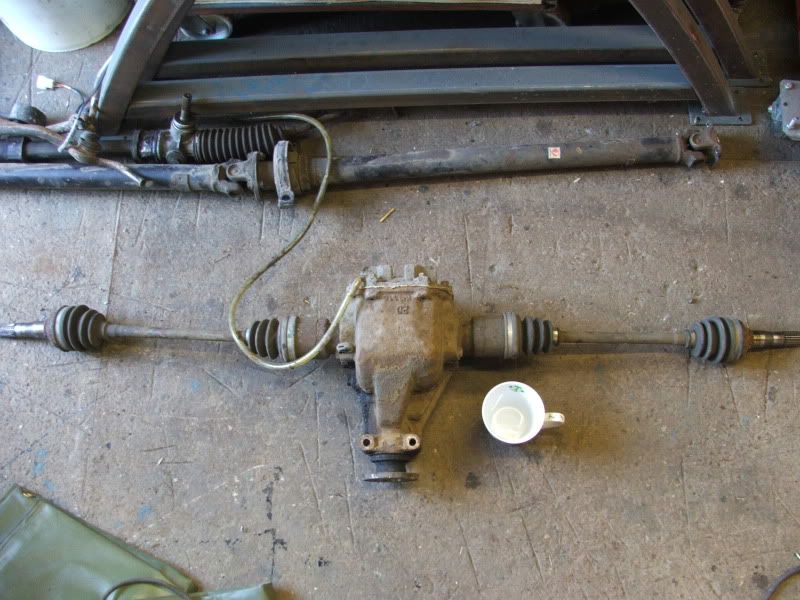
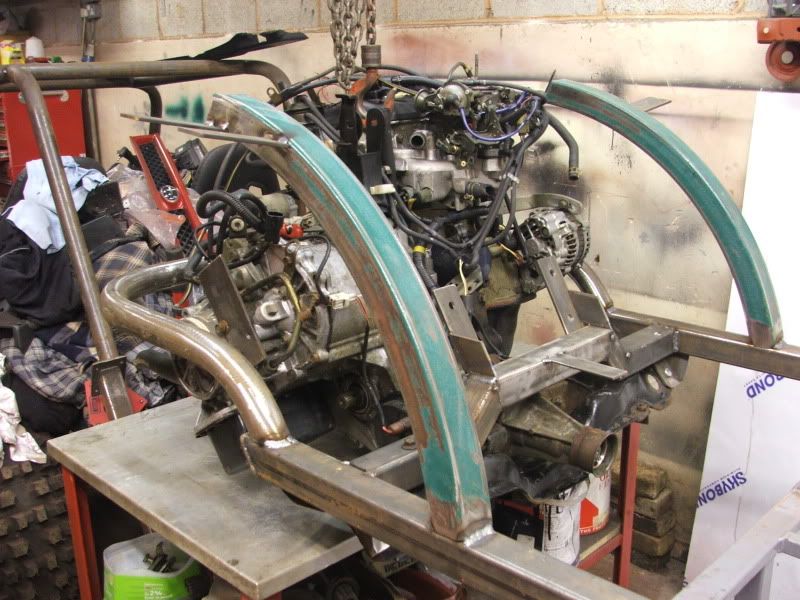
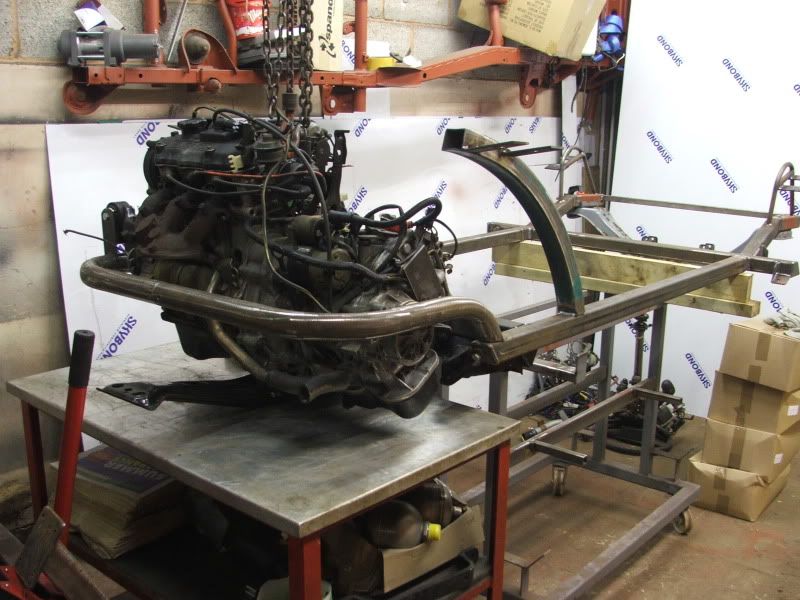
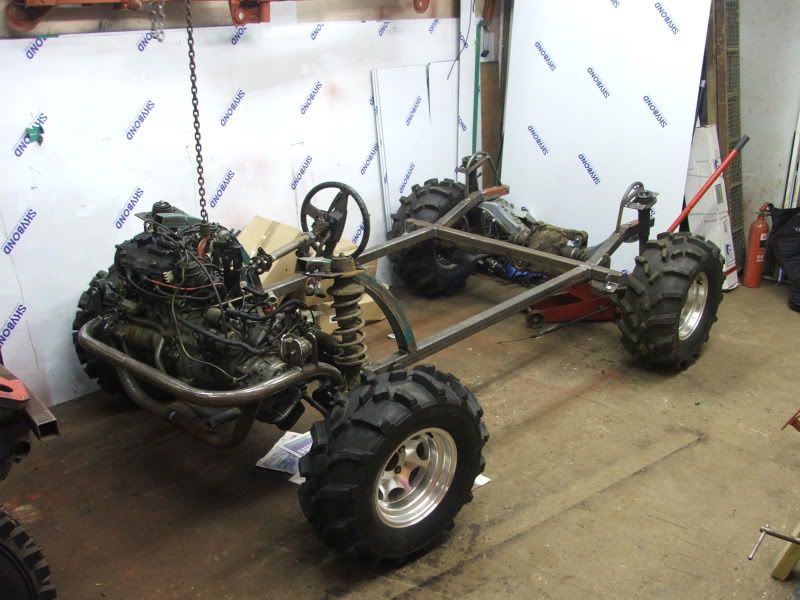
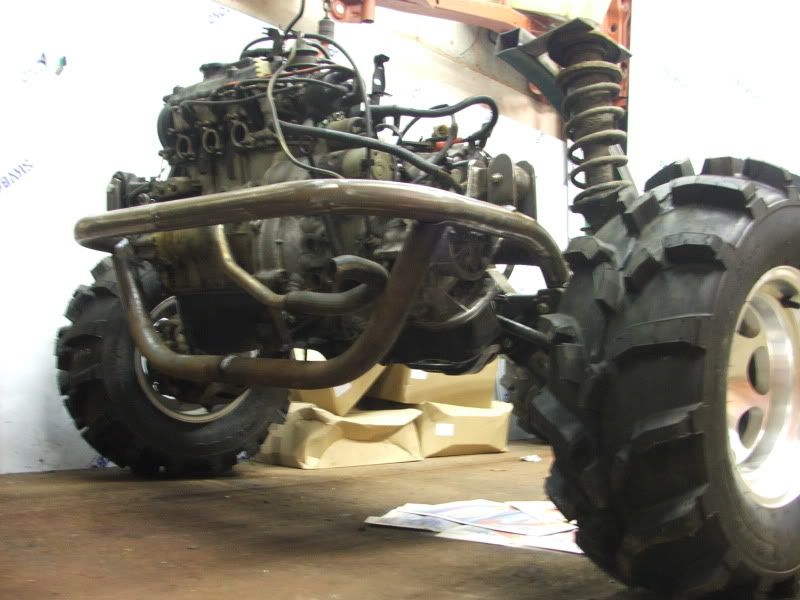
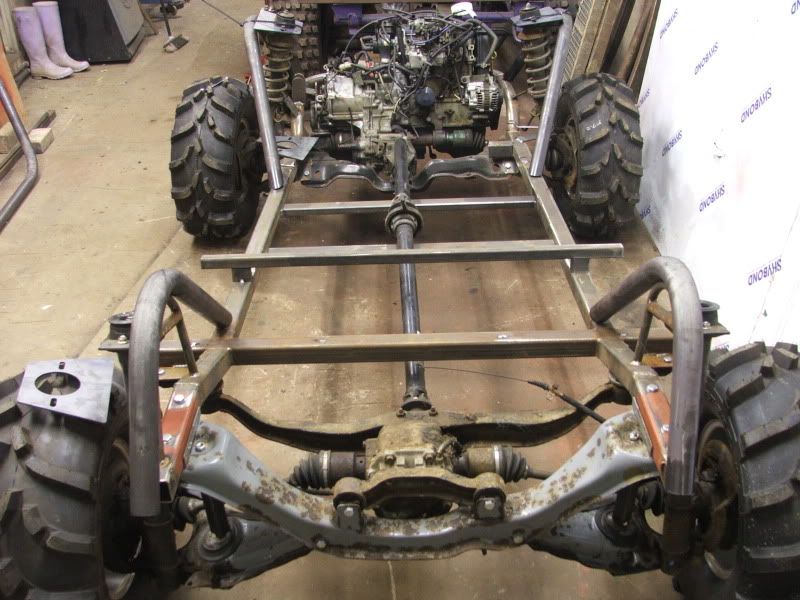
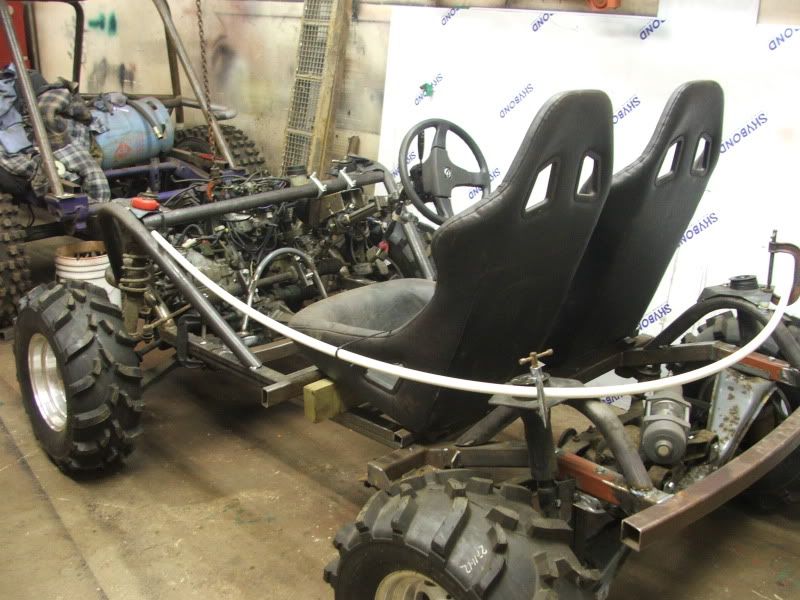
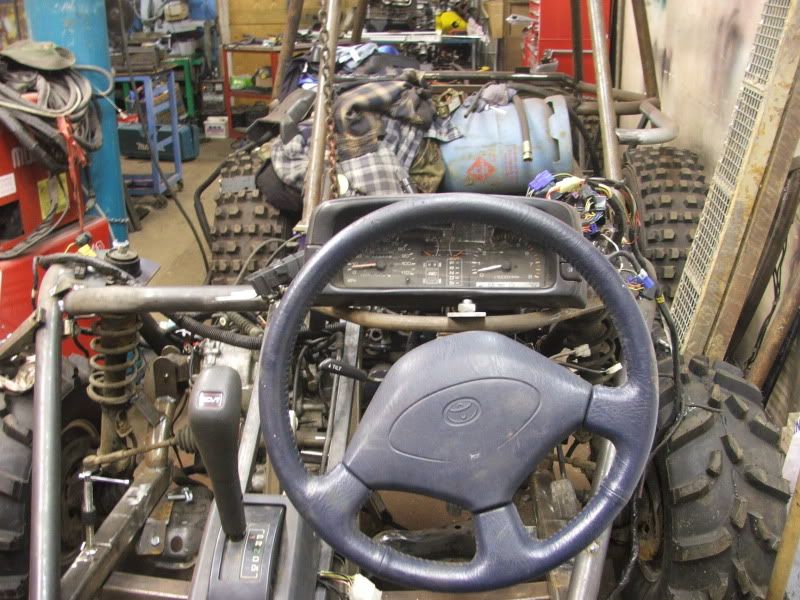
the engine is a 3 cylinder 1200cc about 75 hp, most of the other components are also on the small side diff drive shafts etc all siutable for a light wieght buggy
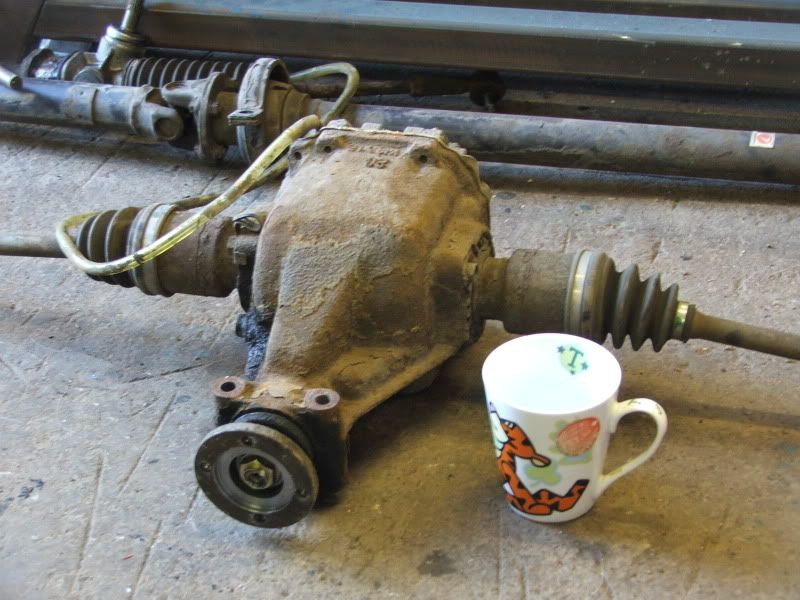
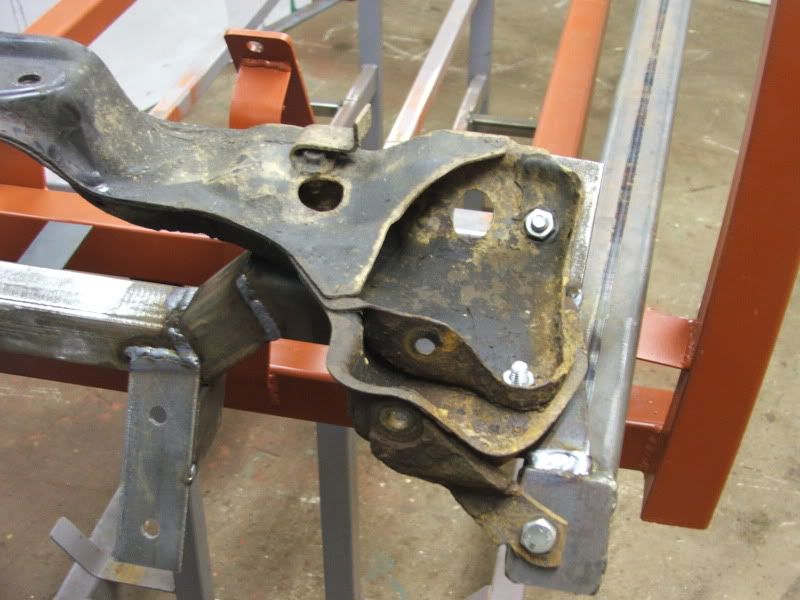
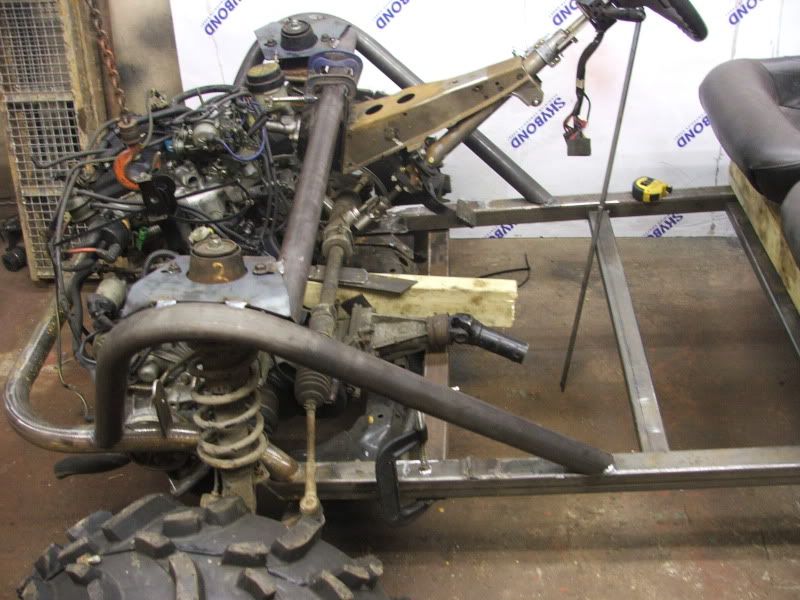
the engine in the justy is mounted at the front with 2 drive shafts feeding the front wheels like a mini, but it also has another out put on the gearbox facing the rear and from here a prop runs to a diff mounted at the rear with another pair of drive shafts feeding the back wheels, this rear prop can be engaged and disengaged at will by pressing a button mounted on the gear stick, so its normally front drive with the rear brought in when required
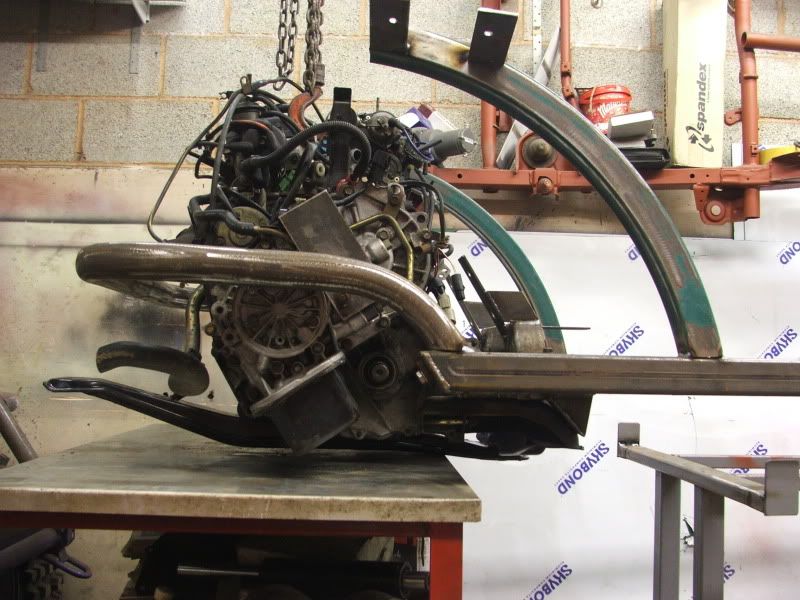
it would be better if the engine was mounted behind the seats diving the back wheels normally and the front switched in when wanted ? but reverseing the engine also reverses the drive and l will end up going backwards so some more thinking to do on that bit
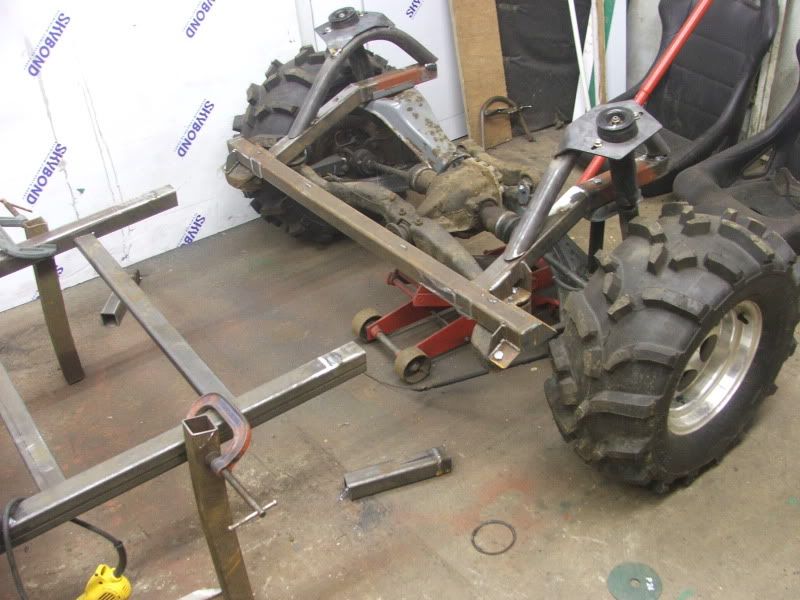
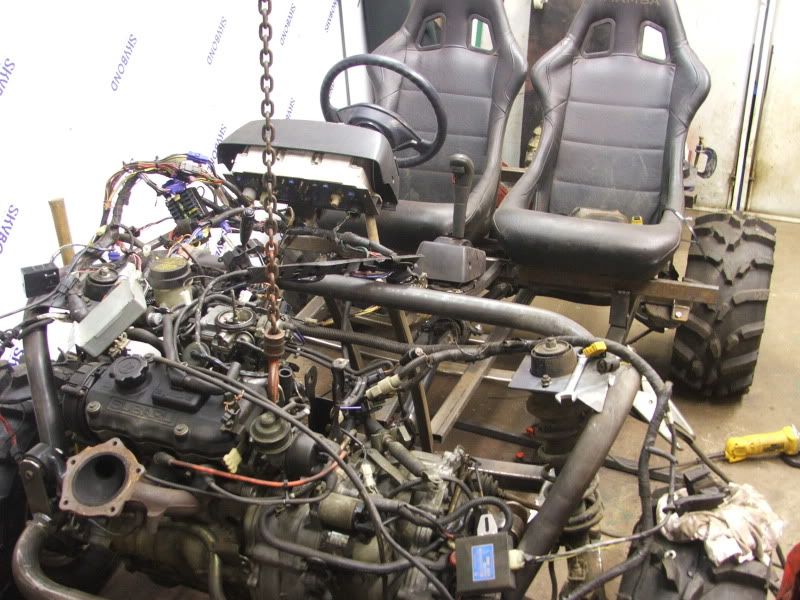
heres a pic of the drive train
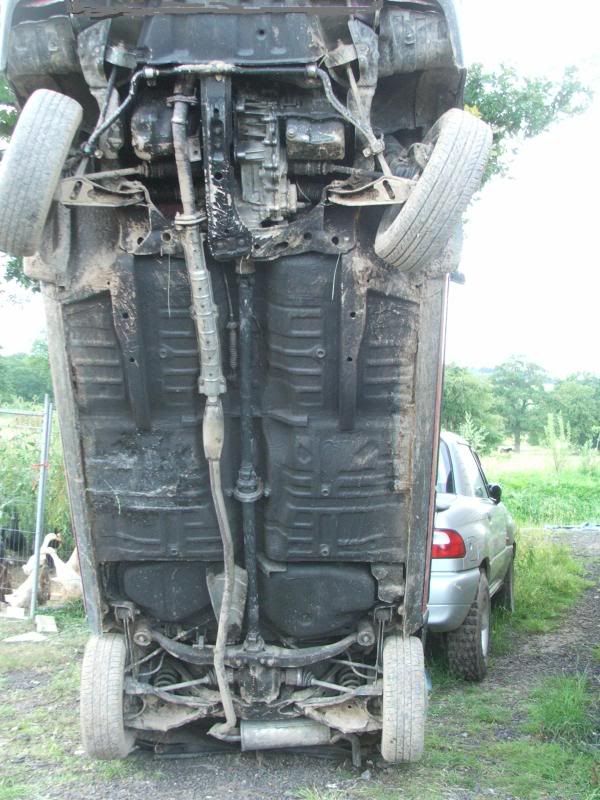
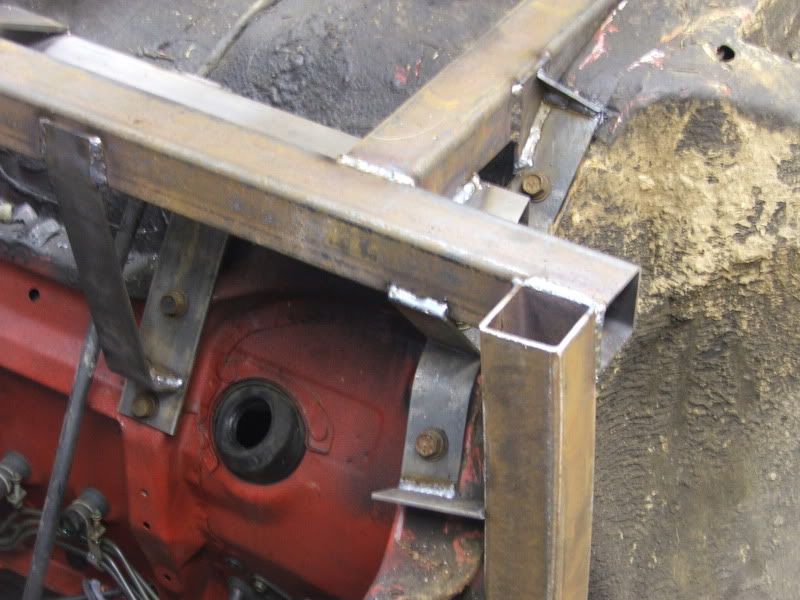
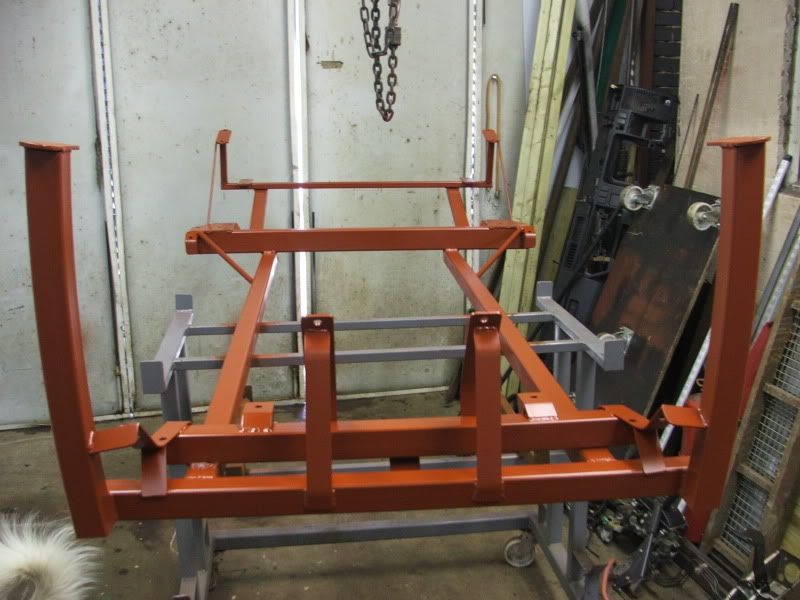
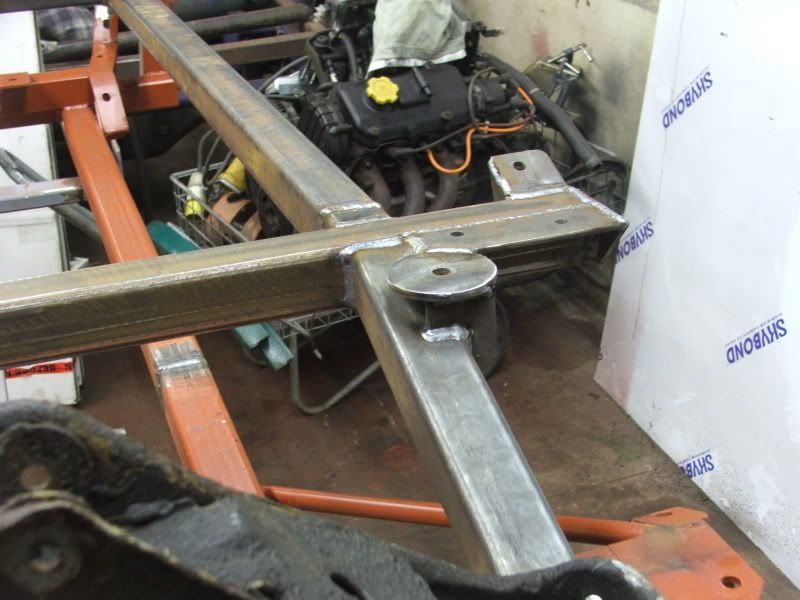
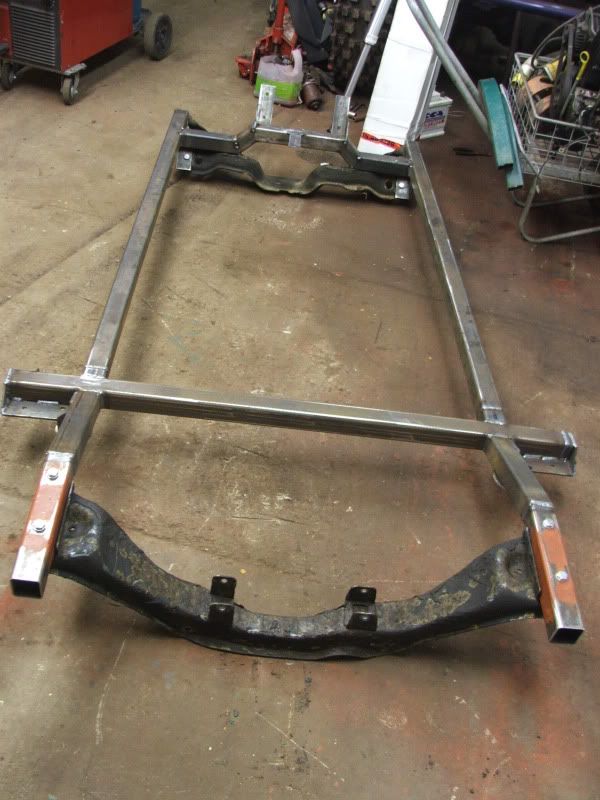
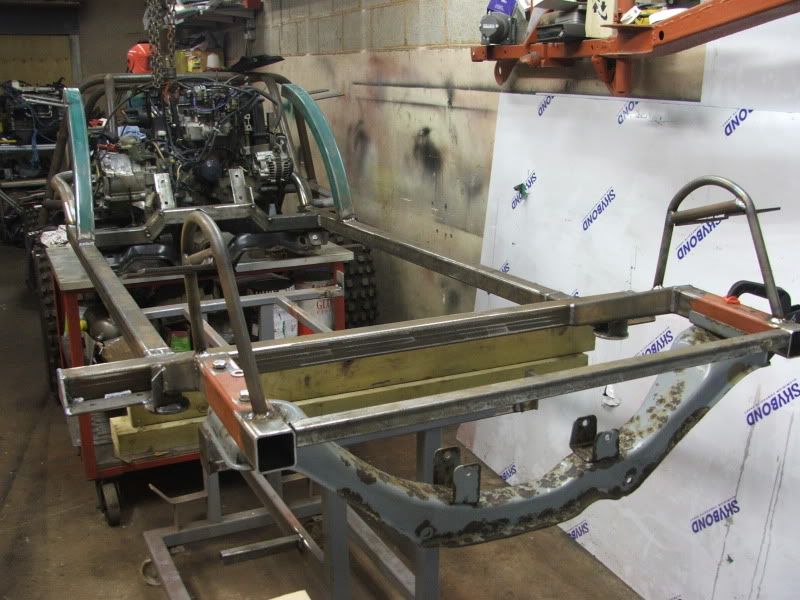
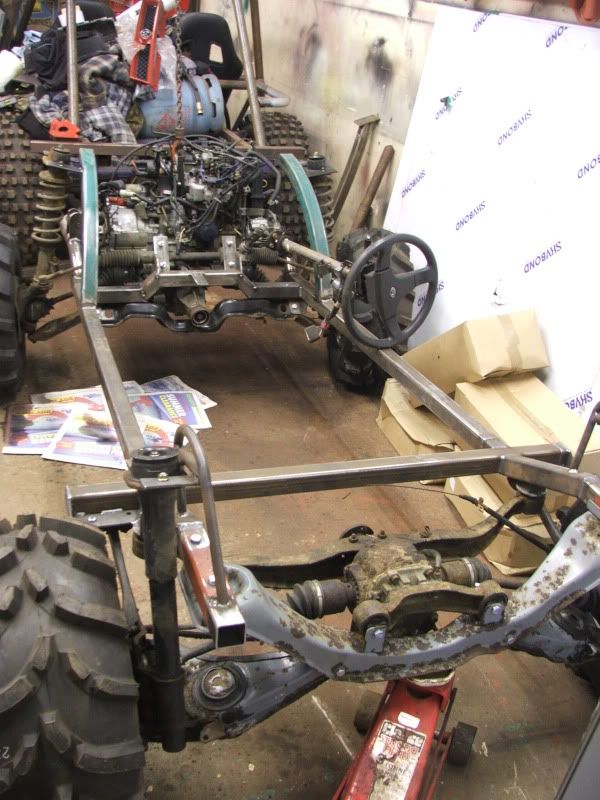
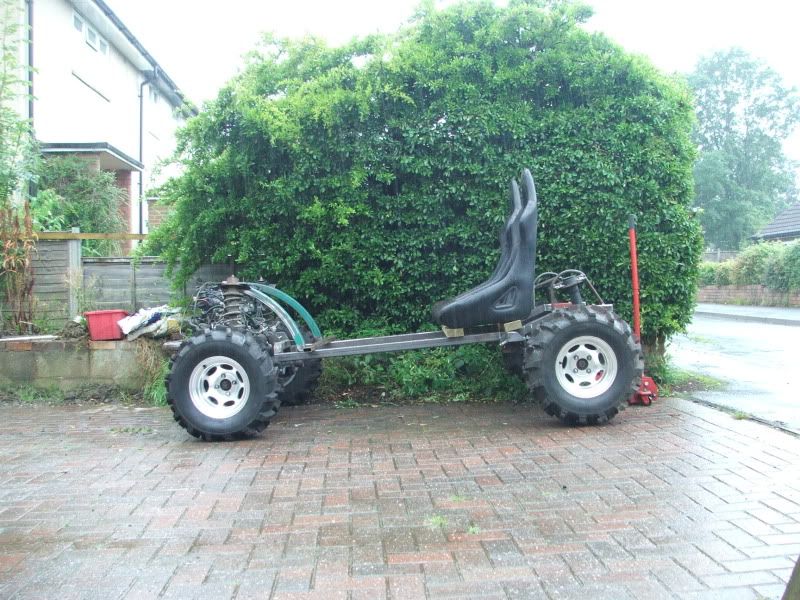
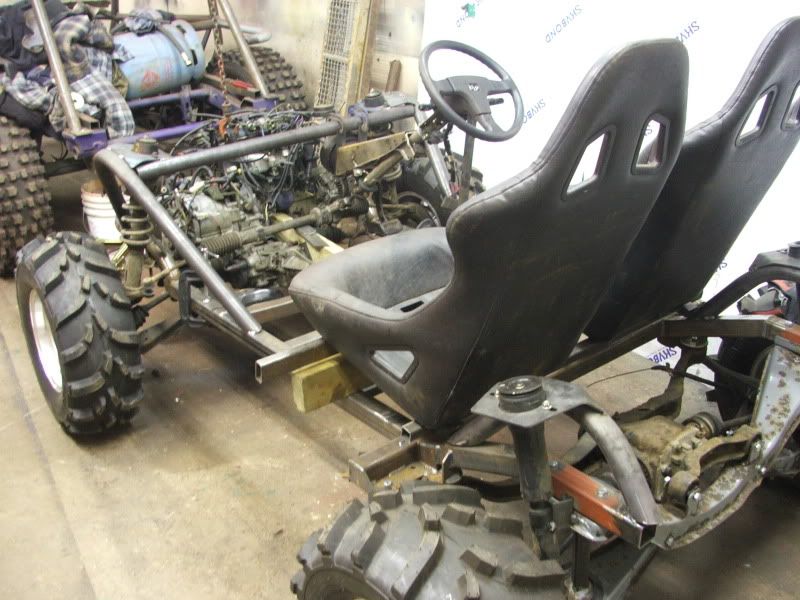
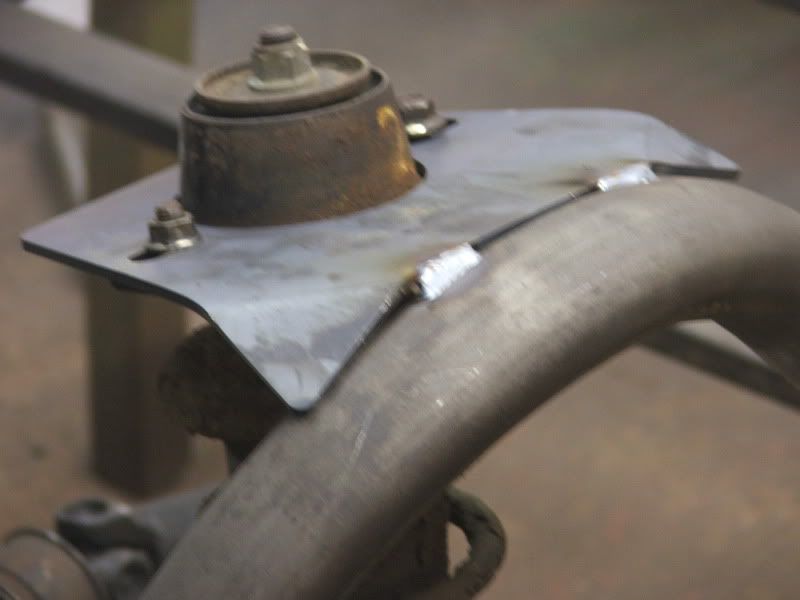
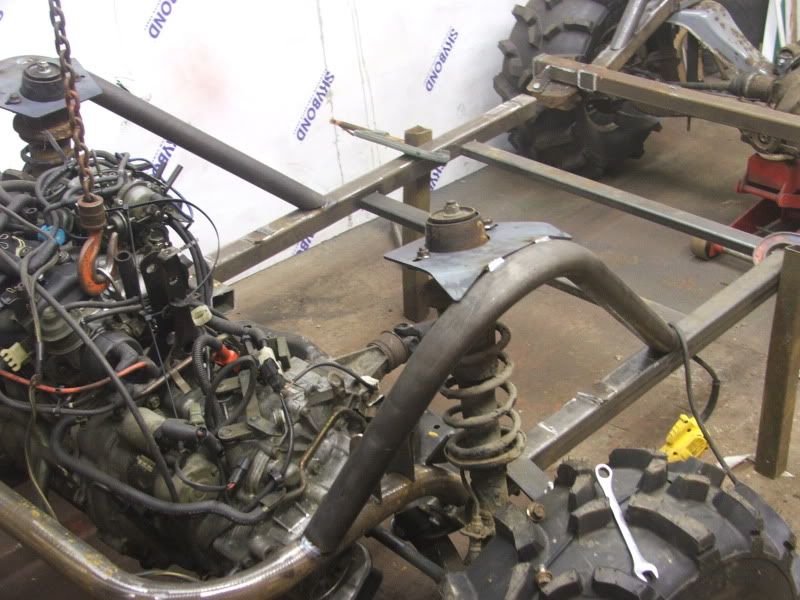
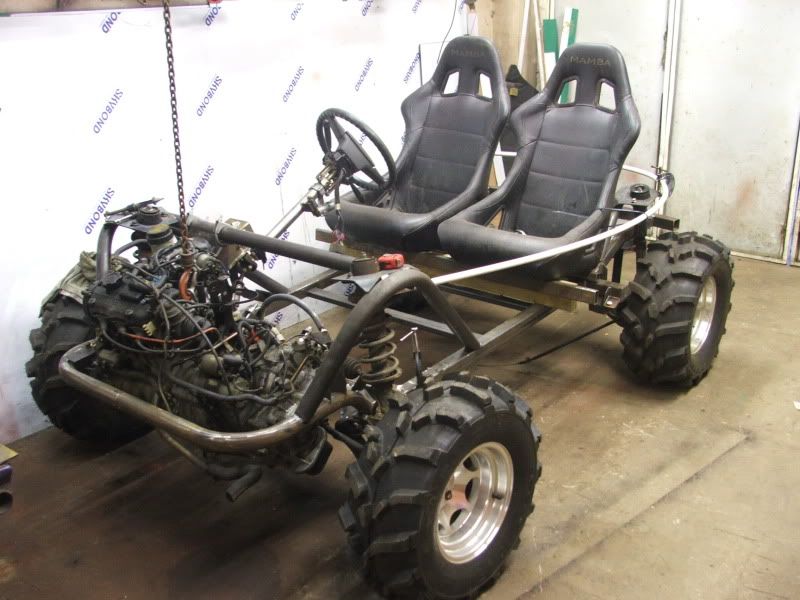
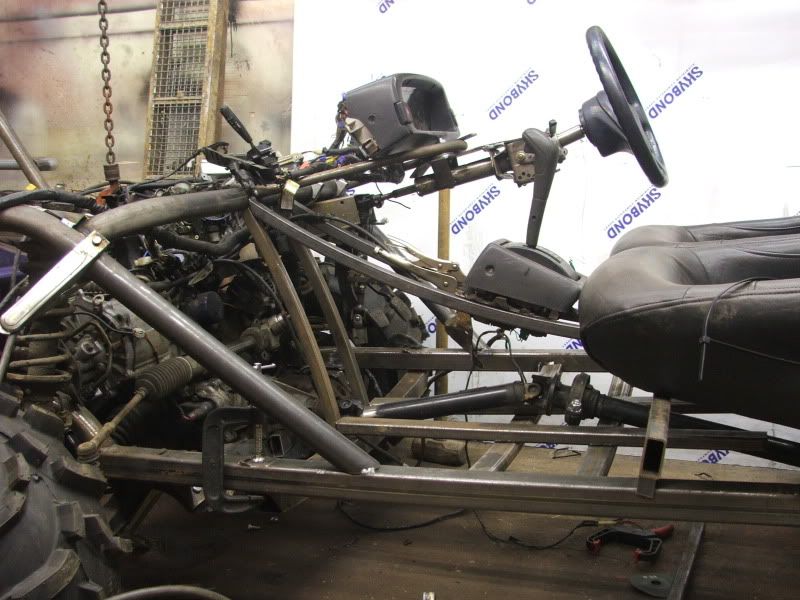
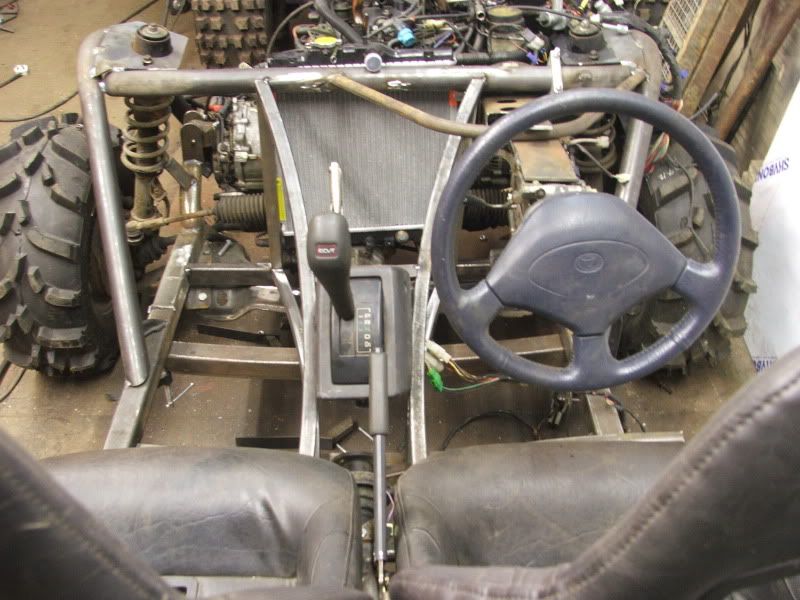
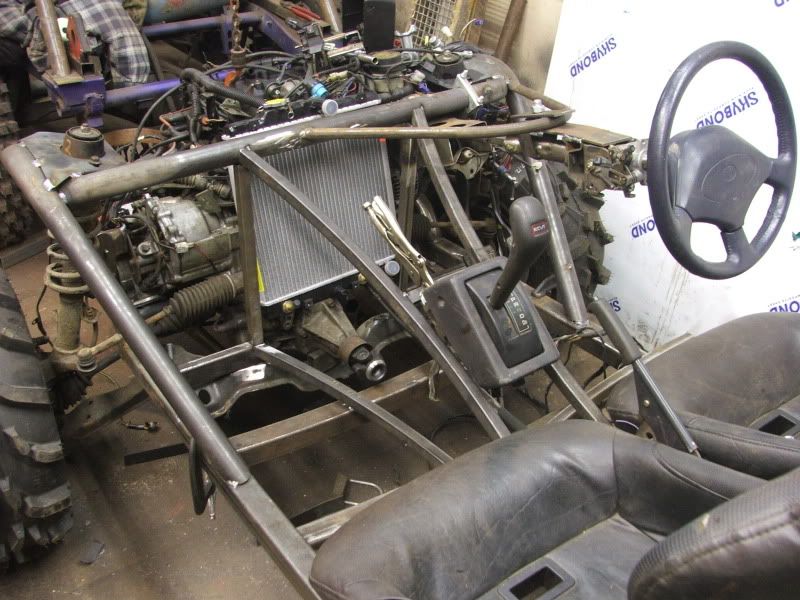
as you can see it has subframes front and rear, this makes it nice and easy for fabricating the new chassis,
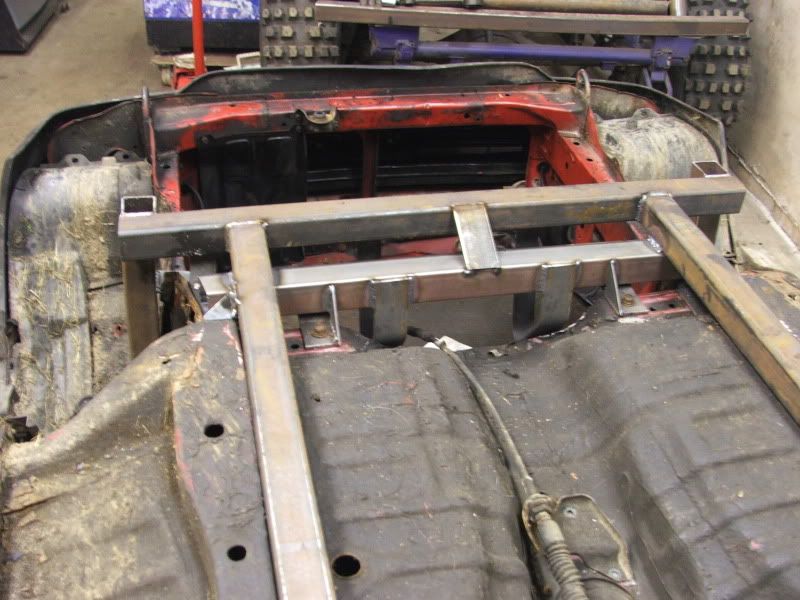
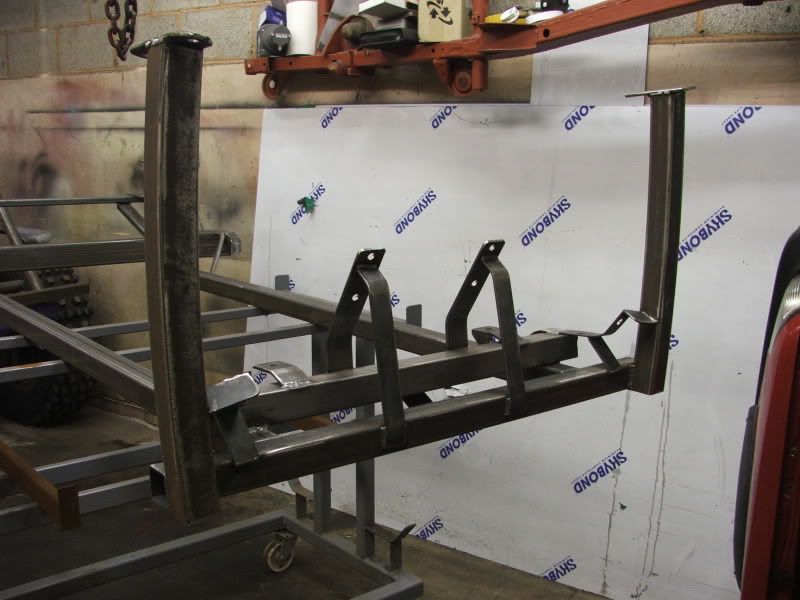
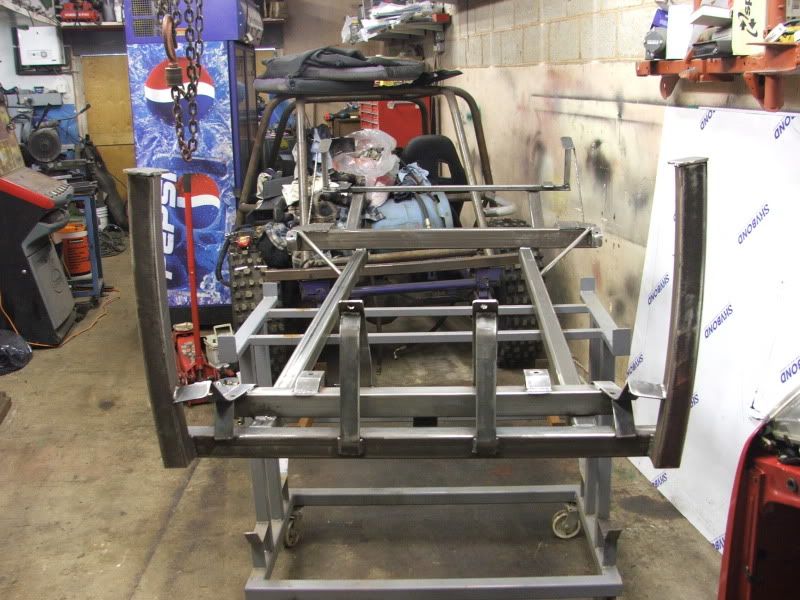
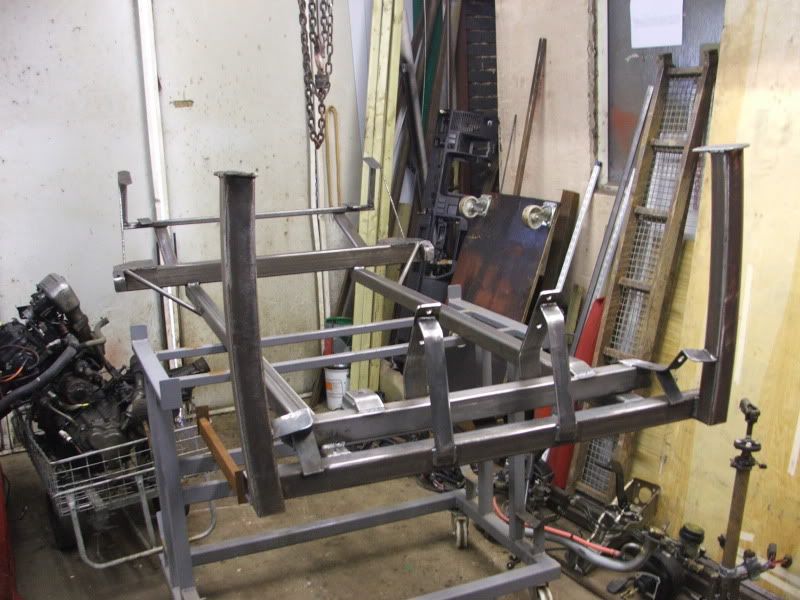
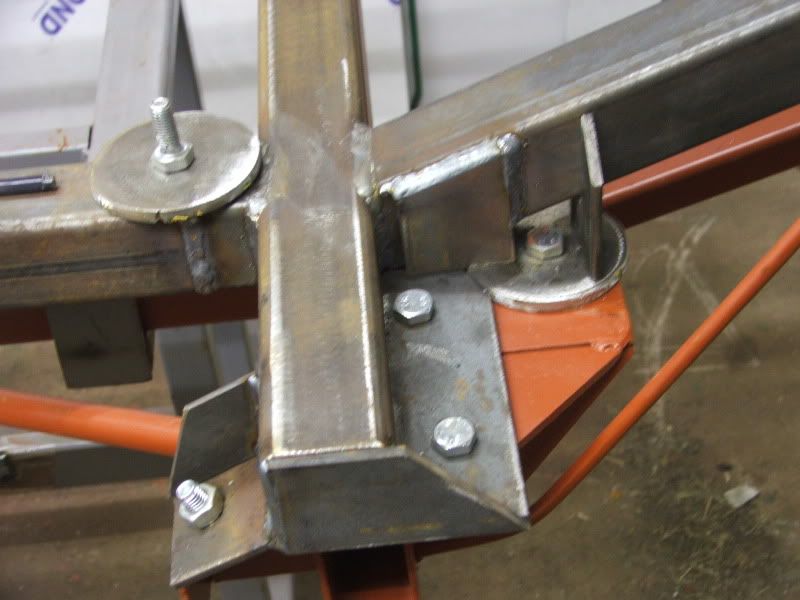
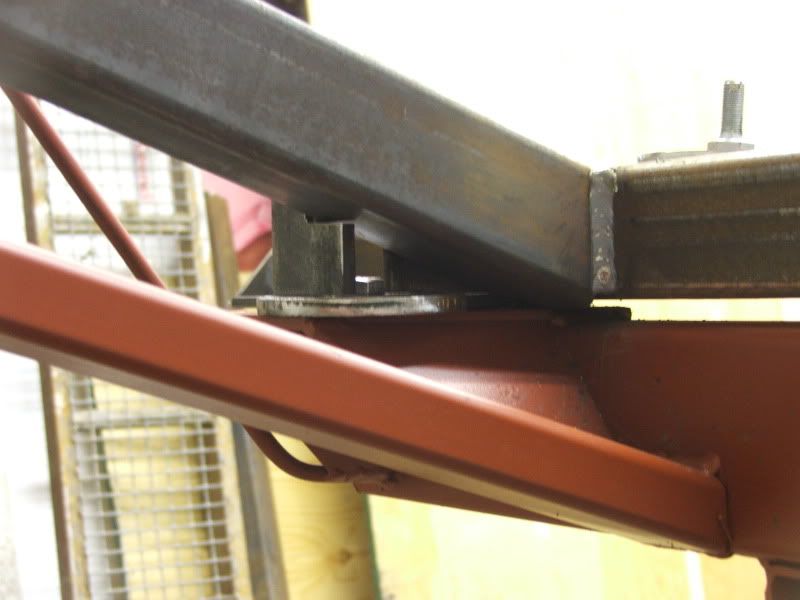
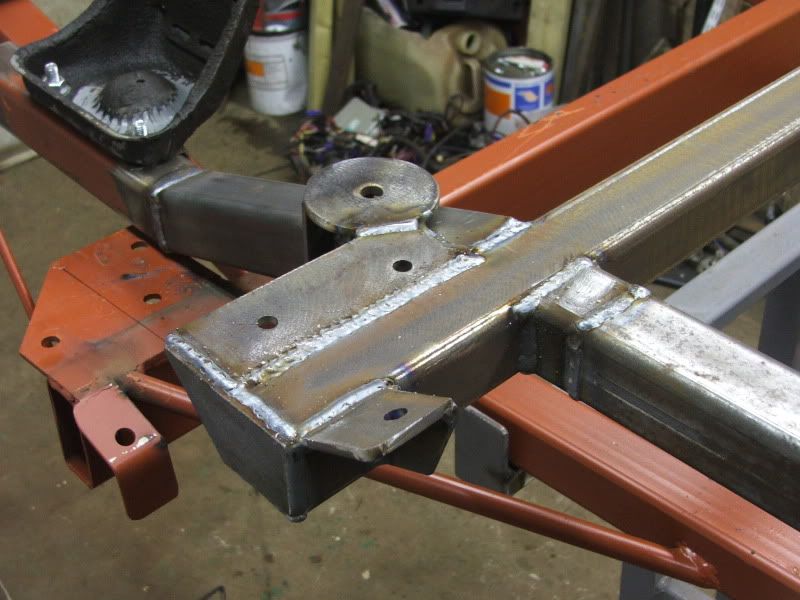
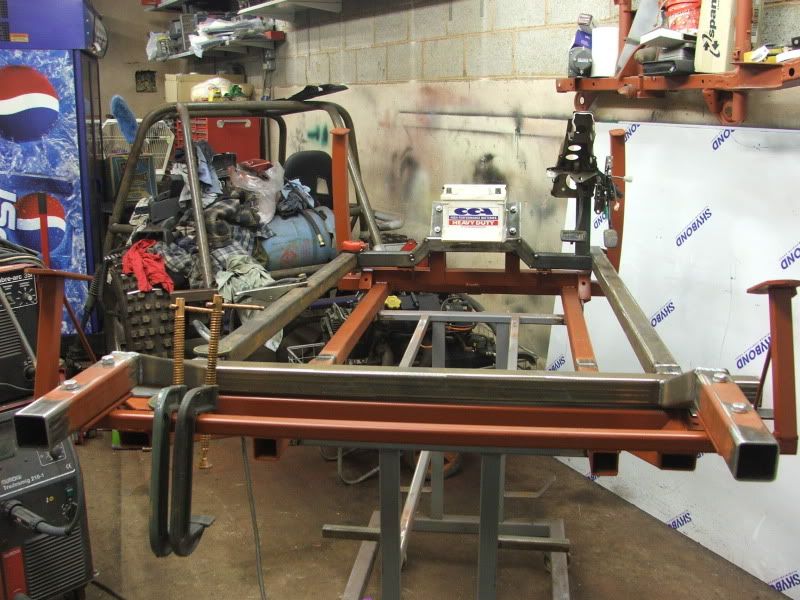
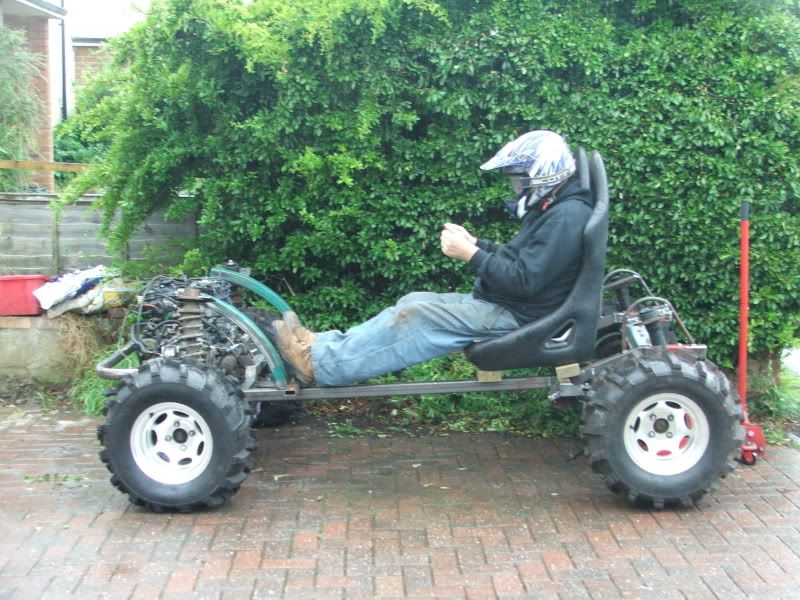
made a start today and stripped most of the car down, pics to follow
Andy
l dident particually want a 4 wheel drive buggy 2 wd would have been fine, l have a honda pilot and where that will go offroad never ceases to amaze me, l have come by a subaru justy which just happens to be 4 wheel drive, they also come as 2wd and if this one had been 2wd then the buggy would have been 2wd with out a doubt, but never look a gift horse in the mouth or some thing like that, so 4 wd it is, unless a 2wd gearbox falls in my lap and it might all change :
one of the things l like about this justy is the cvt gearbox, rubber band drive like the old daff variomatics, well steelband really, so you get a gear stick with basically 2 positions forward for forward and backward for backward, simple huh, but its the way it transmits its power to the ground that siuts an offroad buggy, they seem to bite more and get constant traction with no shifts to unsettle the grip, the pilot uses the same sort (ish) of drive
the engine is a 3 cylinder 1200cc about 75 hp, most of the other components are also on the small side diff drive shafts etc all siutable for a light wieght buggy
the engine in the justy is mounted at the front with 2 drive shafts feeding the front wheels like a mini, but it also has another out put on the gearbox facing the rear and from here a prop runs to a diff mounted at the rear with another pair of drive shafts feeding the back wheels, this rear prop can be engaged and disengaged at will by pressing a button mounted on the gear stick, so its normally front drive with the rear brought in when required
it would be better if the engine was mounted behind the seats diving the back wheels normally and the front switched in when wanted ? but reverseing the engine also reverses the drive and l will end up going backwards
so some more thinking to do on that bitheres a pic of the drive train
as you can see it has subframes front and rear, this makes it nice and easy for fabricating the new chassis,
made a start today and stripped most of the car down, pics to follow
Andy