Lotus 7 (Replica) Build

250buggys

Well-known member
So it all started watching a road test of the 620R, which looked like an awful lot of fun. I then had a look and saw these going for just under 60K 2nd hand which seemed well over priced and said to myself "I bet I could build one for much less than that".

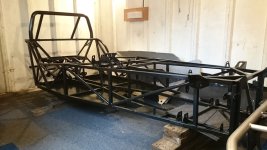
The next thing was to have a look at a chassis for the build.

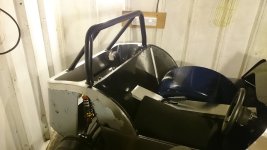
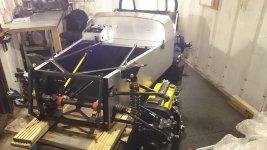
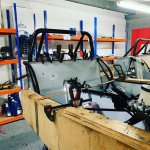
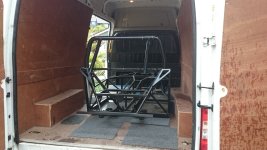
Found a suitable chassis, hired a van and picked it up.
DSC_0055.JPG


DSC_0069.JPG


I spent a good while thinking about which engine to use and thought about the Duratec or Zetec with a turbo charger or supercharger to match the performance of the 620R but I wanted to use a pair of ITBs rather than a plenum. The induction noise sounds fantastic and a N/A engine would be far more simpler, more reliable and lighter.

The main focus is to keep the weight off. On the RR the Freestyle was 500Kg and that is what I am hoping for again with the 7.

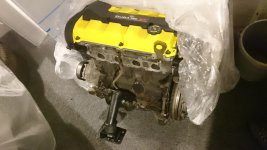
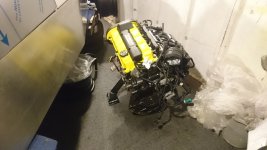
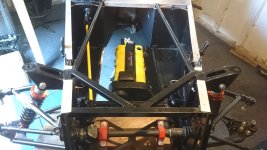
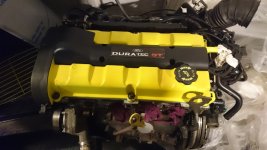
I found a local scrappy with an ST170 engine so seemed like a good choice.

DSC_0681.JPG


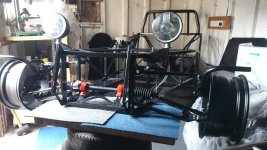
Fitted the steering rack as one of the 1st jobs. Poly mounts to keep the weight down.

DSC_0166.JPG


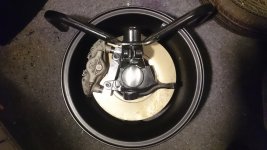
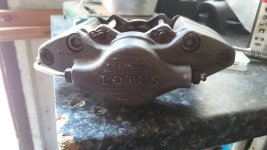
The Sierra front callipers are too heavy so designed a bracket on Inventor to mount some Elise callipers. Some good weight savings here and better stopping power.
DSC_0169.JPG

Mondeo V6 discs

DSC_0744.JPG

Callipers and discs fit nicely under those 15s
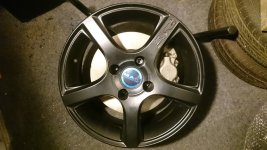
DSC_0742.JPG

Going to have to fit the awful halogen lamps because the IVA manual says you need a wash jet system and a self levelling mechanism if you fit LED or zenon projectors.
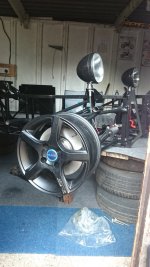
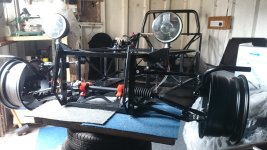
DSC_0167.JPG


DSC_0166.JPG

I have some LED 7" lamps to swap out as soon as I have the IVA certificate as per the Freestyle build. Annoying really as the LEDs have the built in orange halo which means you can do away with the indicators saving even more weight.


Here they are.

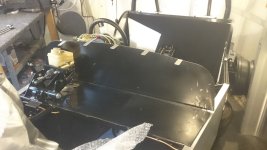
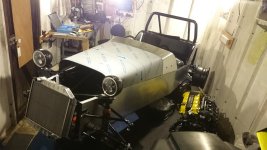
Side panels on, swirl pot in, wish bones fitted. Brake master cylinder..... Scuttle under way.

The original 7s were aluminium panelled, the Westfields are GRP, pros and cons for either.
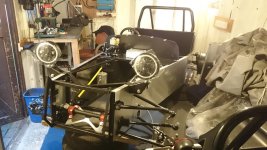
DSC_0680.JPG
 

250buggys

Well-known member
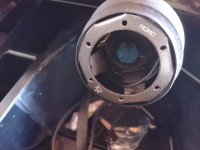
I failed my 1st (Freestyle) IVA on 2 things, one, edge trim on the dash (19mm radius) and the other a collapsible steering boss.

Collapsible steering boss for the Sierra steering column.

DSC_0002.JPG

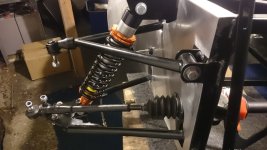
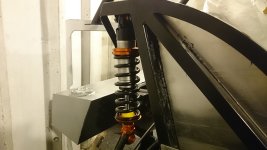
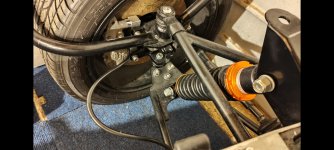
Next thing was to fit some suspension, nice set of coilovers on the front.

DSC_0746.JPG

and the rear.

DSC_0747.JPG

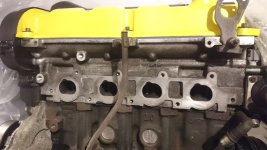
Cleaned out the inlet ports ready to fit the ITB.

DSC_0767.JPG

Fitted the engine mounts.

DSC_0769.JPG

Fitted the linkage for the brake pedal

DSC_0805.JPG

Scuttle panel

DSC_0806.JPG

Inner panels & hand brake fitted.

DSC_0807.JPG

The ST has one so seemed appropriate to fit one to the 7 ST (FORD POWER)

Not going to be one of the turn the ignition on and then press the start button, its going to be a keyless start system, as per the Focus ST just need to figure how regarding the immobiliser and a relay setup with some logic.


DSC_0811.JPG


Doing away with the stupid PCV valve, will re-route to an oil catch can....

DSC_0824.JPG
 

250buggys

Well-known member
DSC_0825.JPG

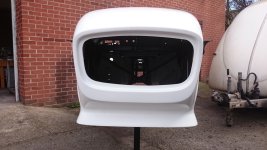
Went with the white GRP and bought a roll of white vinyl of the ally parts.

DSC_1225.JPG

DSC_1227.JPG

Rad & bonnet fitted, checking shut lines with scuttle panel.

DSC_1290.JPG

Power plant

DSC_1291.JPG

Roll hoop

DSC_1293.JPG


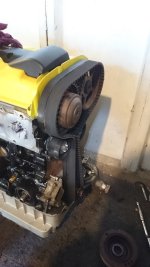
Working on the Zetec

DSC_1305.JPG

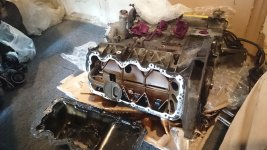
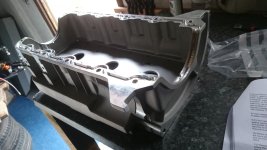
Removed the old Zetec sump

DSC_1306.JPG

Swapped out for a shallow sump.

DSC_1308.JPG

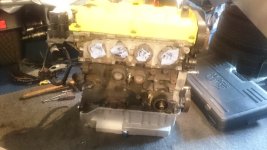
Fitted

DSC_1309.JPG
 

250buggys

Well-known member
DSC_1310.JPG

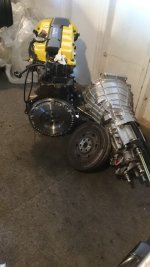
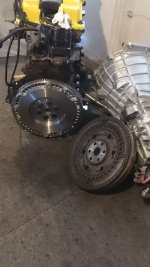
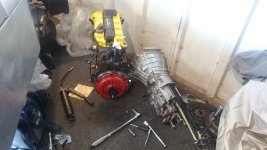
Swapped out the DMF for a light weight flywheel & fitted the MT75 gearbox


DSC_1311.JPG

Huge weight saving there, many 10s of Kgs......


DSC_1312.JPG


Fitted a 6 paddle clutch


DSC_1313.JPG


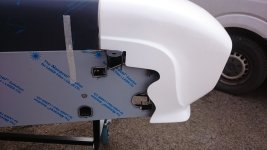
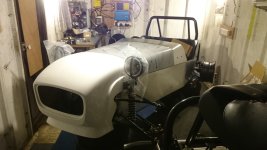
Nose cone fitted, trim applied and shut lines adjusted.


DSC_1324.JPG

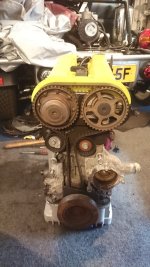
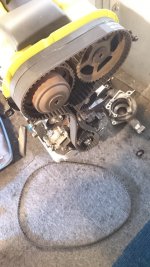
Replaced the timing belt the easy way by chopping the old belt down the middle.

DSC_1326 - Copy.JPG

Saw it on car SOS

DSC_1327.JPG

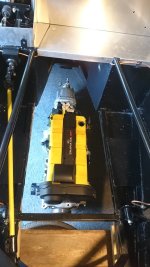
Engine ready to install on its mounts.

DSC_1347.JPG

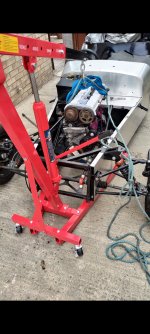
I have used a trolley jack to get engines in and out of cars for many years. After spending all day wrestling this engine in and doing some damage I said I will buy a crane if I need to get it out. Turns out I do need to pop it out as the cable clutch is poor and I am working on a hydraulic retro-fit for the MT75 gearbox.........

DSC_1348.JPG

DSC_1349 - Copy.JPG
 

250buggys

Well-known member
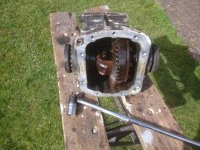
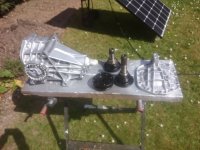
Found an LSD from an XR4x4

DSC_0164.JPG

Stripped and refurbished

DSC_0218.JPG

Absolute Must Have.........

Chap threw in another which was seized, someone drained the oil and the moisture in the air caused the ferrous metal to bind, easy fix.

Turns out the seized one was the more desirable ratio from the 2.0 XR4x4
 

250buggys

Well-known member
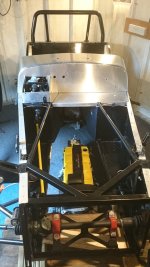
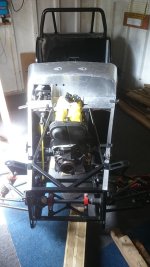
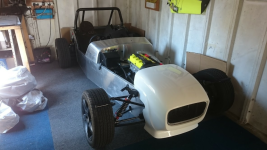
Rolling chassis,

Good to get her off the planks.

111 (2).png


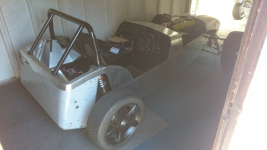
Rear view,
Rear panel fitted.... Freestyle out front.

111 (4).png

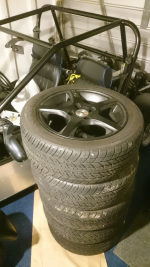
Got lucky found another 5 wheels the same with tyres so will do for rolling around and as a spare set. Can keep the good ones for the Toyo R888Rs semi slicks I have planed.

111 (6).png

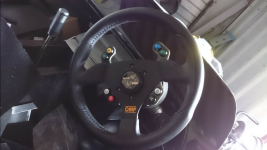
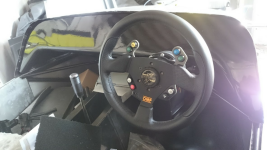
Fitted a 280mm wheel with the buttons in close reach, more weight saving and space saving, IVA compatible.

111 (8).png


Short shifter fitted too.

111 (9).png

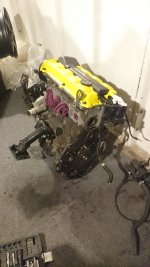
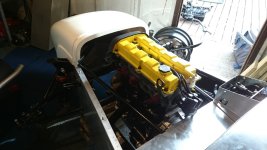
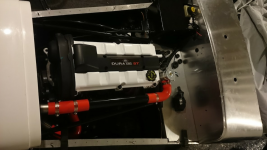
I really don't know what I was thinking painting the rocker cover yellow..... Had some paint left over from the Freestyle and that soon changed to black.

111 (10).png

The red hoses are going black too, I think they look shite red....

111 (11).png
 

250buggys

Well-known member
Been putting it off for a while but the engine is now out ready to fit the hydraulic clutch.😀

Screenshot_20220922-063239901.jpg


Screenshot_20220922-063246565.jpg

The cable route is really no good, it won't last long. The hydraulic clutch version of the MT75 are few and far between and the RX8 boxes are getting expensive. Also the concentric hydraulic clutch option for the MT75 is a lot of £. I saw a post where people are doing the conversion with a 318 slave cylinder actuating the selector fork so that is what I am going to do.
 

250buggys

Well-known member
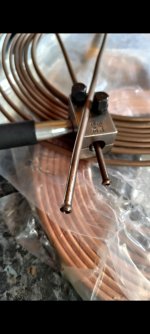
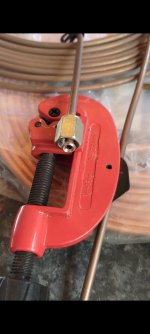
Spent some time flaring brake pipe ends. Went with Flexi pipe on the buggy but with the longer runs have gone with kunifer.
Screenshot_20221003-063617151.jpg

Bought some of the cheap tools and they produce poor quality ends but this tool produces perfect results every time.

Screenshot_20221003-063622896.jpg

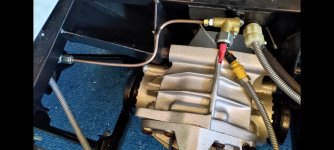
Fitted and clipped.


Screenshot_20221003-063634198.jpg

I also got the drive shafts, rear discs, calipers and flexi pipes to the calipers fitted. With the LSD the shafts are not push in because of the torque which means 24 bolts to do up 😀
 

250buggys

Well-known member
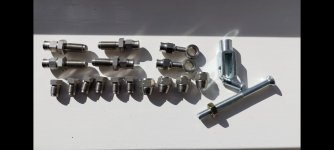
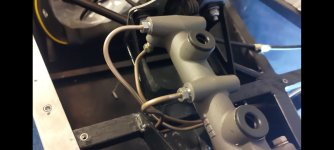
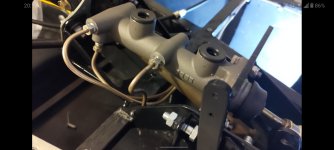
My brake fittings turned up, went with the stainless fittings as the zinc plated disolve pretty quickly IMO not fit for purpose. Also the new attachment for the clutch master cylinder.
Screenshot_20221012-193008154.jpg

I fitted the stainless fittings to the buggy and they are still in really good condition. You sometimes wonder what grade of stainless you receive but so far so good.
Screenshot_20221012-192936846.jpg

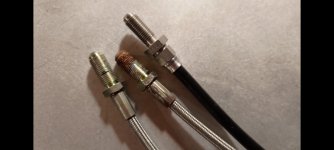
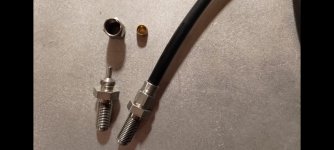
The kit came with some flexi pipes but they were made up for the Sierra front calipers and I needed them a bit longer for the Elise calipers I fitted. That middle flexi pipe hasn't seen any action, only screwed it into the caliper and came into contact with some brake fluid and now looks terrible.

Screenshot_20221012-193001313.jpg

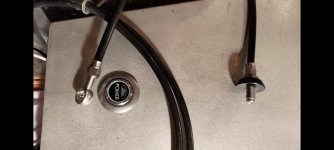
I had some left over braided PTFE lined hose so that came in handy for the fronts.

Screenshot_20221012-192944472.jpg

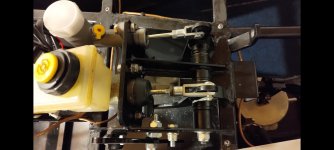
Modified the pedal box and fitted the clutch master cylinder and ripped out that nasty cable assembly, again not fit for purpose.

Screenshot_20221012-192901449.jpg

Had to weld up the hole in the top of the clutch pedal and re drill a new one in a different place for the actuator arm. All now working nicely 😀

Screenshot_20221012-192848858.jpg

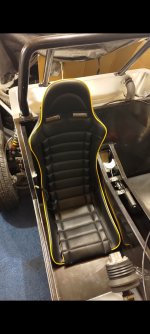
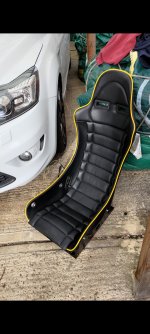
Fitted the heated seat element I scavanged from an ST225 Recaro to my Westfield bucket seat, only need one for the driver side.....

Screenshot_20221012-194644302.jpg

Flexi pipes now fitted to the Elise AP racing calipers.

Screenshot_20221012-194635240.jpg

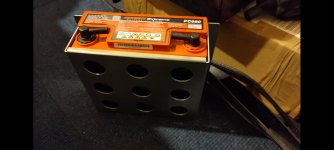
Light weight battery holder turned up for the light weight battery so can look to get that fitted also.

Progress being made...
 

Attachments

  • Screenshot_20221012-192930816.jpg
    Screenshot_20221012-192930816.jpg
    480.2 KB · Views: 4

250buggys

Well-known member
I don't seem to have achieved much this week, hopefully more motivated next week....

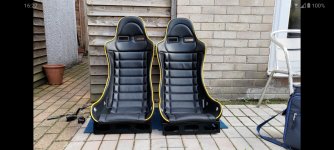
I did fit the seat bases to the Westfield race seats though, need to do a few more jobs and can then get the carpet fitted and bolt the seats in.

Screenshot_20221021-162742678.jpg

I gave the heated drivers a test by plugging it into the Focus loom, must be the only ST to have 6 seats connected to the car...

Screenshot_20221021-162756144.jpg
 

250buggys

Well-known member
Been outside tinkering this afternoon.

It's funny takes a good while to get motivated but once all the tools are out and you are making steady progress it's difficult to stop....

Still working on the brake lines, a few more P clips and a flare to do and it will be on with running the fuel lines. Hopefully have another go tomorrow evening and get a few pics for IVA as it will all be hidden away under panels.
 

250buggys

Well-known member
So 27 P clips later the brake lines are fitted.

Screenshot_20221128-201252677.jpg

And all flares made and fitted.

Screenshot_20221128-201351156.jpg

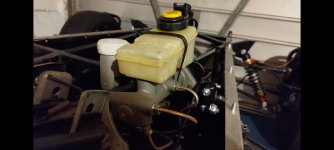
Brake and clutch reservoir fitted and brakes ready for bleeding.


Screenshot_20221128-201416204.jpg

I wanted to leave as much room in the tunnel for fuel lines and wiring loom so I tucked and clipped the lines under the box section which is why it took a while. I had to lie on my back underneath the chassis and the holes above the propshaft I had to use a mirror to drill the those.

Screenshot_20221128-201443558.jpg

The mechanical engineers at work are always banging on about dis-similar metals and after watching the Caterham 7 episode of car SOS where the chassis had rotted out I decided not to put alloy rivets into the mild steel box section and used 3mm screws and rivnuts.


Screenshot_20221128-201450825.jpg

Next job get the fuel lines in and look at the seat mounts 😃
 

250buggys

Well-known member
Ordered my VIN plate & manufactures plate today no change from £70, I know outrageous...

Nod to Rich, every time I do this I look at your post on how to apply for a VIN, DVLA contact address and process etc. DVLA were really helpful, they sent me all the docs and a pre paid envelope which is very handy to send it all back once filled out, got my VIN within 2 weeks.

Other alternative which I tried when I built the Freestyle was to buy a set of stamps which didn't work. I tried punching into loads of scrap steel plate, it wasn't neat and looked nasty, the gap spacing was not consistent, it was a mess.... and probably illegible.

Fortunately the IVA big book of words and pictures allows you to weld a plate onto the chassis so if anyone wants a VIN plate made that will get you through the test get in contact and I will point you in the right direction. :)
 

250buggys

Well-known member
This is what they do at the factory, panels bonded onto chassis rather than drilling and riveting the chassis. I used 4 tubes of sikaflex, the chaps at work now use CT1 adhesive, might give that stuff a go on the next project 😀

317369817_818247939405942_1853637937172467196_n.jpg
 

250buggys

Well-known member
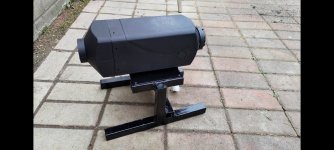
I got an Amazon voucher from work, wasn't really sure what to spend it on as I don't really use them, then I saw a review for a Chinese diesel heater so ordered one.

Screenshot_20221224-133802263.jpg

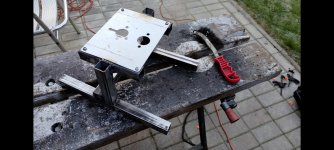
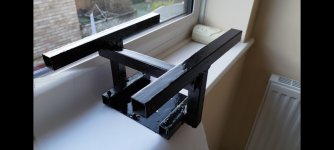
Knocked up a stand for it out of some scrap box section.

Screenshot_20221224-133748948.jpg

Lick of hammerite.

Screenshot_20221224-133735921.jpg

Should help to keep the temp up in the workshop and reduce damp, uses very little diesel and the power is supplied from solar. Once the glow plug goes out it draws less than 2 Amps.😀

Good alternative to an electric heater.
 

250buggys

Well-known member
The workshop door and window frame was rotten so replaced the wood work and swapped out the glass for 10mm acrylic. That has been needing to be done for ages. Need to get some more spray foam insulation on the inside of the roof to stop the damp but will need to pull everything out so will leave that for now.

Now the door and window are done will start to tick off some more jobs on the build.
 

250buggys

Well-known member
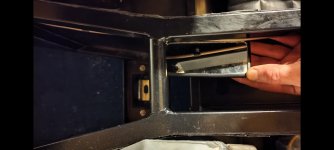
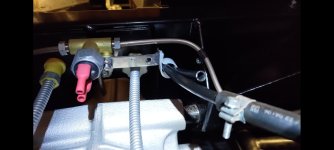
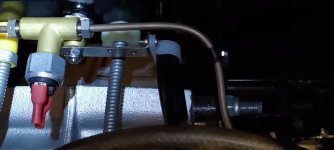
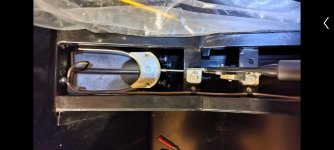
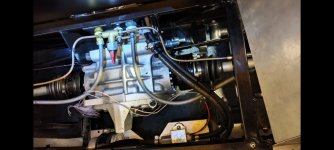
Where the hard fuel lines leave the tunnel and enter the diff area and pick up the flexible pipes was a bit of a funny transition as there are not a lot of places you can pick up on to support the lines. Looking at other Zero builds many have cable tied the fuel lines to the brake pipes which are P clipped. Not wanting to do that I made a 90 degree bracket and mounted a P clip to that for support.

Screenshot_20230122-181514356.jpg

I may change this later but It seems to do the job.

Screenshot_20230122-180329064.jpg

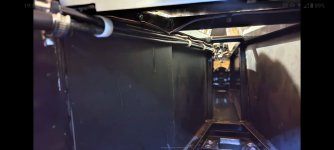
In the tunnel and on the other side of the box section which is hidden I put in some longer screws and P clipped and ran the fuel lines under where the brake lines are over the top. Not much to see but they are under the brake lines.

Screenshot_20230122-180341992.jpg

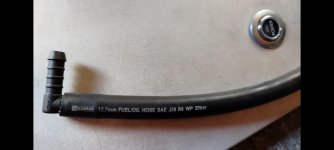
I ordered some 10 to 8mm reducers for the swirl pot connections and can then get these fuel lines finished off. Ordered some stainless jubilee clips as otherwise they rot out pretty quickly.
 

250buggys

Well-known member
Finished off the fuel lines. P clipped in the tunnel in hard pipe.

Screenshot_20230129-193846085.jpg

Return to the tank and feed from the low pressure fuel pump in flexible hose.

Screenshot_20230129-193849934.jpg


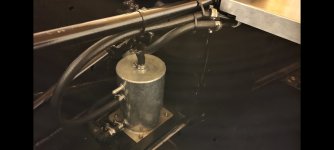
Connections made to the swirl pot, ready to fit the feed to the fuel pressure regulator and return from the rail I once the engine is back in.

Screenshot_20230129-193841816.jpg
 
Top