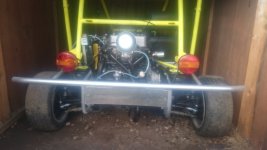
Got a Freestyle Buggy at last!

250buggys

Well-known member
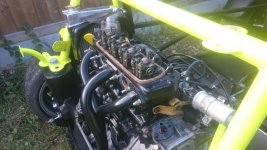
Set the valve clearances today after replacing the head gasket and fitting the cylinder head.

I previously snapped a head stud (Grrr) so replaced them all with a competition set and Payen HG, just had to wait for them to arrive... I now have a phobia of torquing up head nuts :(

Fitted the exhaust manifold along with new studs etc, gear linkage all fitted and gear selection seems OK.
thumbnail.jpg

New set of spark plugs & hope to spend some time tomorrow in order to get the rear mud guards fitted, or at least a measure up to fabricate some mounting brackets.

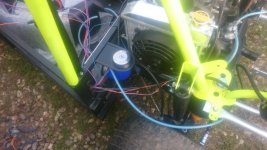
The 9 inch 12V electric fan I had was too big and fouled the fuel filler, thinking a 7 inch fan which has a 8 inch housing may also be too big. 6 inch fans seem to be hard to find but think it will be a worthwhile addition for cooling if I can find one, there must be motorbike fans out there for small rads, just need to keep trawling through ebay.

Knocked up a drawing to fabricate a centre console in Inventor, sent it off for quote. Hope to get this in and the seats back in soon.

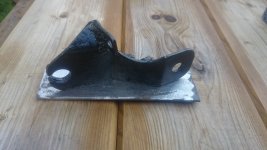
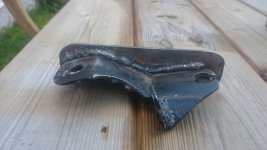
Noted Alan's comments on the forum recently to another member about beefing up the hand brake cable brackets so they don't flex under loading. Removed these and will strengthen before re-fitting, this expert knowledge really helps novice builders.
 

250buggys

Well-known member
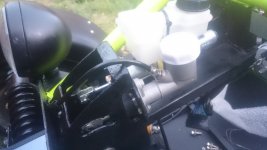
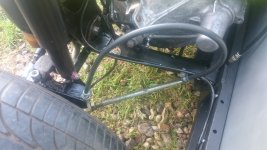
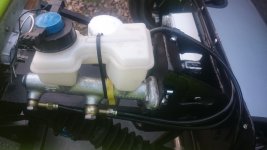
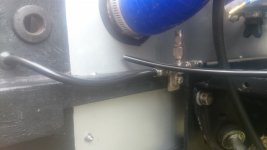
Ran the pipe for the clutch between master & slave cylinders.

DSC_0646.JPG

Clipped it from front to back, lots of drilling & riveting.

DSC_0647.JPG

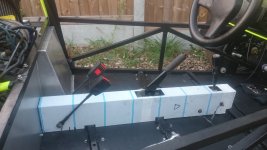
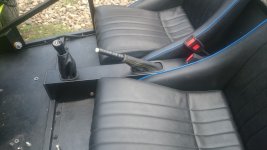
Made a start on fitting the centre console, fits in between the seats nicely.

DSC_0648.JPG
 

250buggys

Well-known member
Holes drilled, just need some nice leather gaitors now for the hand brake and gear levers. Will probably trim this in black vinyl.

DSC_0653.JPG
 

250buggys

Well-known member
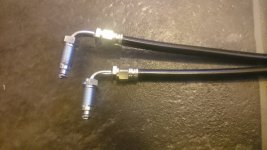
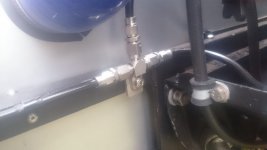
Fitted the braided hose fitting to the flexi pipe, finished clipping the clutch line and bled the system, now have a working clutch ;D

DSC_0655.JPG

Beefed up the hand brake brackets by doubling the thickness of the steel where I could. The restriction is where it mounts on the ball joint, have to also get the mud guard bracket on the studded part. Will test for flex when yanking on the hand brake, hopefully it won't but if it does I can beef it up there and possibly use a half nut to secure.

DSC_0680.JPG

Then some paint.

DSC_0670.JPG
 

250buggys

Well-known member
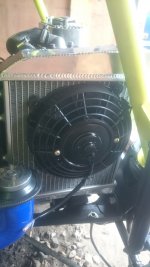
Found an electric fan that would give me the clearance I needed around the fuel filler neck bracket and fitted that. Can always revert back to the 9 inch fan with the extinguisher fuel tank as the bracket I made just unbolts.

DSC_0689.JPG

Last look at the shiny centre console, before I trim it in black vinyl.

DSC_0691.JPG
 

250buggys

Well-known member
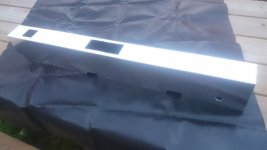
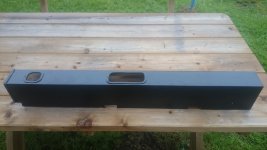
Trimmed up the centre console and added some edge trim, all ready to fit.

DSC_0830.JPG

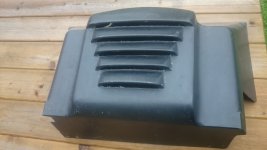
Got hold of an engine cover, big thanks to Mr Waggon :)

DSC_0828.JPG

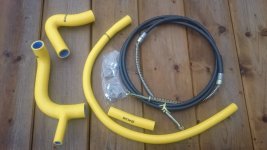
Ordered a set of silicone rad hoses and a new hand brake cable.

DSC_0829.JPG
 

250buggys

Well-known member
Dug out some 4mm mild steel and had another look at the hand brake brackets.

DSC_0837.JPG

Made a good strong job this time and shouldn't flex if Mr IVA is a hard yanker...

DSC_0838.JPG

Don't like this dark at 4pm now very much but managed to get a coat of hammerite on also.
 

250buggys

Well-known member
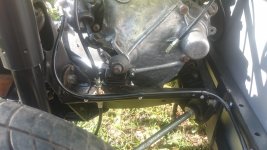
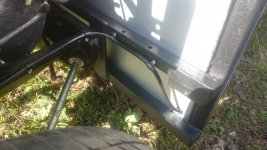
Fitted the hand brake brackets and cable, clipped the cable to the sub frame and adjusted it up. Now have a working hand brake :) no more chocks of wood under the wheels.

DSC_0844.JPG

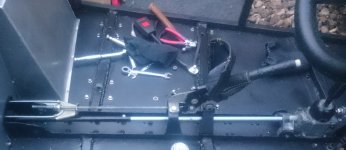
I spun the gear stick 180 degrees by knocking out the pins and swapping them over, the long one is the locator and lines up with the flat on the gear stick. This is really good now it should be well clear of my leg.

DSC_0852.JPG

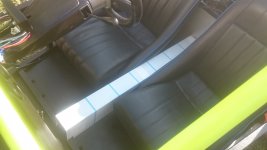
Fitted the centre console which tidies it all up.

DSC_0863.JPG

My assigned VIN arrived in the post this week. I think the DVLA are getting more efficient, almost two weeks to the day from when I sent the letter off to me receiving it. Big thanks to Rich who supplied all the necessary info on how to get one in his post he did a while ago.

Next job running all the brake lines then fitting the rear mud guards.
 

250buggys

Well-known member
Had a go at making a VIN plate, 1st attempt was pretty unsuccessful...

I bought a cheap letter/number punch kit from ebay, what can you expect for £8?...not much to be exact!

I clamped up a piece of 1.5mm steel plate which I intended on welding to the chassis.

The auto puncher didn't do much to the steel and was probably better suited to aluminium (which most engine numbers seem to be made from) so I resorted to using a hammer which worked much better but was very difficult to get the spacing between characters and getting them all vertically lined up was impossible as the punch edge was not in line with the character, you kind of had to rotate it a bit and hope for a good outcome. I couldn't even make a jig for this as each letter seems to be in a different place in relation to the flat.

I have 17 characters to add to my plate so with a bit of practice, plenty of time and an infinite amount of sheet steel I could probably knock one up but I think I will just order one from mini spares...
 

250buggys

Well-known member
It was only a couple of degrees when I wheeled the buggy out to work on it. So cold that the brake fittings wouldn't go over the ends of the hoses, had to take them indoors to get some heat into them. At least the sun was out to help with motivation.

DSC_0642.JPG

Ran the hoses from the master cylinder to the front and back clipping along the way. Just waiting for my swivel ends and tees to turn up in the post and then I can finish that off.

DSC_0638.JPG

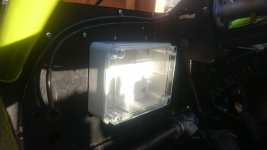
I installed an IP rated enclosure to house the electronics, relays fuse box etc.

DSC_0633.JPG
 

250buggys

Well-known member
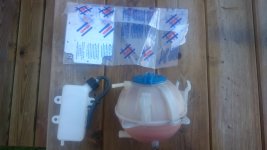
A few bits turned up during the week. Mounting plate for electronics enclosure, expansion tank for cooling system and vented container for the rad.

DSC_0648.JPG

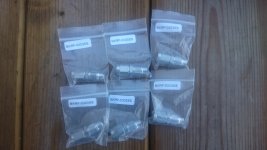
I really want to get the brake lines all finished before I move on, the swivel end fittings turned up but not the tee pieces so had to put that job on hold for now.

DSC_0647.JPG

The cover Max recommended turned up also, that will help to keep the dust off and is a really good fit :)
 

250buggys

Well-known member
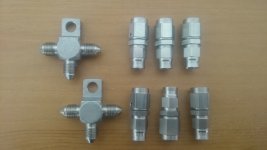
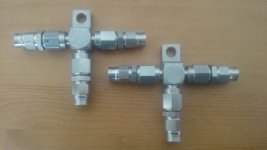
My nice stainless tee pieces for my brake lines turned up but it's difficult to get motivated when it's minus 2. :)

DSC_0747.JPG

Well jel of Waggon's workshop!

DSC_0746.JPG
 

250buggys

Well-known member
Had a buggy day today, fitted rear brake tee.

DSC_0831.JPG

Fitted swivel ends to hoses, had to remove fuel filler assembly and alternator so I could get the drill in and rivet gun for the hose clips.

Could have done with another hour of daylight, when I had finished it was too dark to take any more pics.
 

250buggys

Well-known member
Rear brakes all connected.

DSC_0851.JPG

Also clipped in.

DSC_0847.JPG

DSC_0844.JPG

Just need to get on and do the same with the front & get the system bled.

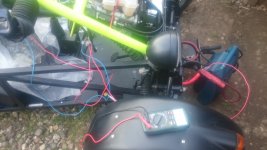
Fitted the stater solenoid, (knocked a small job off the list) while it was raining and now I can measure up for my battery lead, get terminals crimped on and get that fitted also.
 

250buggys

Well-known member
Despite all the rubbish cold weather lately I have been out most weekends tinkering away on the buggy and have even managed to steal an hour or so after work as the evenings are getting lighter.

Finished off the brake lines, fitted the front tee to the chassis and bled the system. I now have a brake pedal, there is a small weep from the master cylinder on the front circuit but the back is fine. It is leaking from the banjo connection, I think/hope it is just the copper washer which I have some spares and hope to have a look and get this sorted tomorrow. I bought one of those Gunson easy-bleed one man kits and it worked a real treat, I didn't bother using it with the clutch as it is easy to poke the pedal and adjust the bleed screw on the buggy. It saves a load of messing about and as it pressurises the system it is soon apparent if you have any leaks.

Some of the other jobs I have been doing are:

Fitted a plate to mount the number plate and light on

DSC_1005.JPG

I also ran the big fat wire from the battery to the starter solenoid and drilled the fire wall and installed grommets. I now know why most people locate the battery at the back as I had to wrestle that in, but now it is in.

I have started to run the wires for the loom and hoses for the fuel system.

DSC_1013.JPG

Cables and pipes everywhere...

DSC_1014.JPG

The engine now turns over on the ignition switch but I want to finish the loom before I fill up the tank I had fabricated, I still have the old extinguisher tank so may run the engine up with that to test for now but still have plenty of other jobs to get ticked off.

I have all my relays, connectors and bits for the wiring so hope to move on with the electrical system and progress that.
 

250buggys

Well-known member
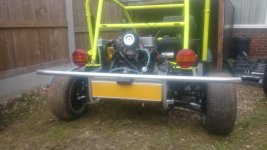
Fitted the number plate, light and surround today.

DSC_1018.JPG

Also fitted 2 new copper washers to the 10mm banjo bolt and that cured the leak I had. It is difficult to get those washers centred nicely but sorted now.

I jacked up the buggy and tested each wheel with the brake pedal down, the fronts work well but the rear off side still rotates, (WTF) the rear near side seems OK. Got the bleeding kit out again to make sure there was no air in the system and all seems to be ok. Will have to investigate further. I hope I don't have to move the tee piece to be more central...

Will knock up a list of jobs left to do and start ticking them off, although it is mainly wiring now. Really looking forward to this stage as the end of the build is now in sight.

Was thinking earlier what a great little project this is as before I had never done any welding, bled brakes, replaced head gaskets and oil seals, torqued up head bolts or designed and modelled items to be fabricated. Really pleased so far and can't wait to get this buggy on the road and start knocking up some miles...
 

250buggys

Well-known member
Typical bank holiday weekend weather, yep rain, rain and more rain... Garden is looking like Glastonbury!

Decided to give the neighbours a treat and went for an engine start today, first start since the engine went back in after the overhaul.

https://youtu.be/og4oZ8BsJ_4

Took a while before it ticked over on its own, moved the distributor housing about to advanced and retard the ignition timing until it sounded a bit sweeter. Will need to get this set up properly.

Need to get the silencer sorted out before someone starts complaining... :)
 
Top