You are using an out of date browser. It may not display this or other websites correctly.
You should upgrade or use an alternative browser.
You should upgrade or use an alternative browser.
Got a Freestyle Buggy at last!
- Thread starter 250buggys
- Start date
250buggys
Well-known member
The plan for today was to have a look at the brakes but it was chucking it down (really need to get a garage) so I dug out some scrap steel and made some brackets to secure the upper nose cone in place.
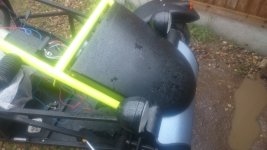
Definitely not quick release but should be nice and strong, just need to add another fixing or two at the front.
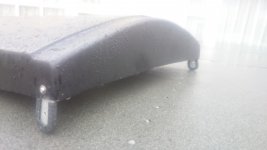
Was going to have a look at mounting the engine cover but the rain just got heavier and put paid to that for the day.

Definitely not quick release but should be nice and strong, just need to add another fixing or two at the front.

Was going to have a look at mounting the engine cover but the rain just got heavier and put paid to that for the day.
250buggys
Well-known member
Drilled some holes in the electrical enclosure and fitted some cable glands, bedded them in with some silicone to prevent water ingress. Made a mounting plate to fit inside.
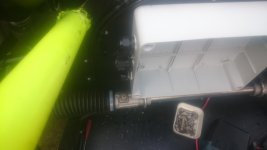
Went around swapping out lamps for LEDs, should keep a bit of power in the battery.
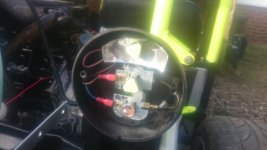
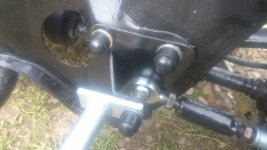
Whipped the wheel hub off to investigate why the brake wasn't working on the off side rear and found fluid escaping.
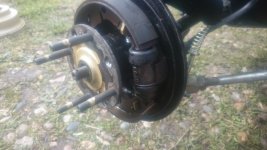
I guess you can refurb but ordered a new wheel slave.

Went around swapping out lamps for LEDs, should keep a bit of power in the battery.

Whipped the wheel hub off to investigate why the brake wasn't working on the off side rear and found fluid escaping.

I guess you can refurb but ordered a new wheel slave.
250buggys
Well-known member
250buggys
Well-known member
Fitted the silencer and the old fuel tank so I could run it up and make sure it wasn't blowing. Just need to make some hangers to take the weight of the back box.
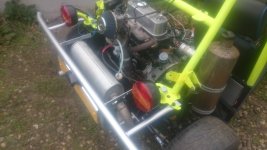
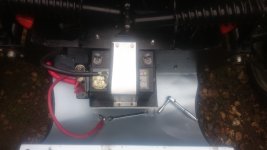
Wired in the live from the battery to the fuse box, fitting boots along the way.
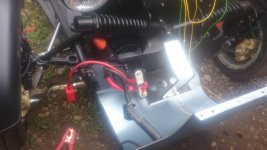
Wired the ignition switch to the fuse box and engine starts as it should, not sure the alternator is doing much. Both gauges now working, water temp and revs.
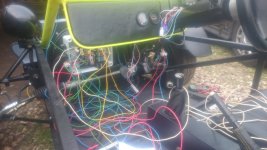
Hopefully I should be able to wire the rest of the systems fairly quickly as I ordered one of the CBS wiring modules.

Wired in the live from the battery to the fuse box, fitting boots along the way.

Wired the ignition switch to the fuse box and engine starts as it should, not sure the alternator is doing much. Both gauges now working, water temp and revs.

Hopefully I should be able to wire the rest of the systems fairly quickly as I ordered one of the CBS wiring modules.
250buggys
Well-known member
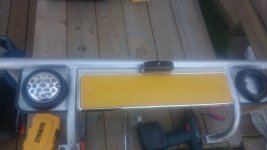
The LED fog and reverse lights I ordered turned up.
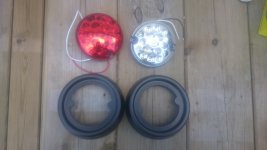
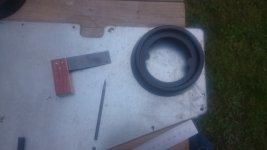
So I started to mark out some sheet steel for mounting them to the bumper.
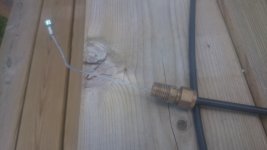
Started to fit the throttle cable I have but the end is well chewed up and needs to be replaced. The bulkhead end has a tapered connection. Can anyone please confirm where I can get another one of these?

So I started to mark out some sheet steel for mounting them to the bumper.

Started to fit the throttle cable I have but the end is well chewed up and needs to be replaced. The bulkhead end has a tapered connection. Can anyone please confirm where I can get another one of these?

250buggys
Well-known member
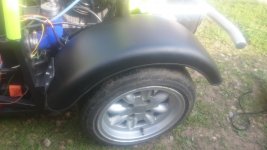
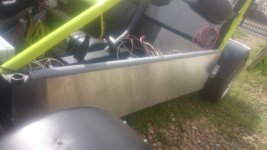
Fitted the 2nd rear wheel arch, spent a good while adjusting it before I drilled the holes and bolted it on due to (OCD) getting the gap right to match the other side.
Hand brake was binding a bit so whipped off the centre console and adjusted that.
My crimps have turned up now so can crack on with the wiring now.

Hand brake was binding a bit so whipped off the centre console and adjusted that.
My crimps have turned up now so can crack on with the wiring now.
250buggys
Well-known member
250buggys
Well-known member
Cut some pipe and fitted it over the top of the box section. Nasty grey colour, will paint this black at some point.
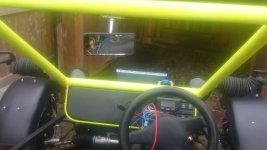
Made up a bracket for the rear view mirror, previously had this fitted to the cross bar and the mirror was too in your face so hopefully now this will work better.
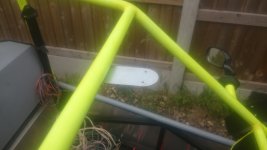
Again this will see some paint at some point.
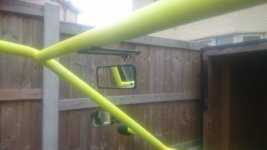

Made up a bracket for the rear view mirror, previously had this fitted to the cross bar and the mirror was too in your face so hopefully now this will work better.

Again this will see some paint at some point.

250buggys
Well-known member
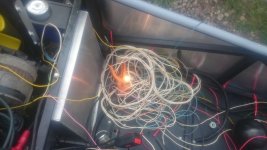
Ordered some parts for the buggy but nothing that interesting turned up in the post today, so I wired up a lamp to test the alternator and when I started the engine it went out. Also stuck a meter across the battery terminals to verify.
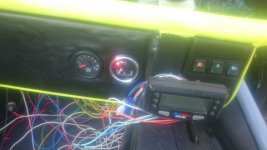
Oil pressure light and temp gauge working also.
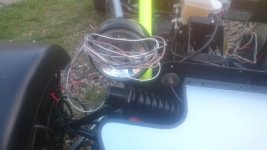
Spent the rest of the evening soldering on the tails to the head light connecters ready to wire up to the switch gear.

Oil pressure light and temp gauge working also.

Spent the rest of the evening soldering on the tails to the head light connecters ready to wire up to the switch gear.

250buggys
Well-known member
250buggys
Well-known member
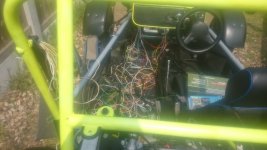
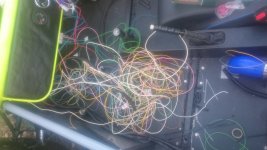
The wiring saga continues...
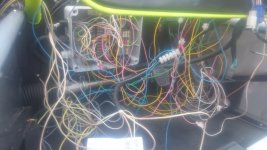
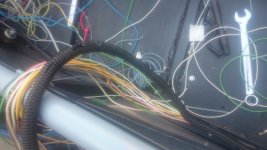
It's not as bad as it looks, I counted 15 cores from rear to fuse box and I recon I could have done with one less for the Acewell. Was going to add a spare or two just in case for future improvements but decided against that as the conduit was fairly stuffed. Lucky the 17th edition doesn't apply to buggies!
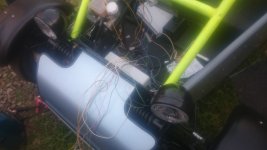
Recon I'll need a couple more days to get the lights and switch gear all wired in but at least all the pulling has been done, Could have done most of the LED wiring in 0.5 CSA but got a bunch of 0.75 CSA FOC.
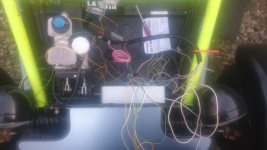

It's not as bad as it looks, I counted 15 cores from rear to fuse box and I recon I could have done with one less for the Acewell. Was going to add a spare or two just in case for future improvements but decided against that as the conduit was fairly stuffed. Lucky the 17th edition doesn't apply to buggies!

Recon I'll need a couple more days to get the lights and switch gear all wired in but at least all the pulling has been done, Could have done most of the LED wiring in 0.5 CSA but got a bunch of 0.75 CSA FOC.

250buggys
Well-known member
It was 25 degrees here today so didn't feel like doing too much to the buggy under that sun although I did manage to get some paint on the rear view mirror bracket
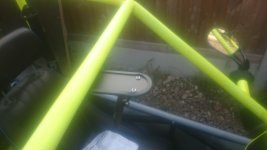
Also fitted the horn, stared fitting it behind the nose cone then realised I would need to run the poz through the bulkhead and grommet it with dedicated conduit so decided to tuck it just above the steering column with easy access to a poz and neg and can share the conduit run for the switch gear.
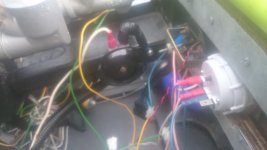
When I tested the horn all the dogs in the road started to bark.

Also fitted the horn, stared fitting it behind the nose cone then realised I would need to run the poz through the bulkhead and grommet it with dedicated conduit so decided to tuck it just above the steering column with easy access to a poz and neg and can share the conduit run for the switch gear.

When I tested the horn all the dogs in the road started to bark.
250buggys
Well-known member
Have been busy pig-tailing and crimping.
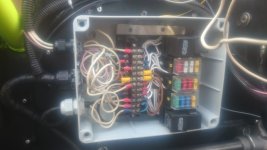
After I took this pic I finished off the last 3 connections and now have a fully populated distribution board.
It was disappointing to find the CBS wiring module didn’t come with any relays for the lights, I guess they seem to think it is acceptable to wire the lights in series with the switch gear resulting in running higher gauge wire in the loom and suffering with the voltage drop.
I knocked up a circuit with a couple of relays in for the main and high beam, just need to shoe horn this into the enclosure.
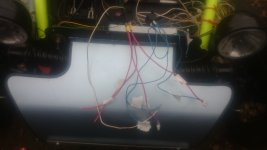
There were a few things I had to fudge to get the CBS wiring module to work the way I want it to due to the pre-wiring when it was put together. Looking at my post earlier everyone else had the same probs. I will need to re-visit this with the meter to make sure the fuses are protecting the right circuits.

After I took this pic I finished off the last 3 connections and now have a fully populated distribution board.
It was disappointing to find the CBS wiring module didn’t come with any relays for the lights, I guess they seem to think it is acceptable to wire the lights in series with the switch gear resulting in running higher gauge wire in the loom and suffering with the voltage drop.
I knocked up a circuit with a couple of relays in for the main and high beam, just need to shoe horn this into the enclosure.

There were a few things I had to fudge to get the CBS wiring module to work the way I want it to due to the pre-wiring when it was put together. Looking at my post earlier everyone else had the same probs. I will need to re-visit this with the meter to make sure the fuses are protecting the right circuits.
250buggys
Well-known member
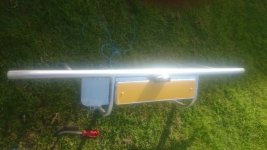
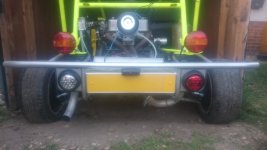
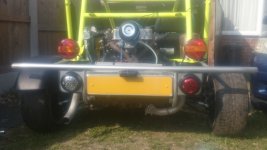
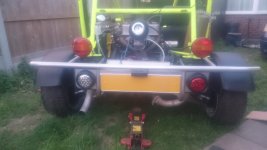
I fitted the rear number plate and was fairly pleased with that, I bought 2 number plate surrounds but it won't fit flush on the front lower nose panel. I tried fitting just the number plate to the nose but it is not supported very well at all and will most likely be a non compliance with Mr IVA, although I could find no reference to front number plate mounting but there is a section on the rear plate.
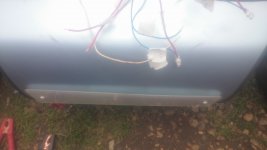
I have been thinking about this a fair bit wondering what to do, whether I could make something up. Looking at other cars all the bumpers have a nice flat recess to mount the plate.
I was pulling out of the car park at work and one of the guys had an early MX5 and this has a curved bumper with a number plate mounting plinth that I recon will fit my Freestyle nose.
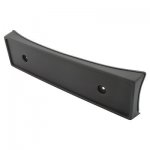
Just need to get down to the local scrap yard and see if they have one

I have been thinking about this a fair bit wondering what to do, whether I could make something up. Looking at other cars all the bumpers have a nice flat recess to mount the plate.
I was pulling out of the car park at work and one of the guys had an early MX5 and this has a curved bumper with a number plate mounting plinth that I recon will fit my Freestyle nose.

Just need to get down to the local scrap yard and see if they have one

