Mary's Back!!

Steves2580

New member
Hi there,

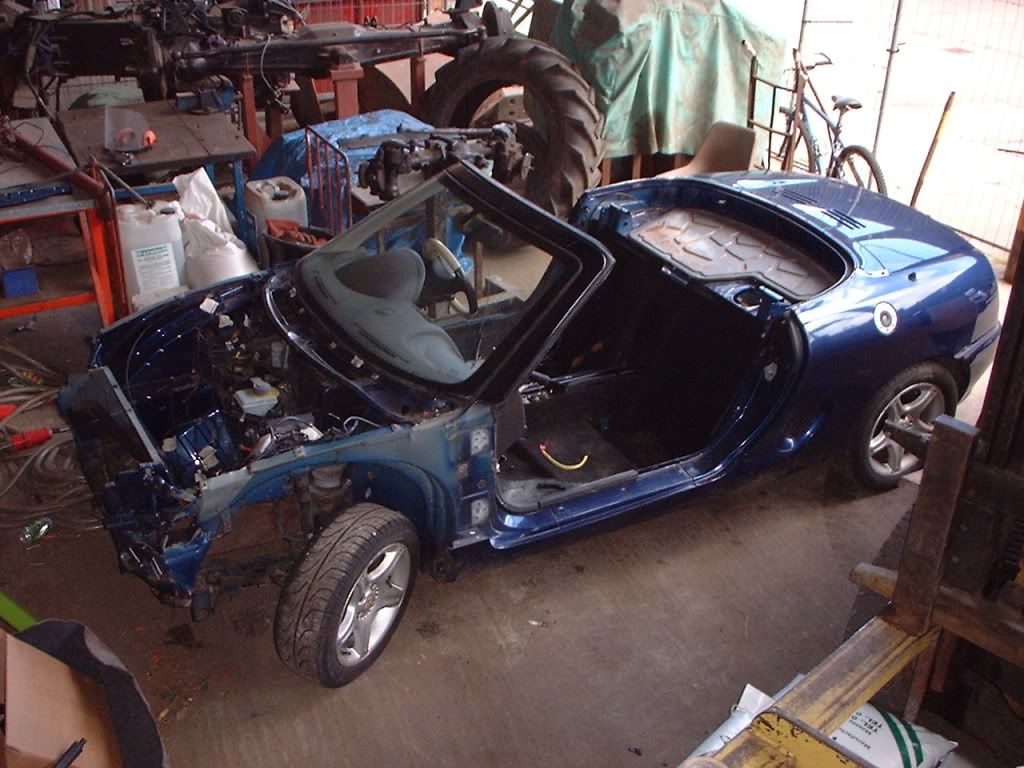
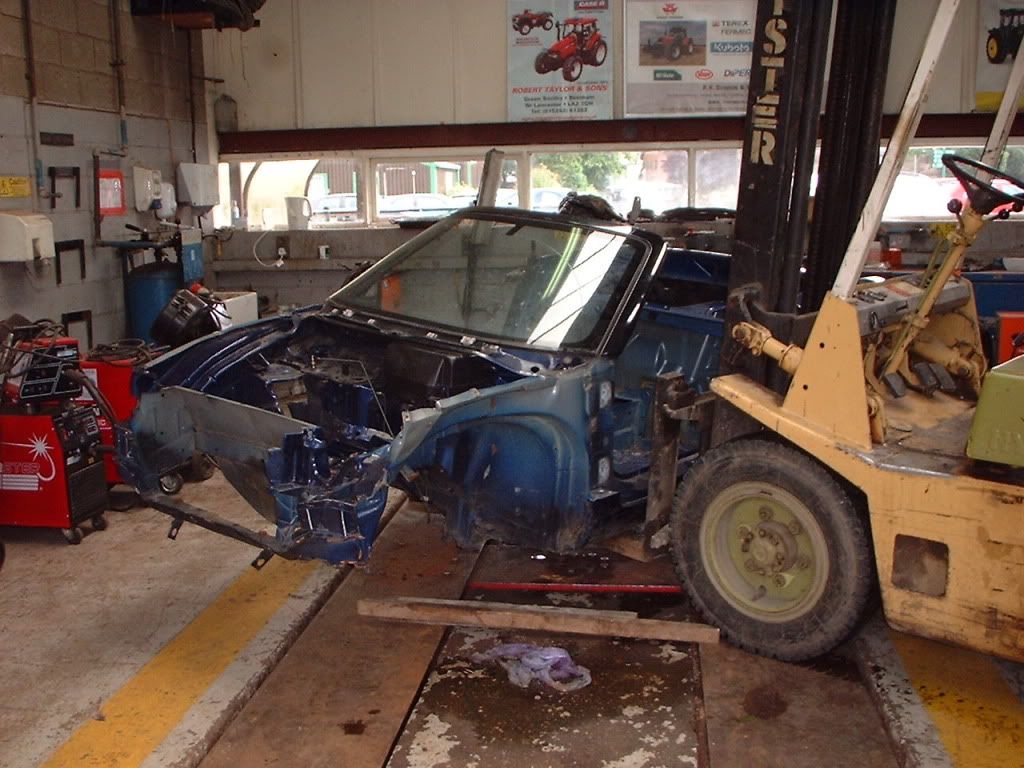
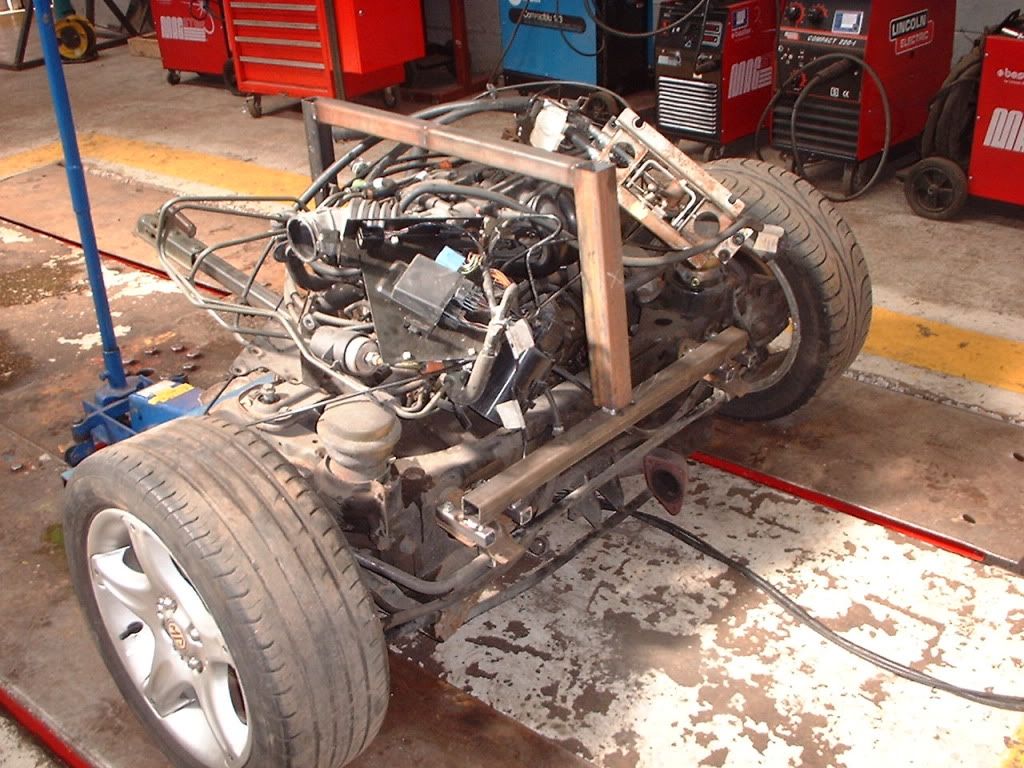
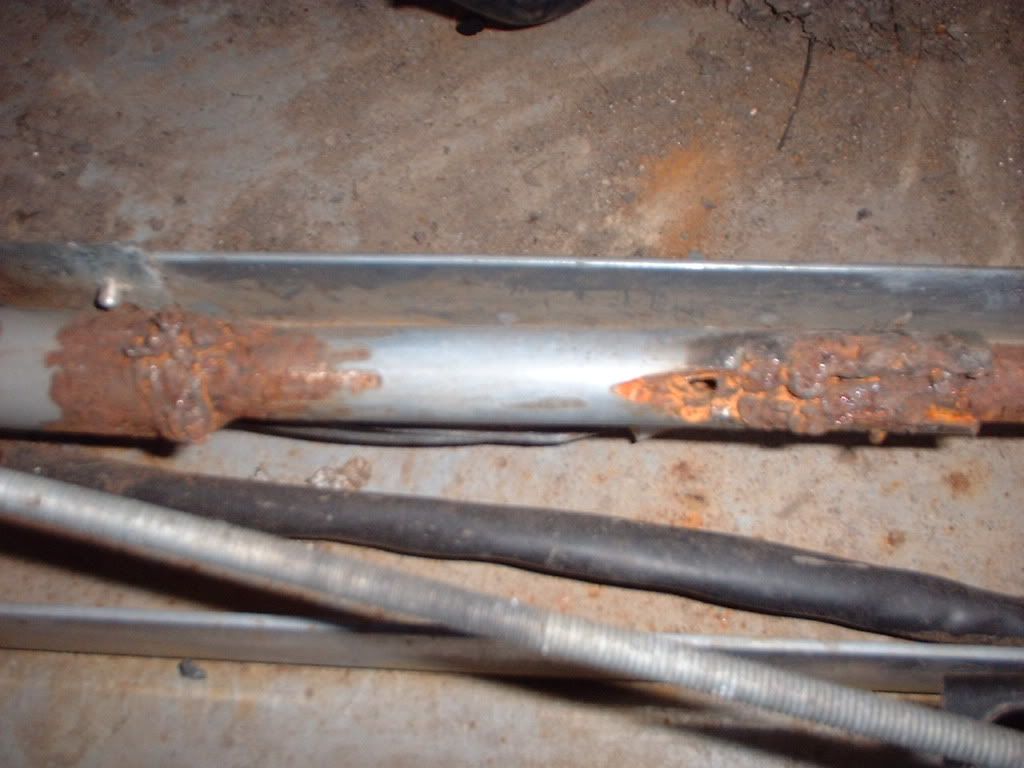
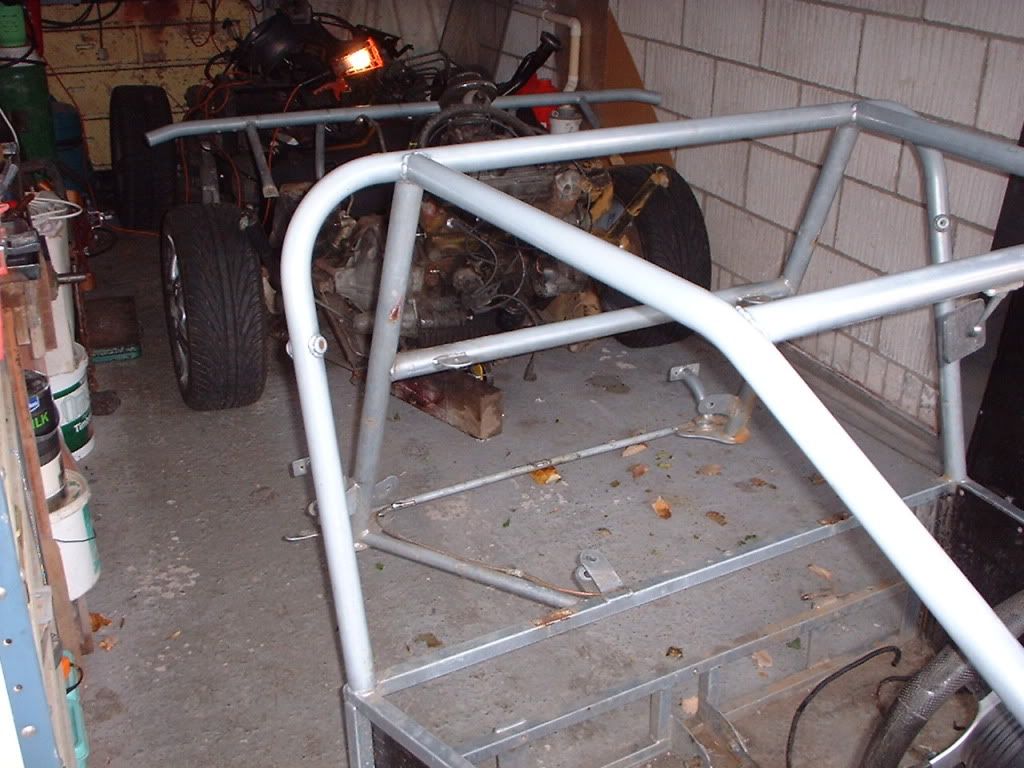
Mary's back and is needing a little TLC

DSCF0010.jpg


I picked her up on the 15th December, bought things for her but not fitted anything yet!!
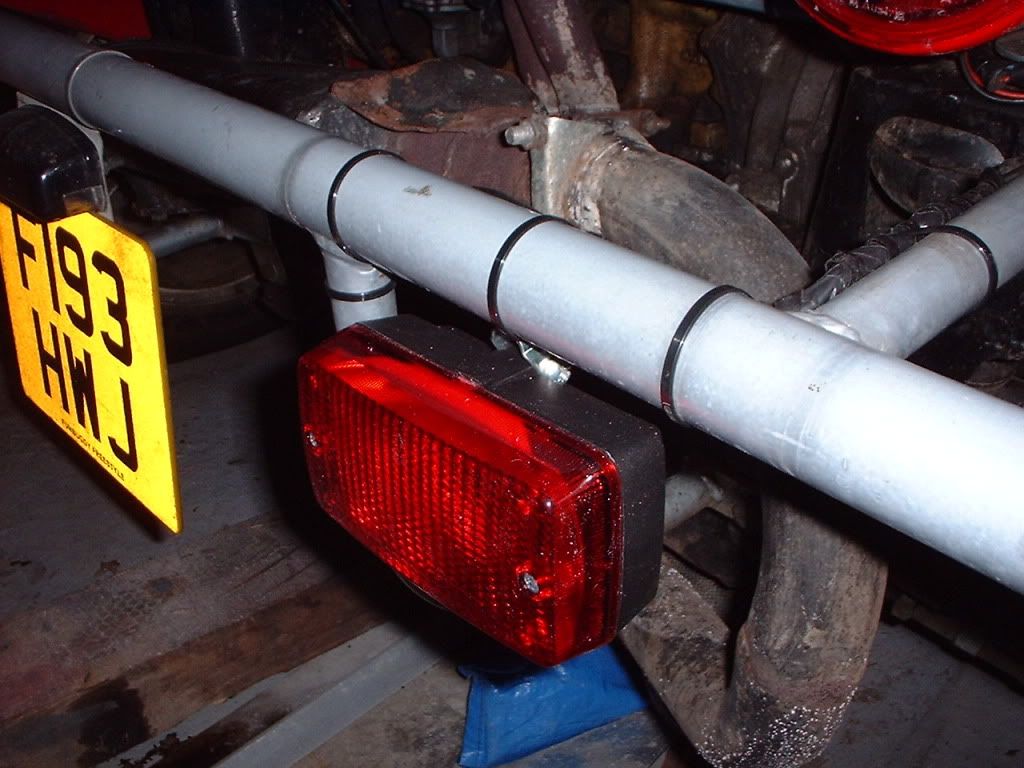
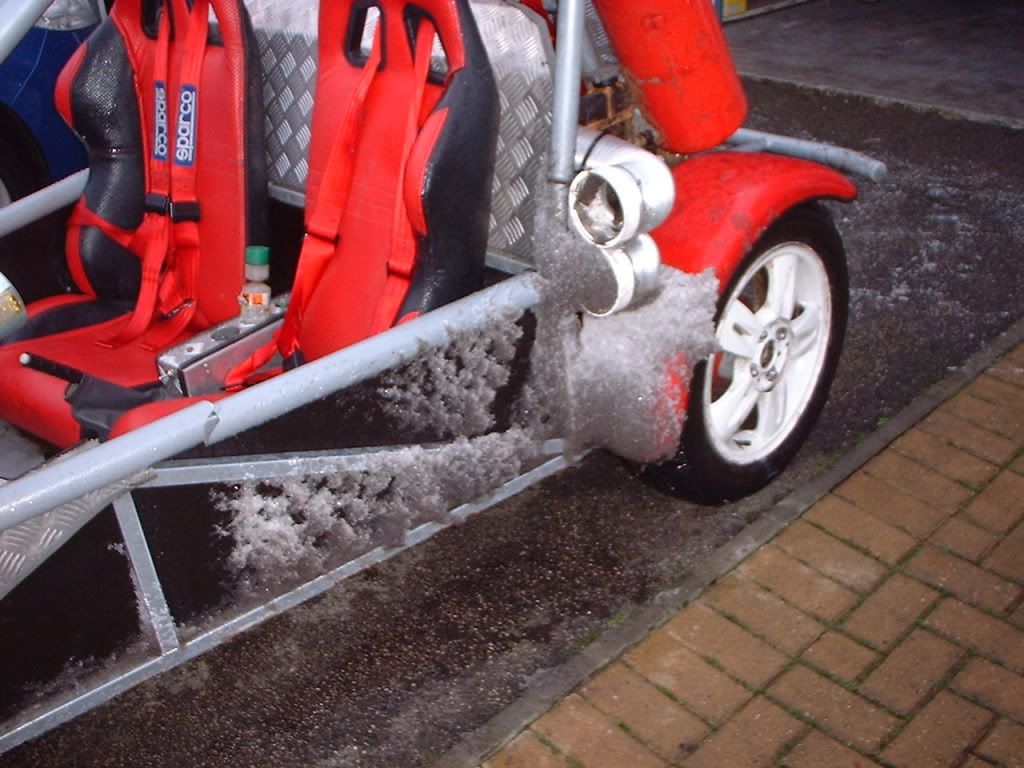
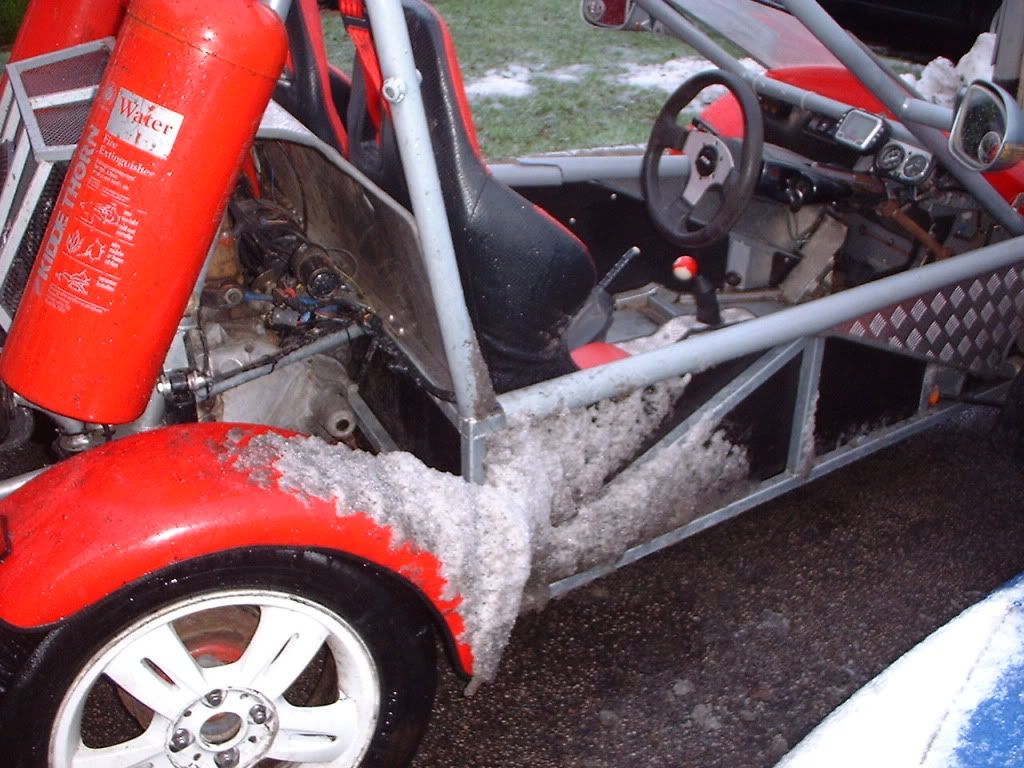
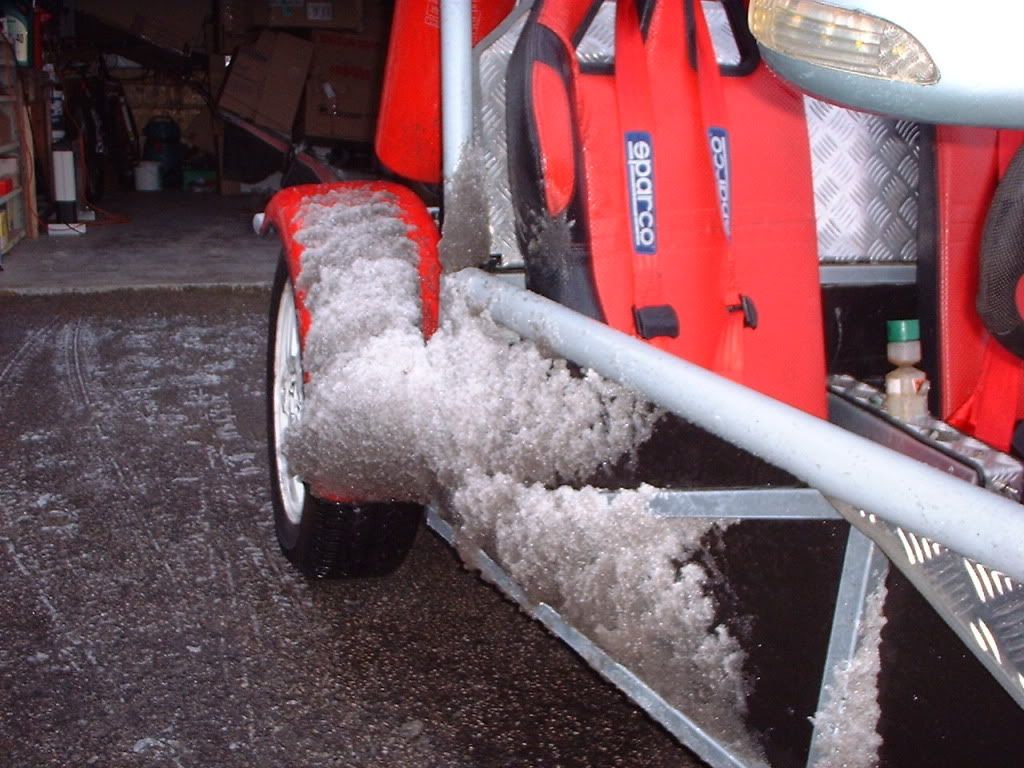
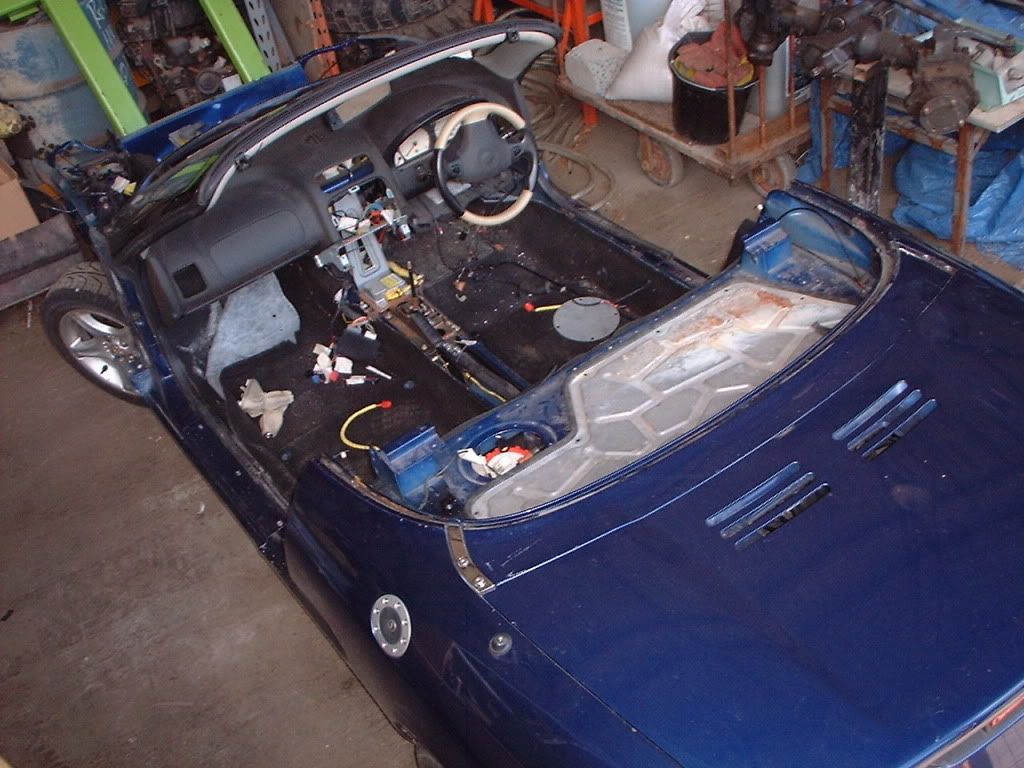
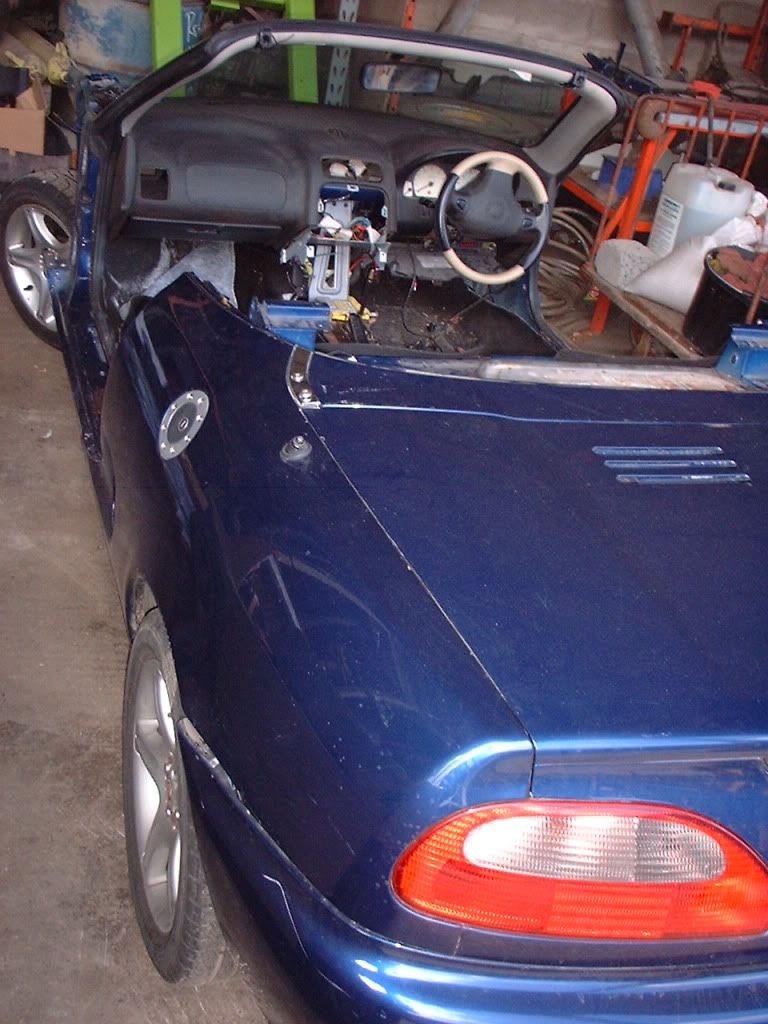
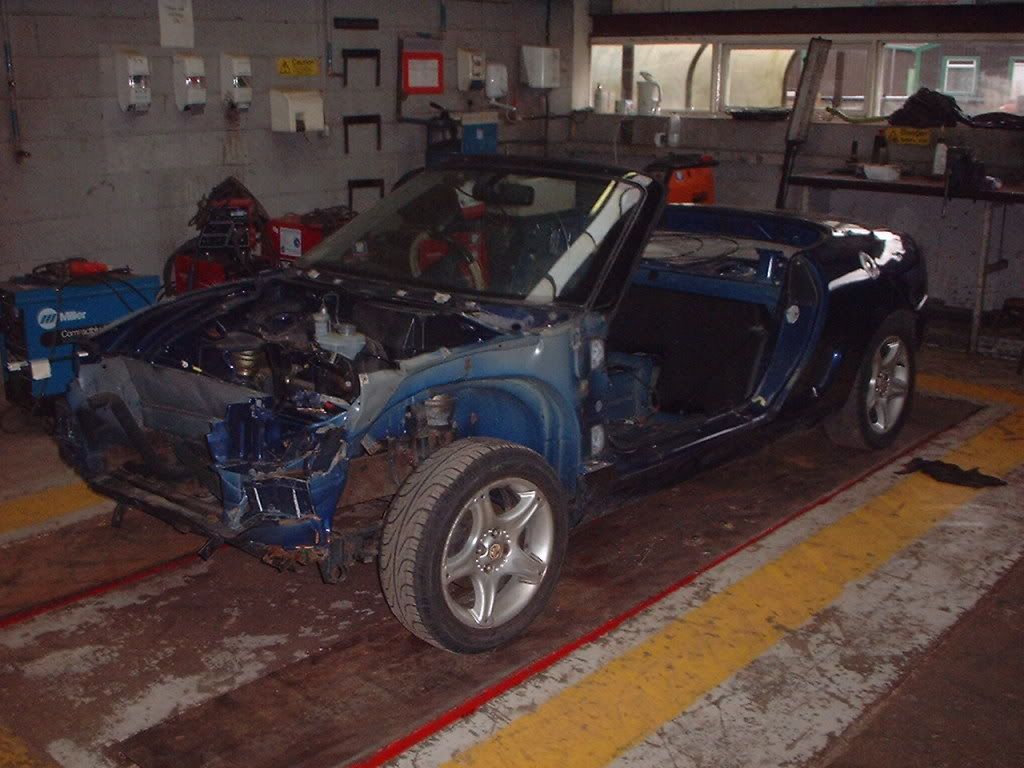
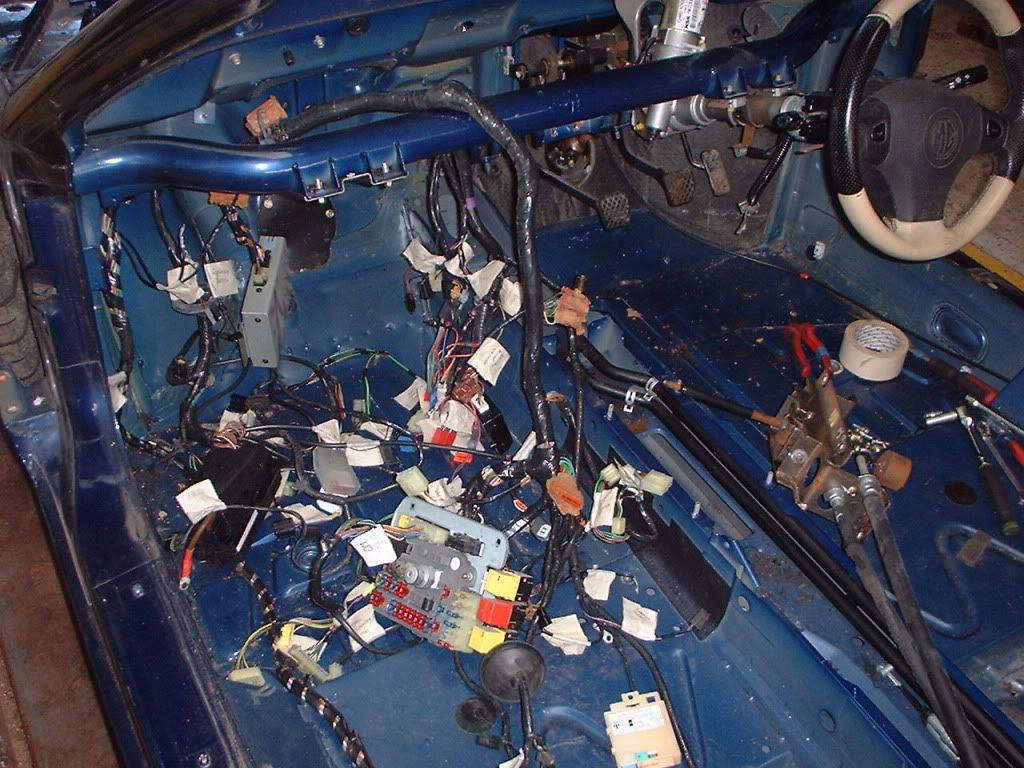
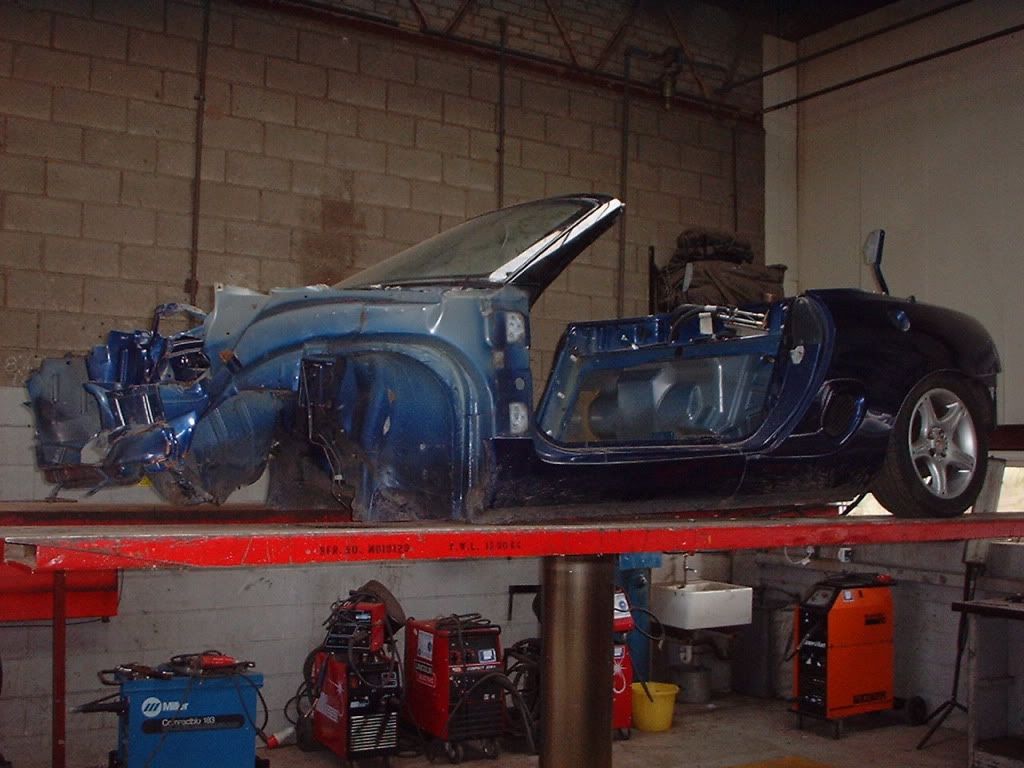
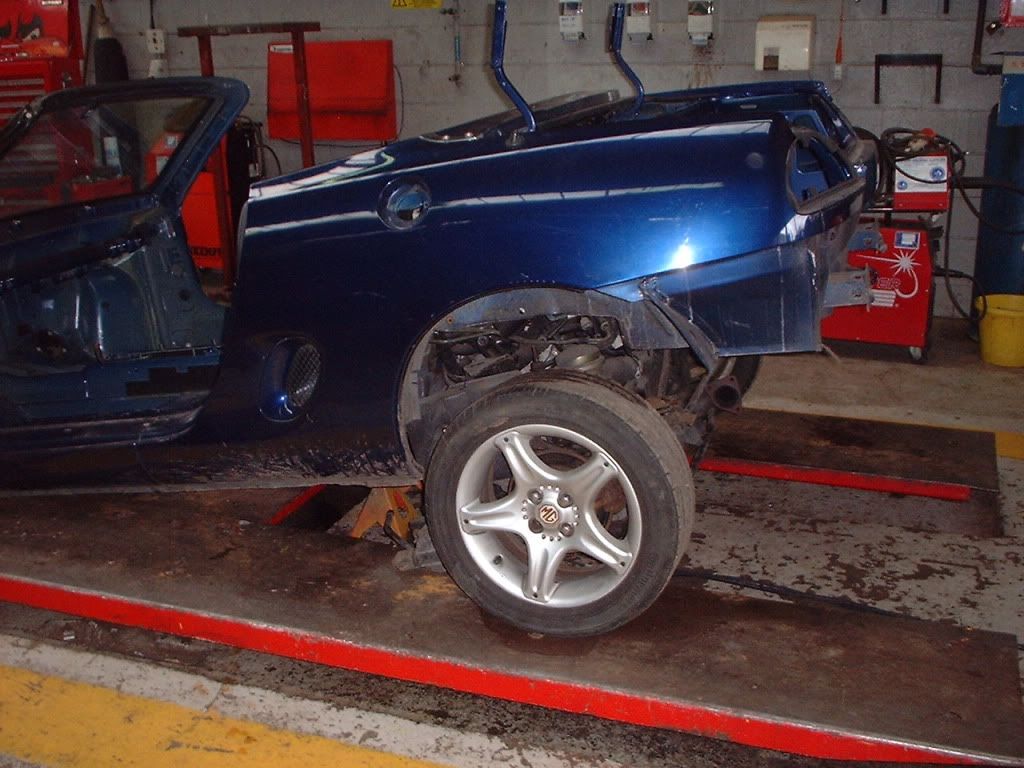
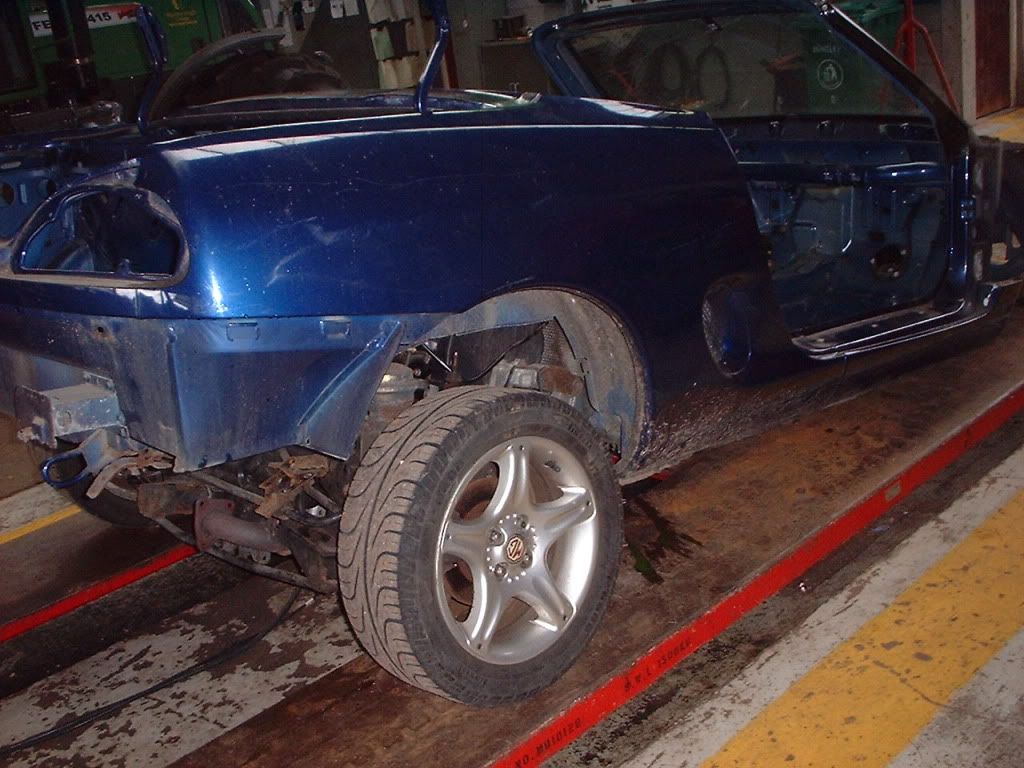
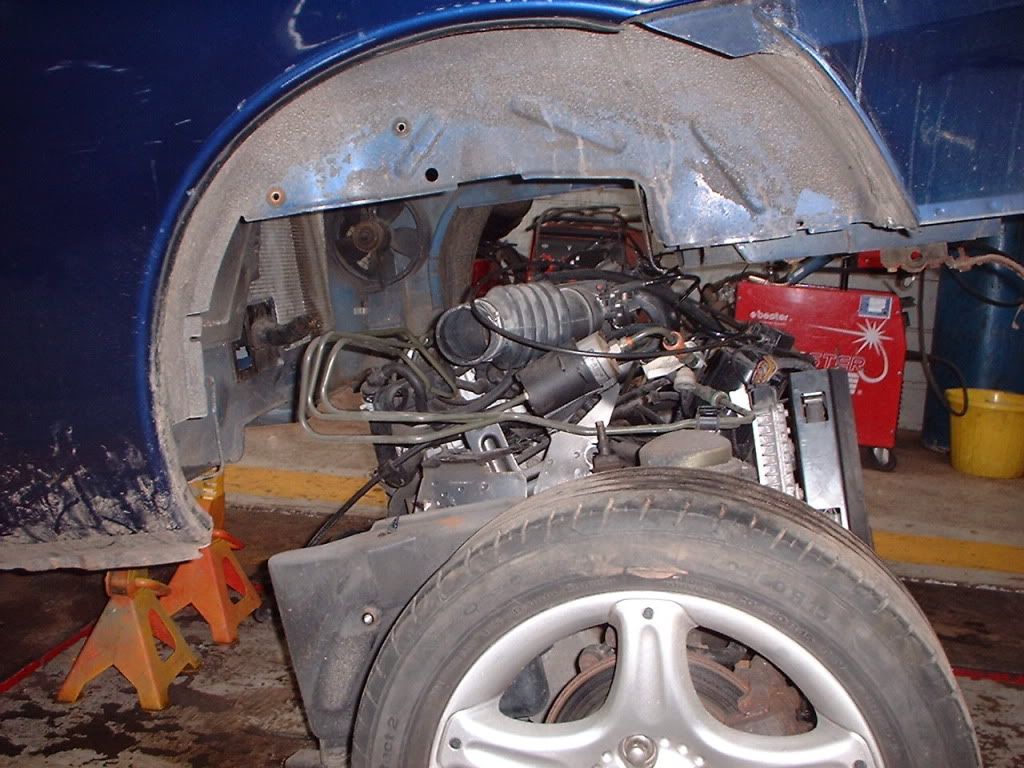
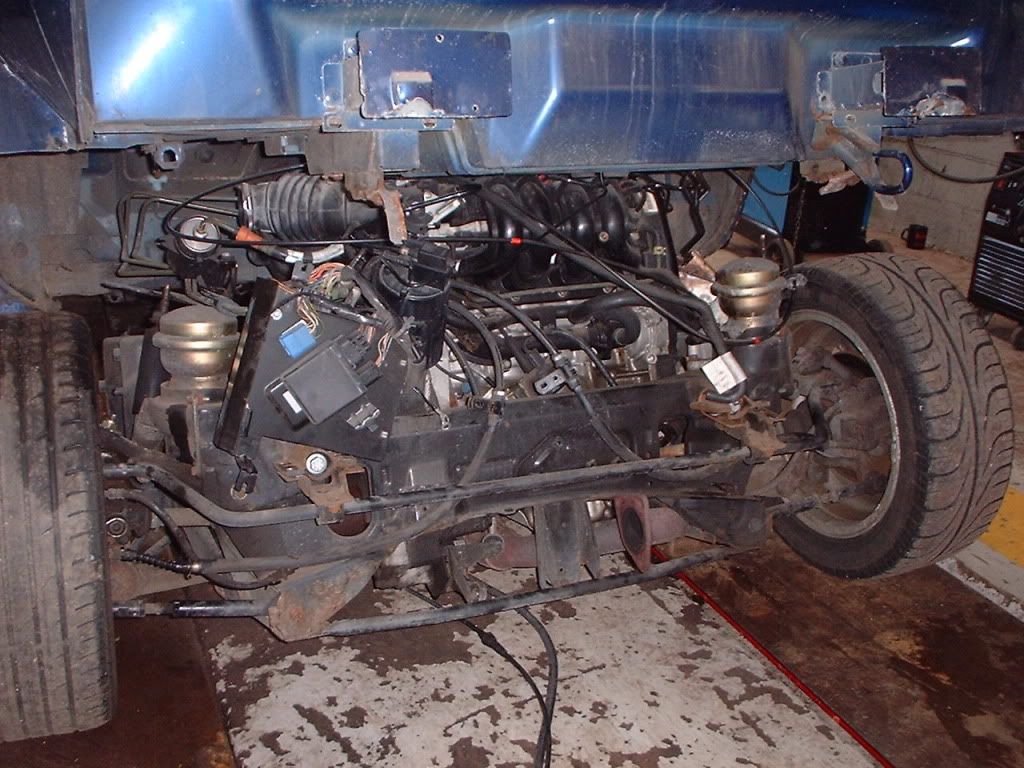
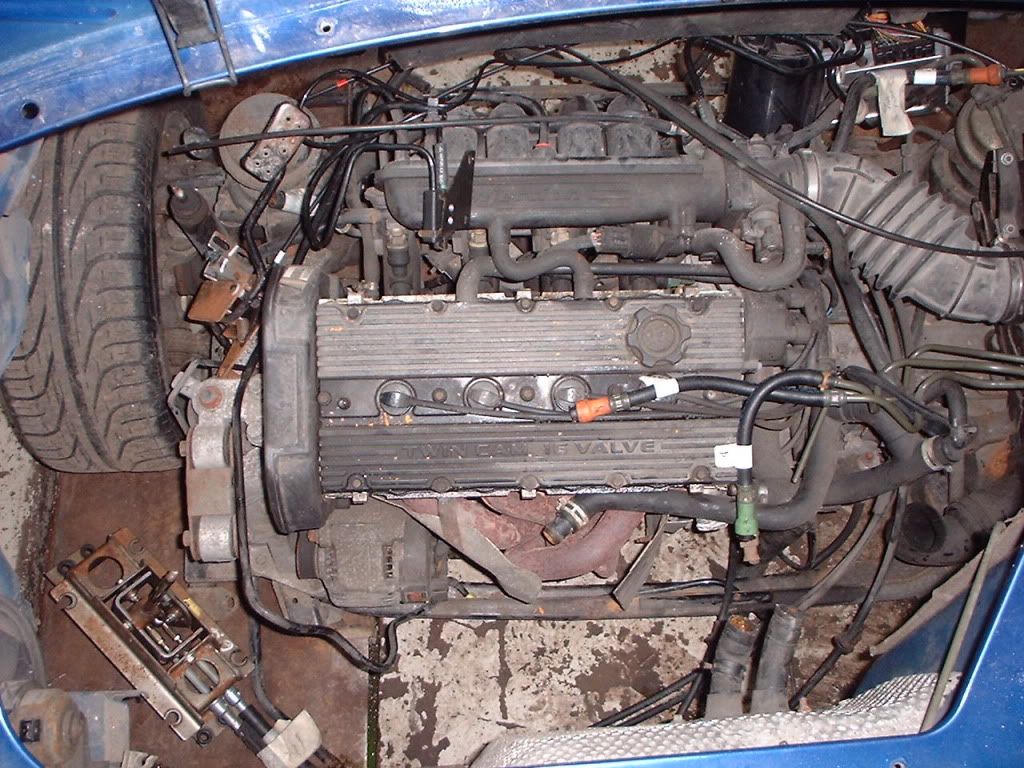
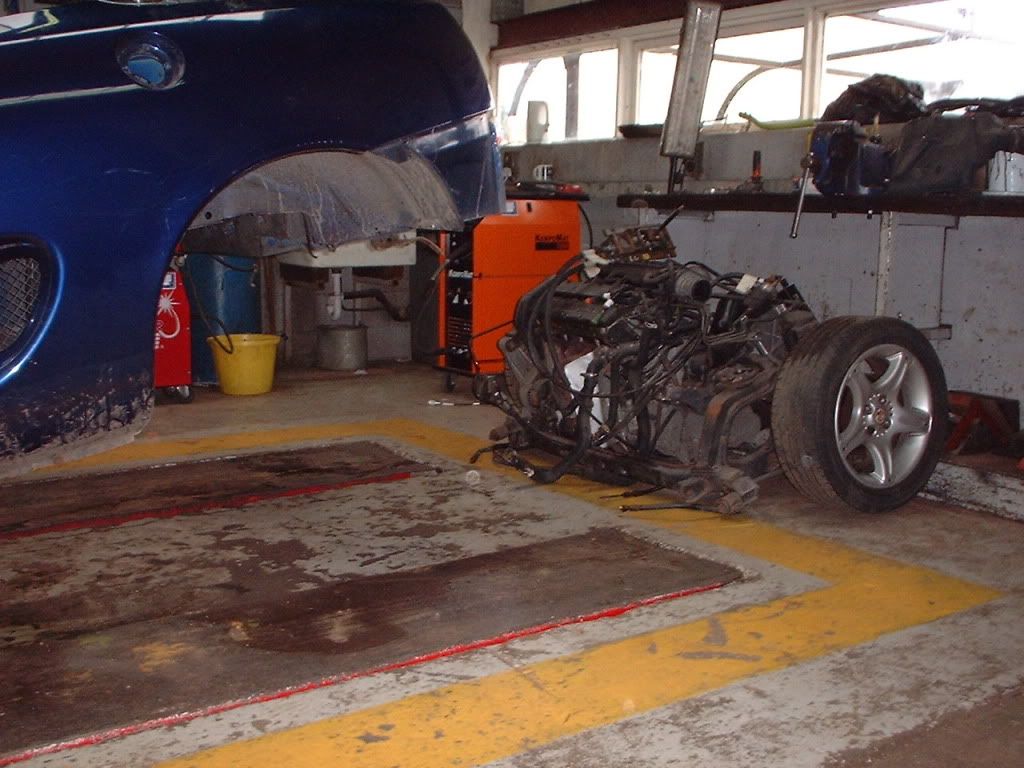
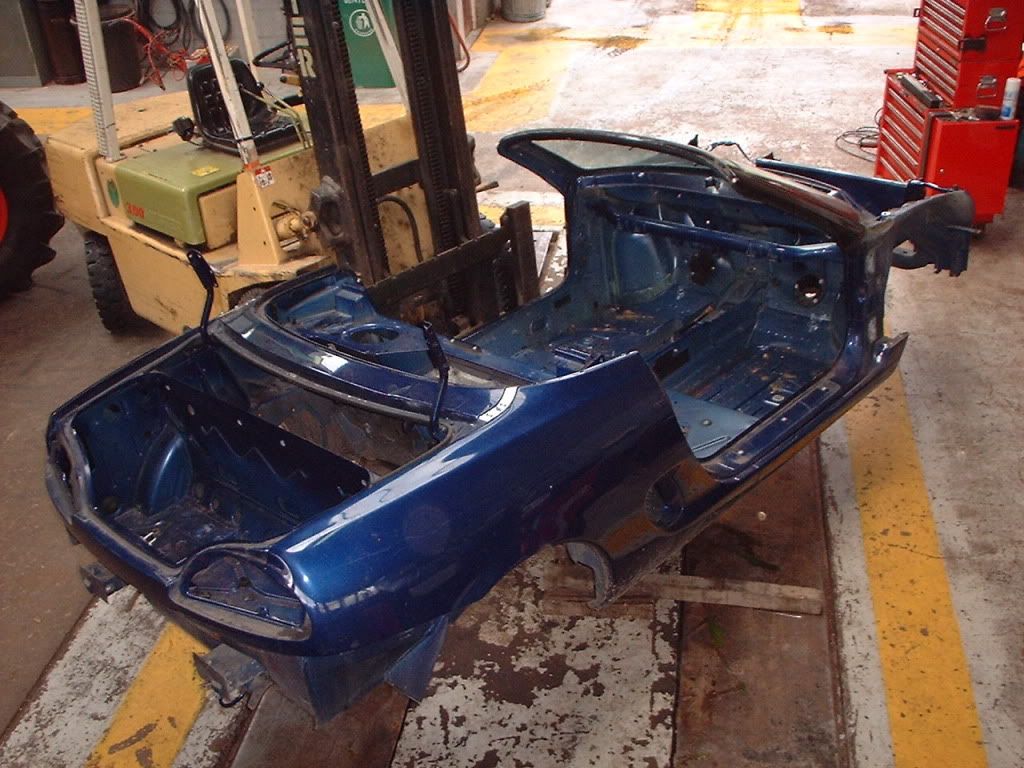
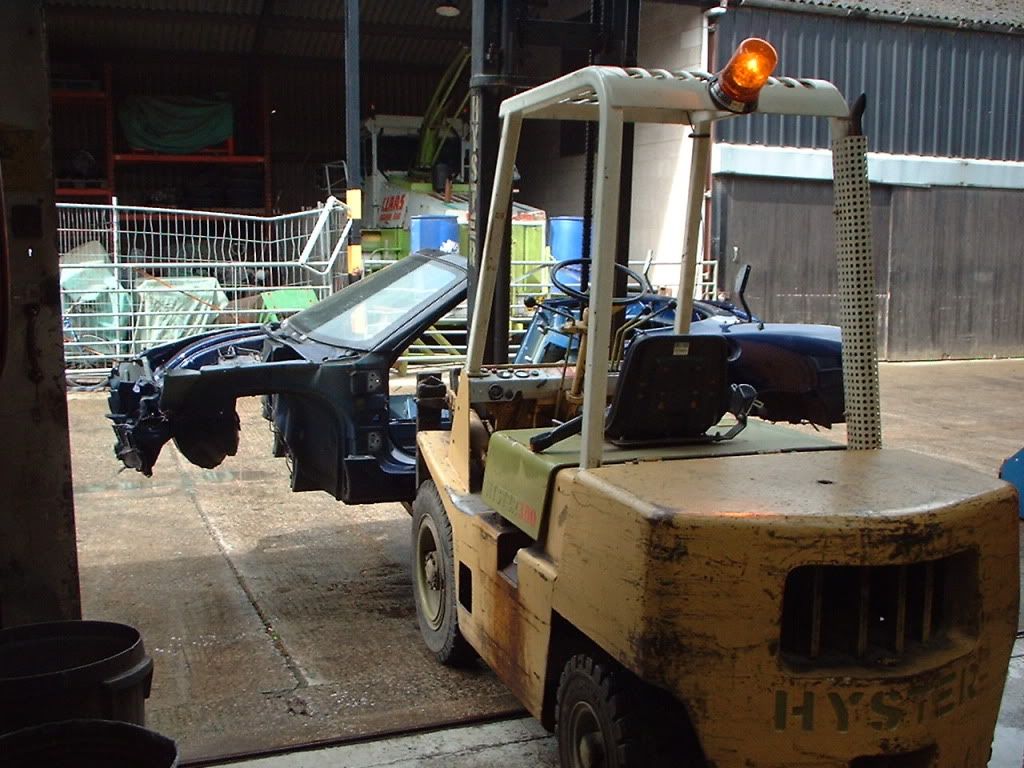
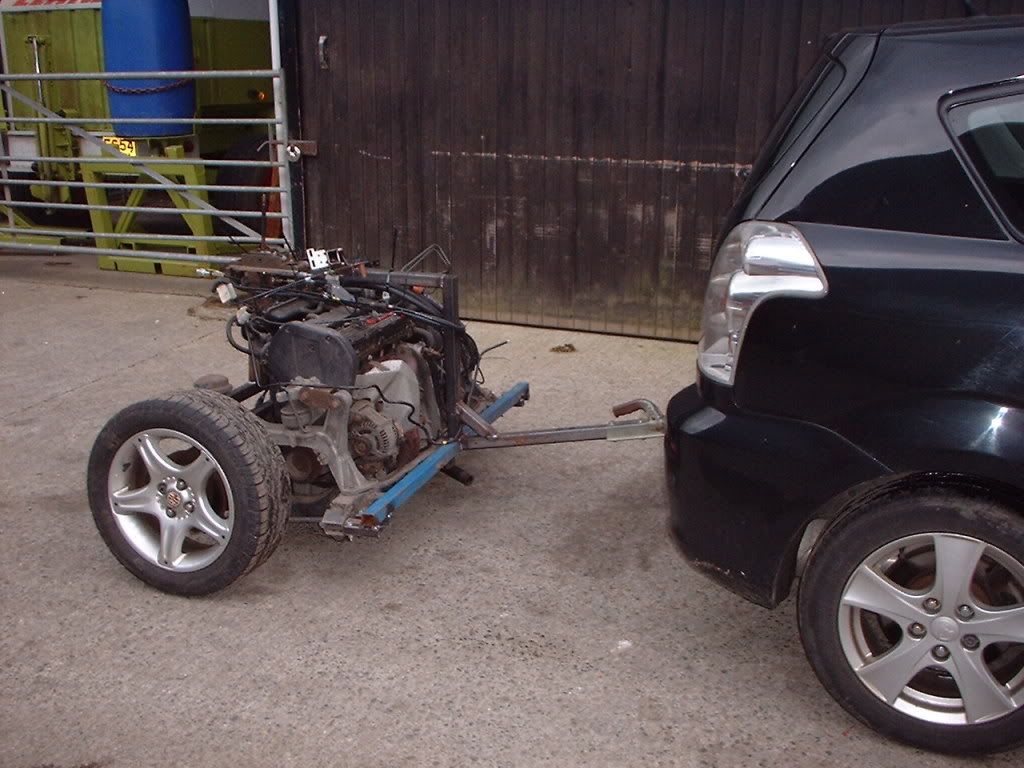
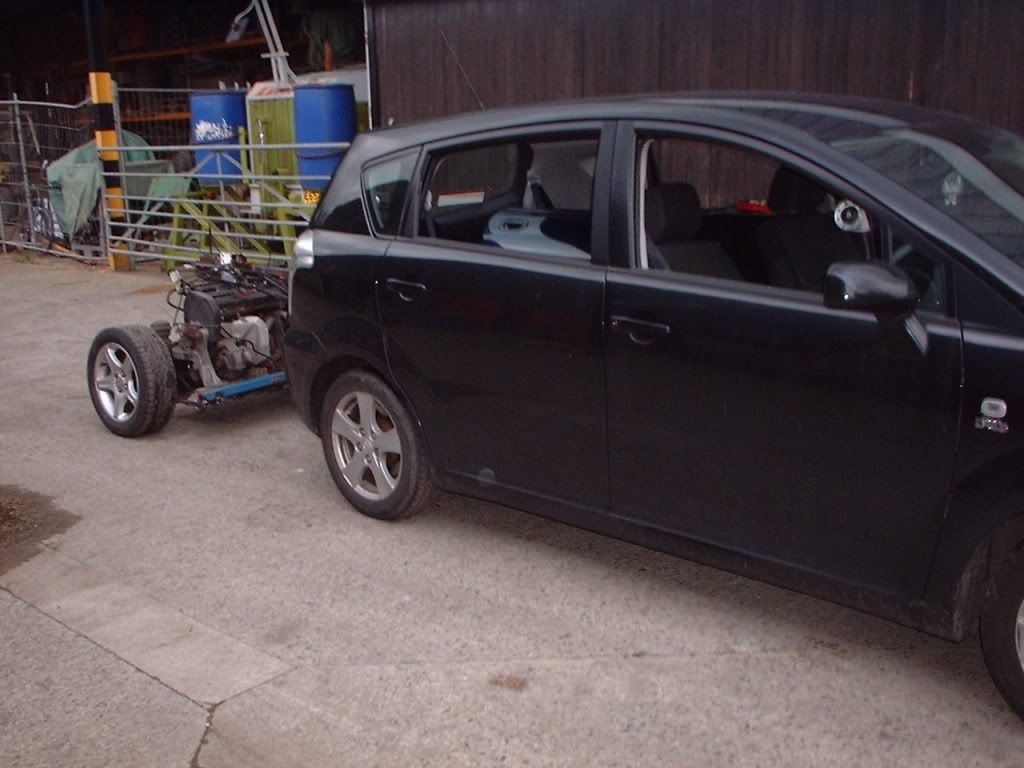
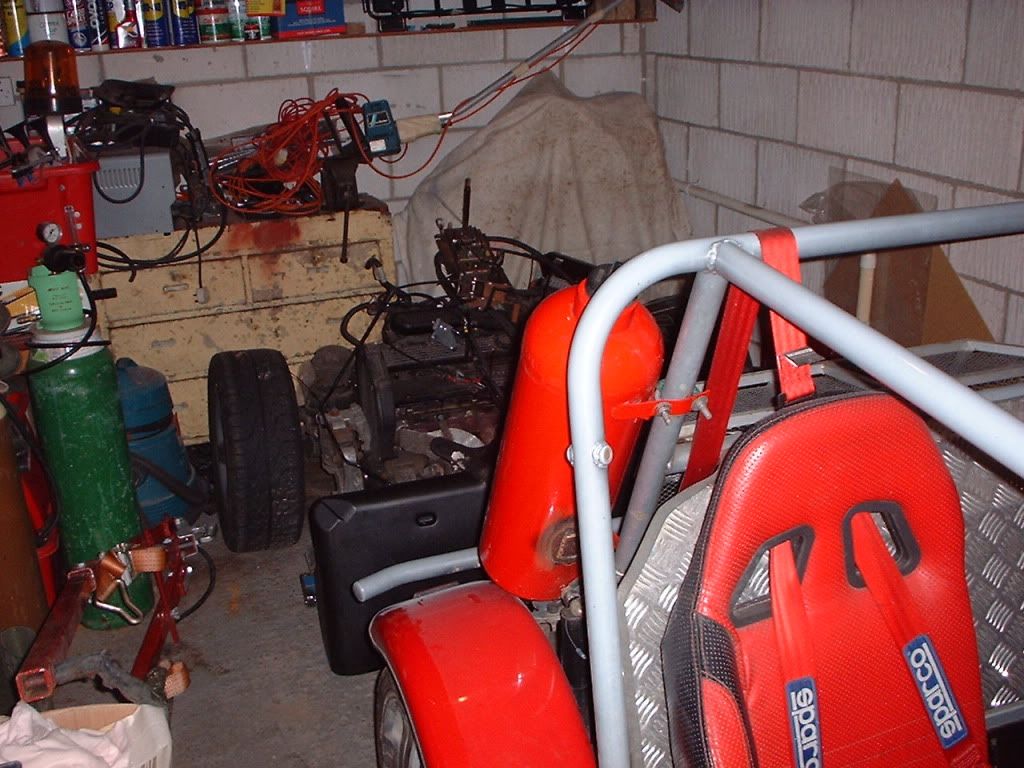
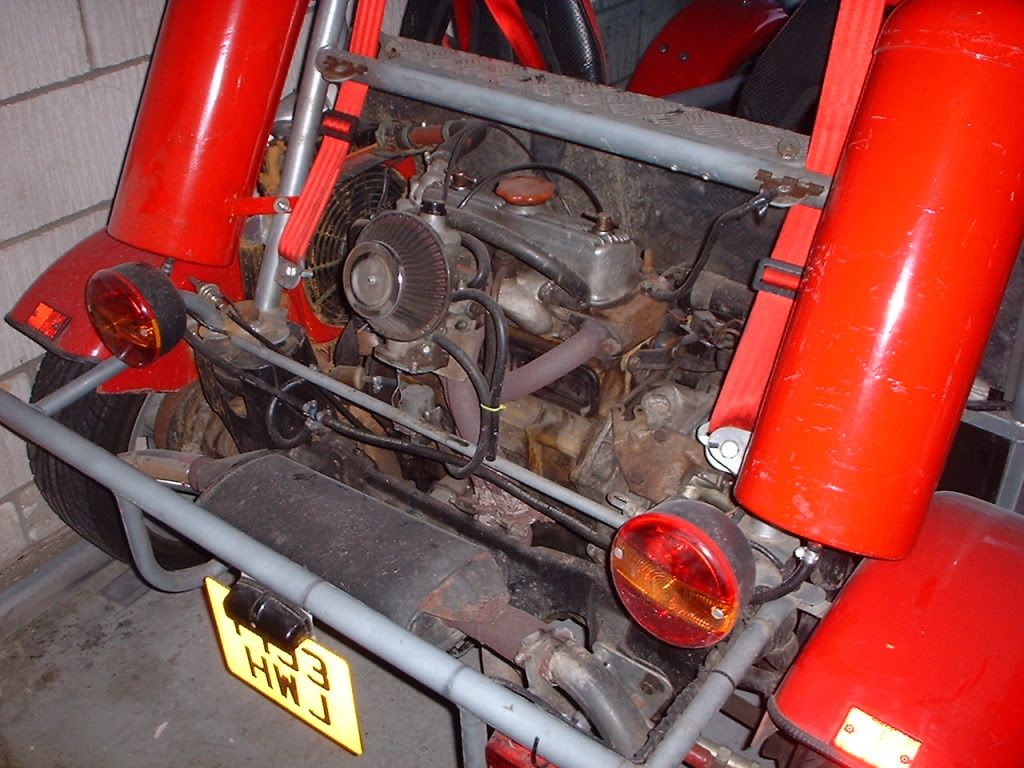
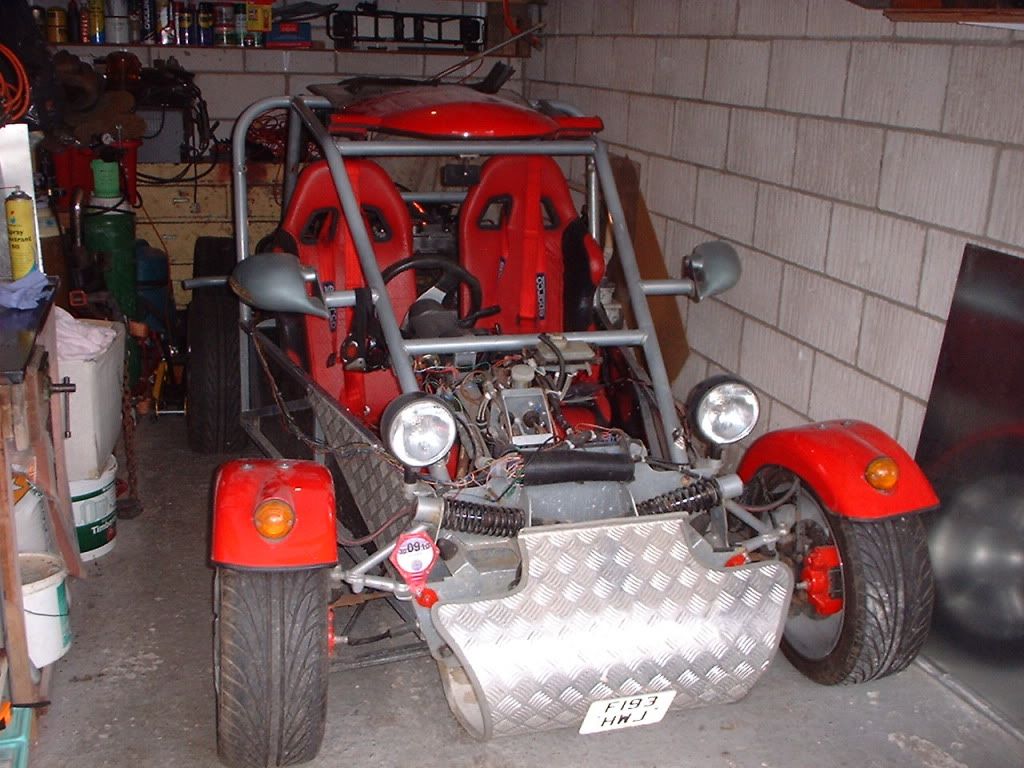
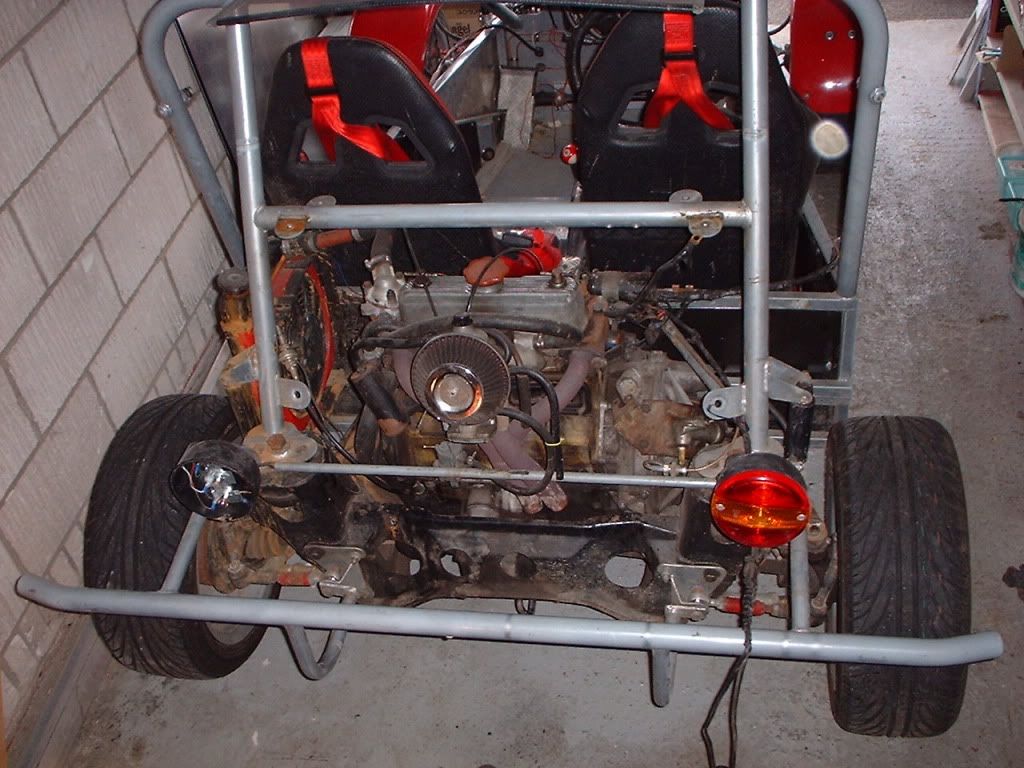
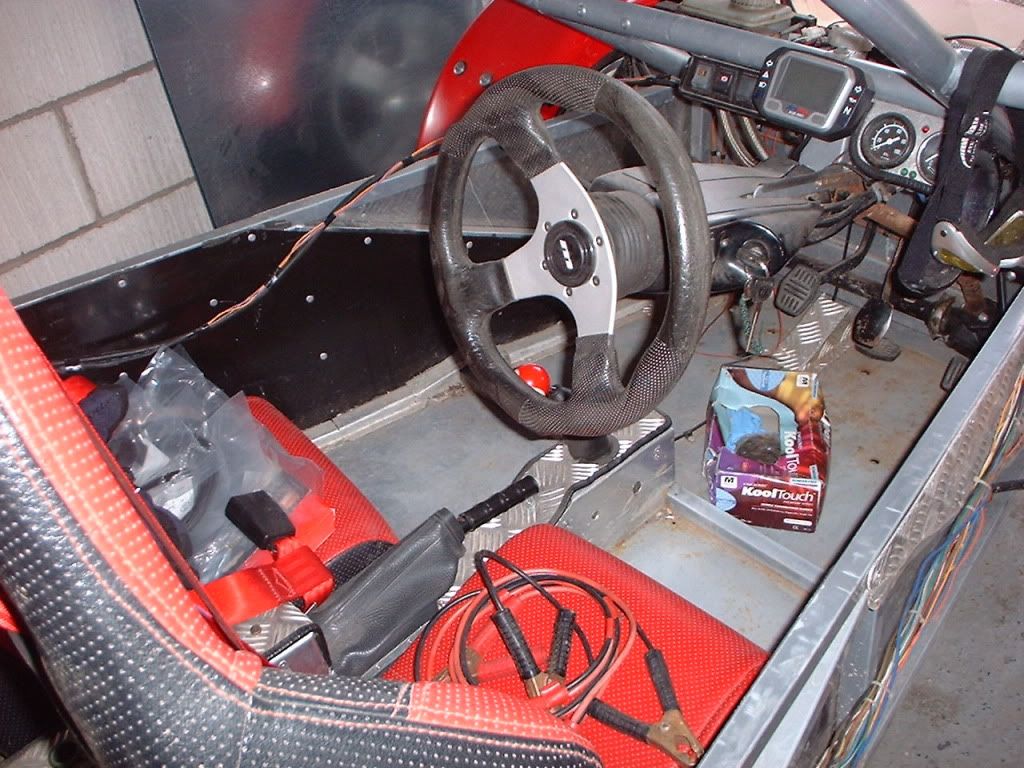
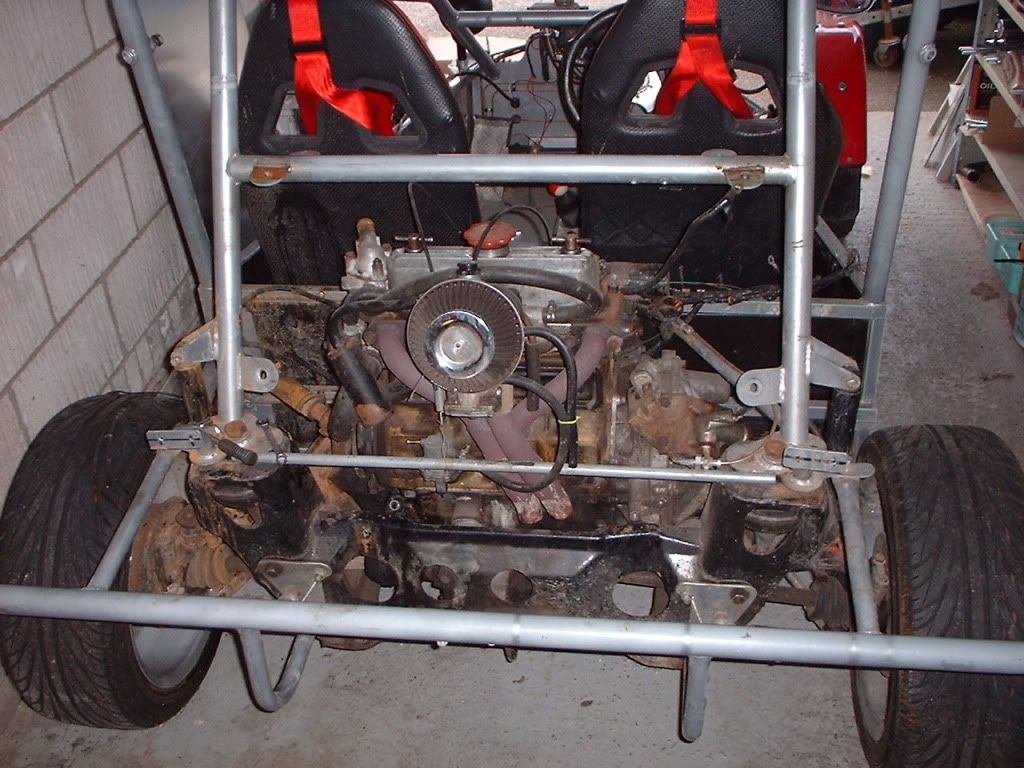
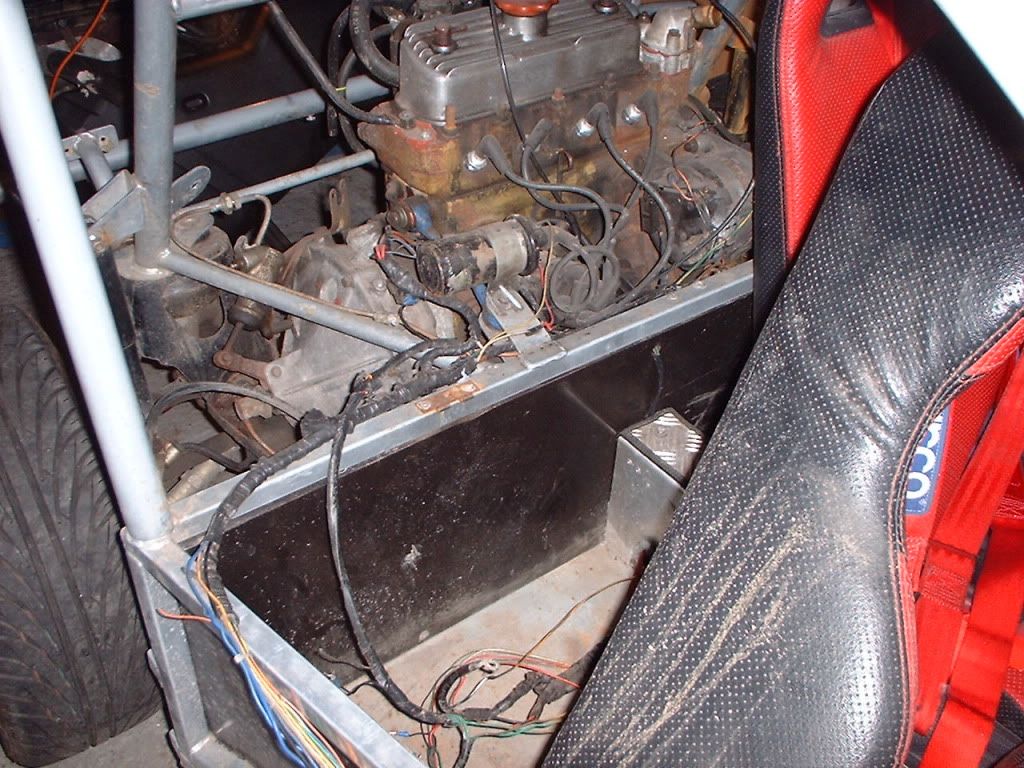
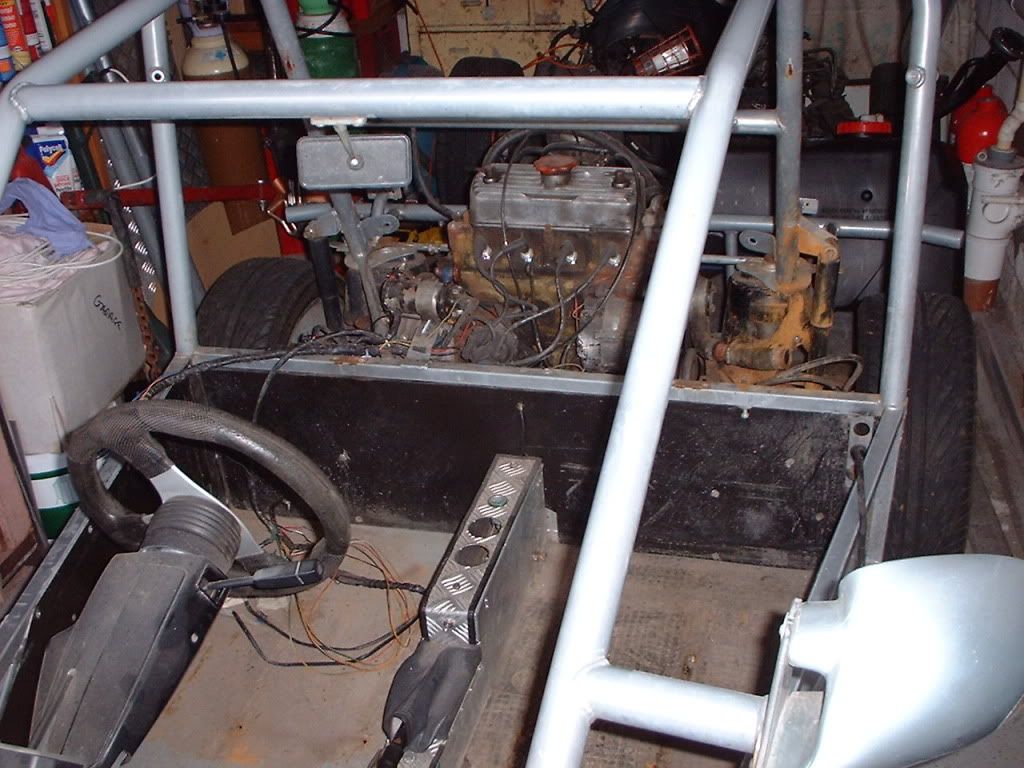
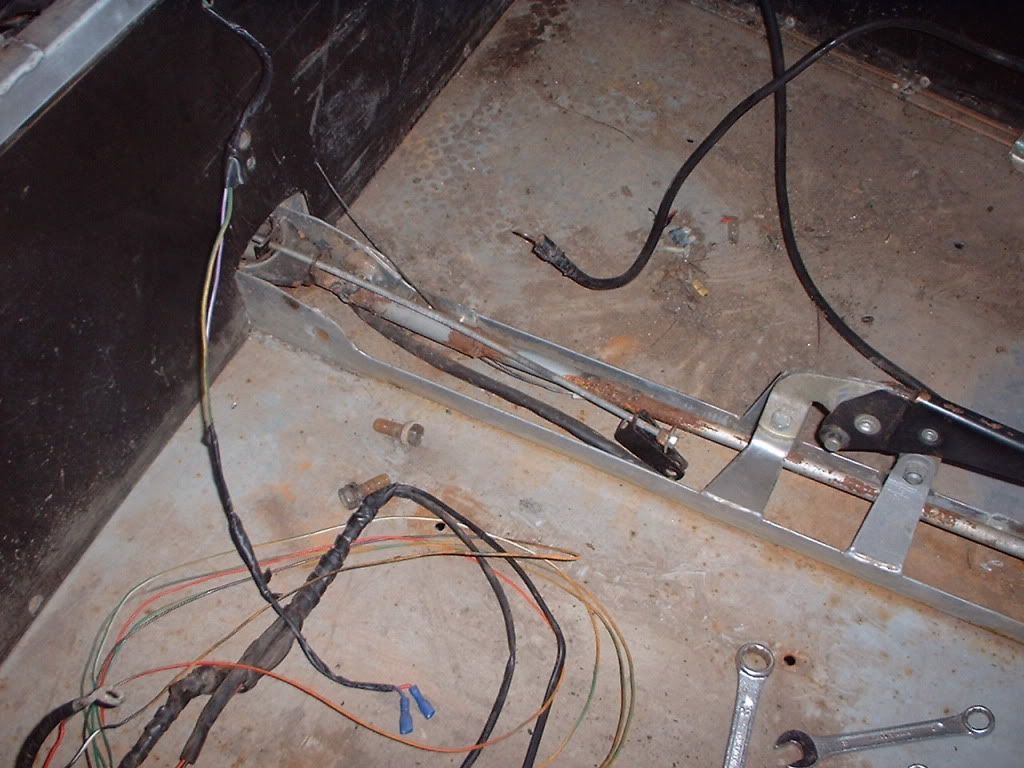
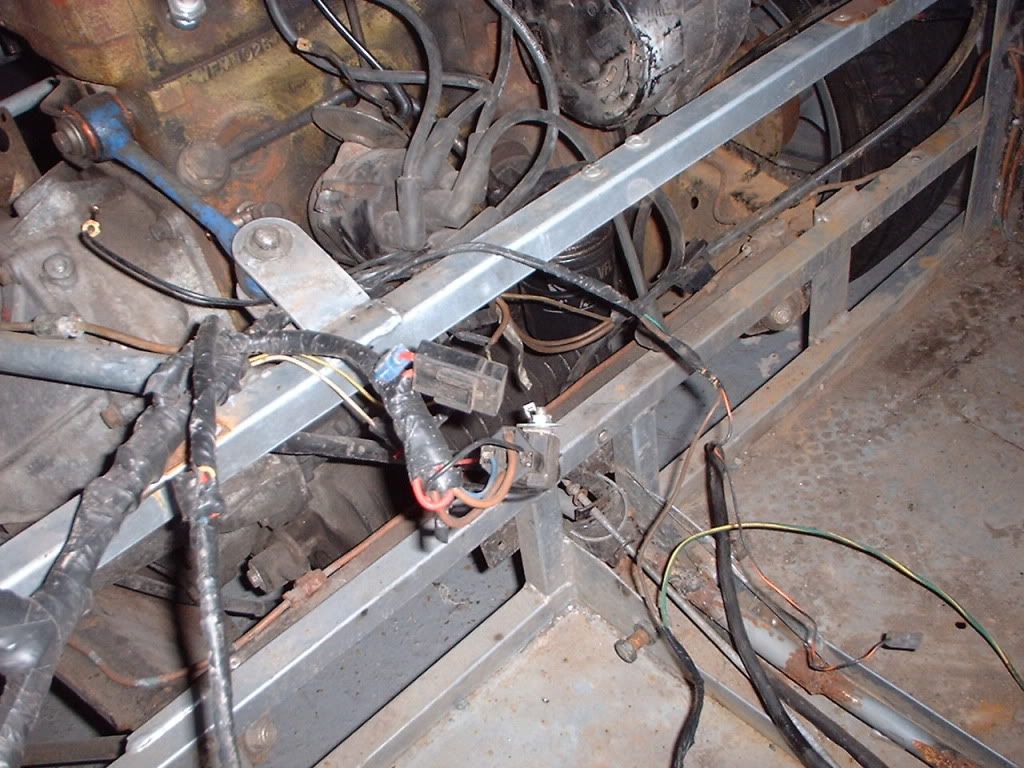
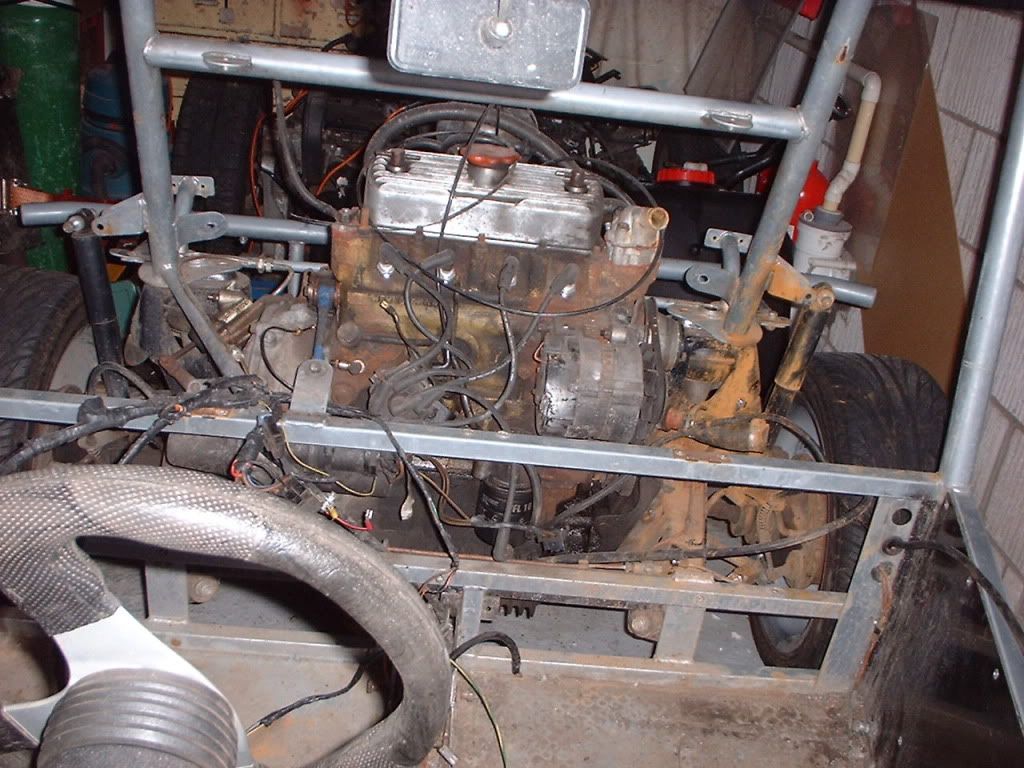
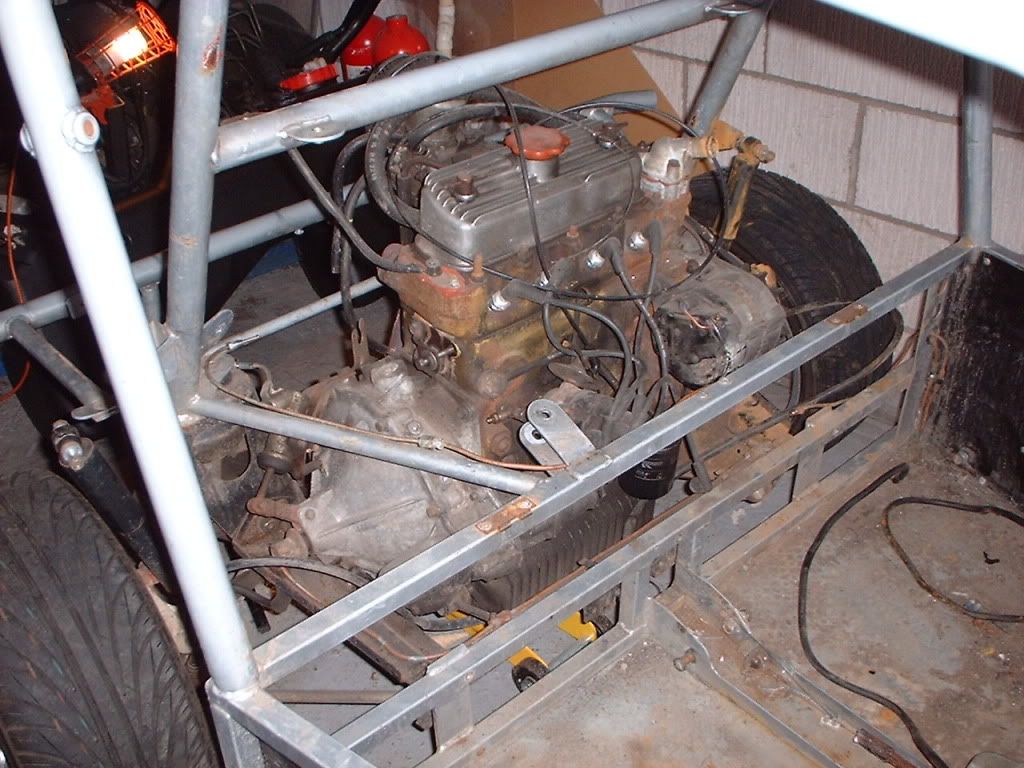
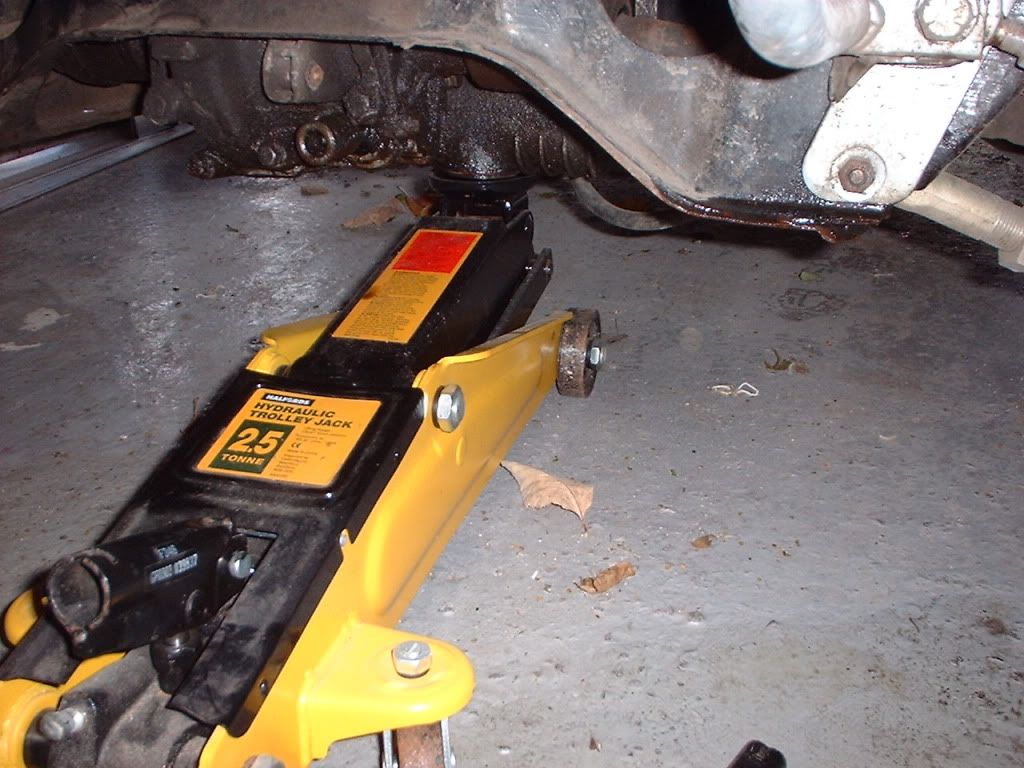
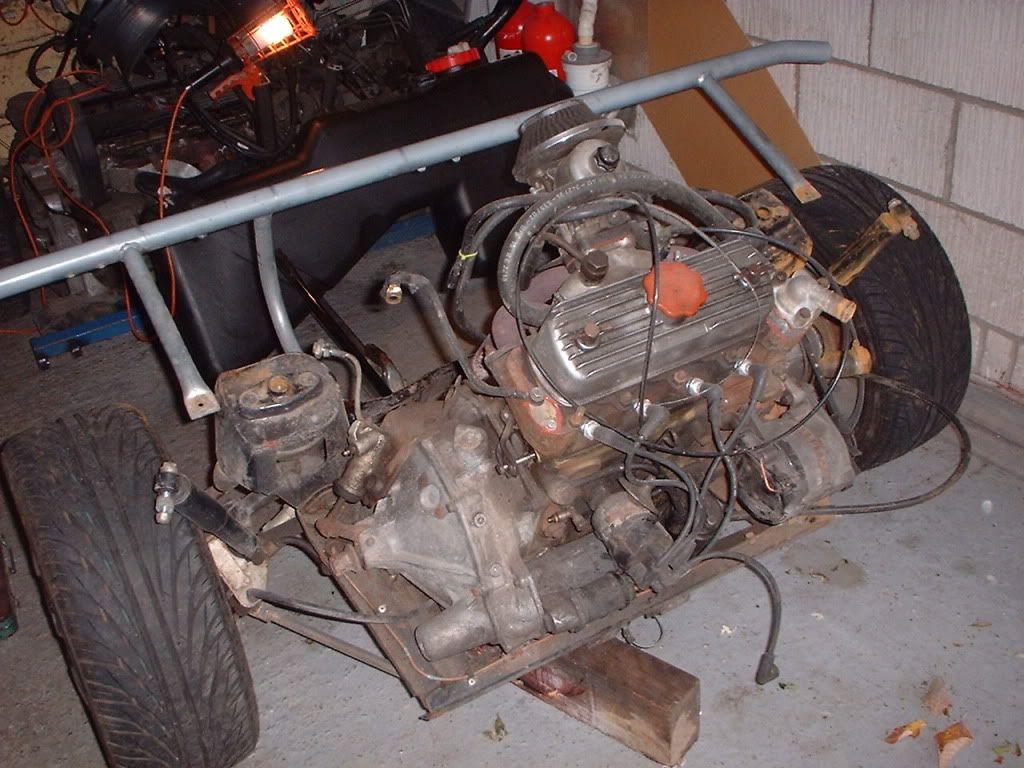
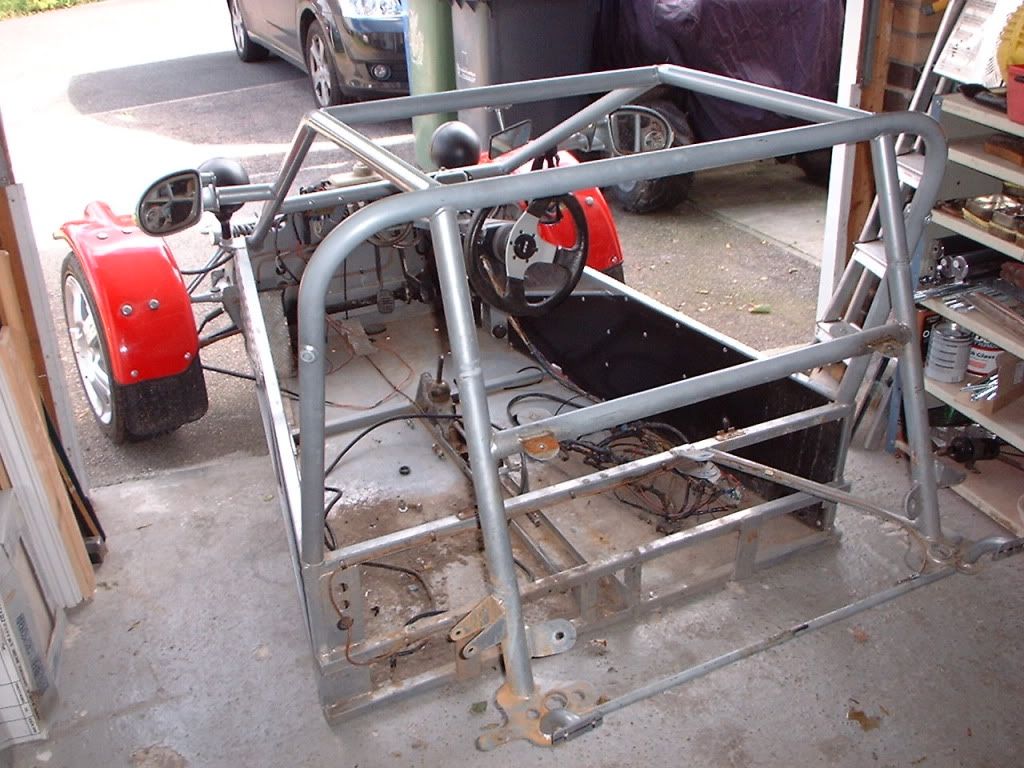
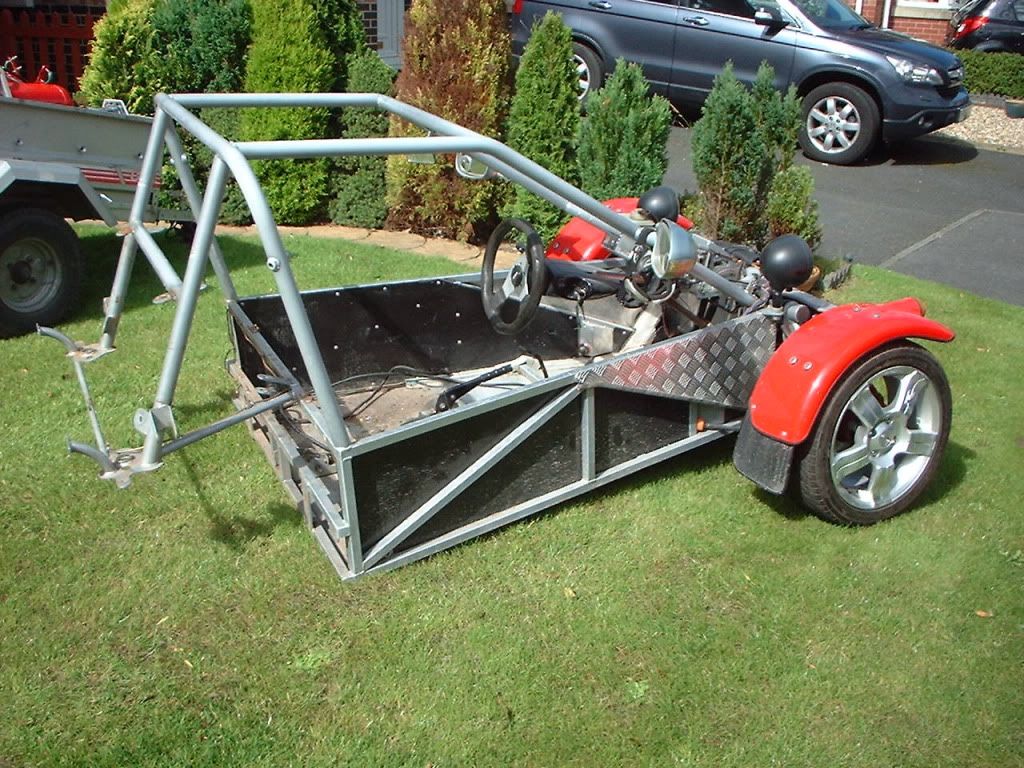
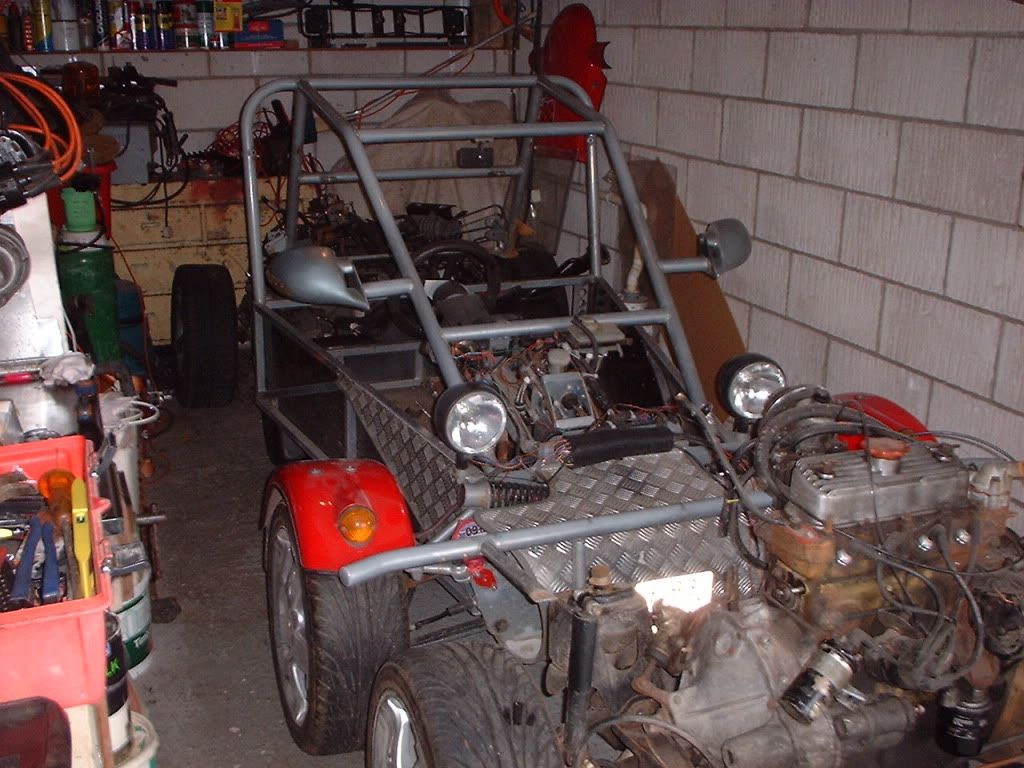
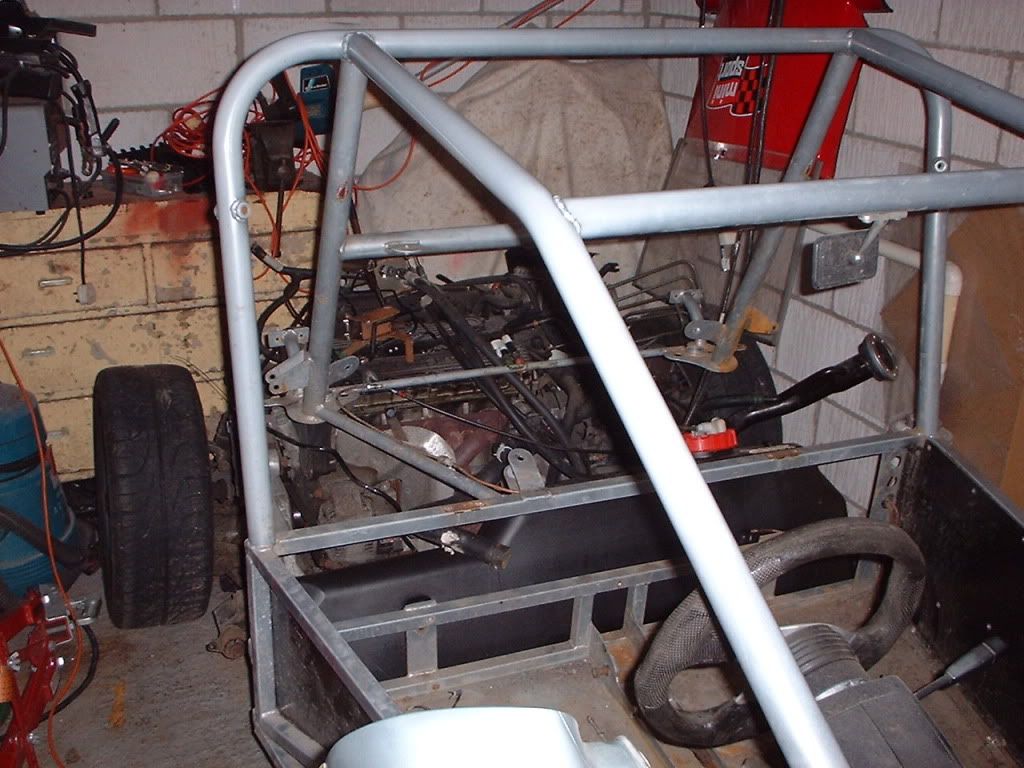
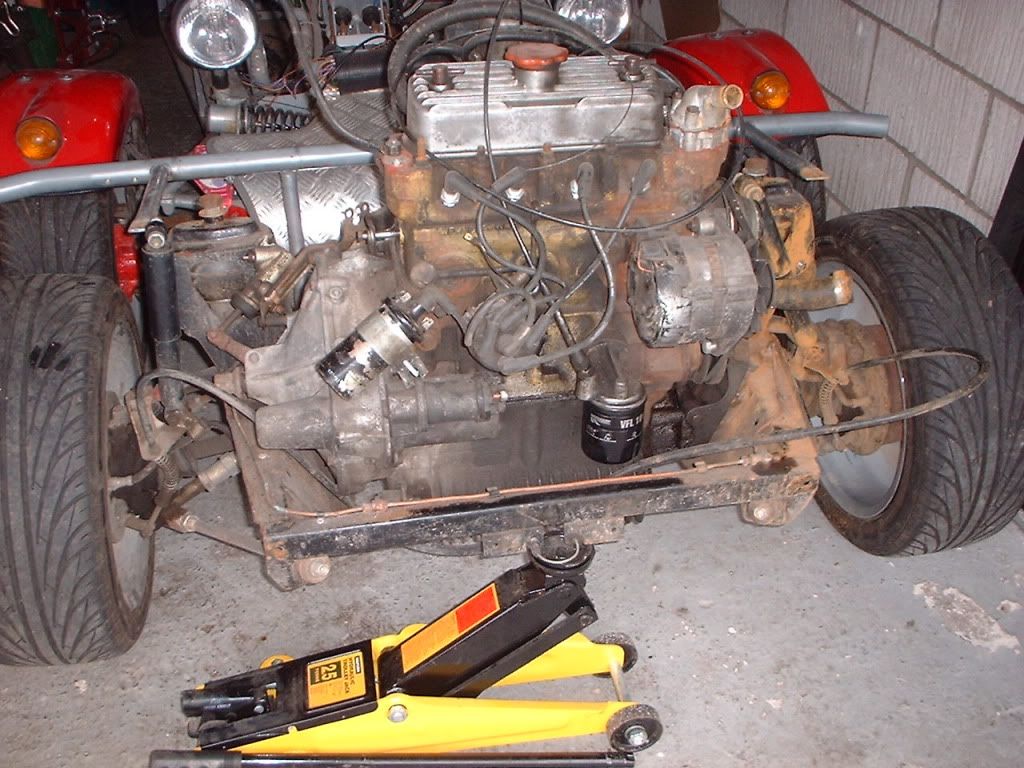
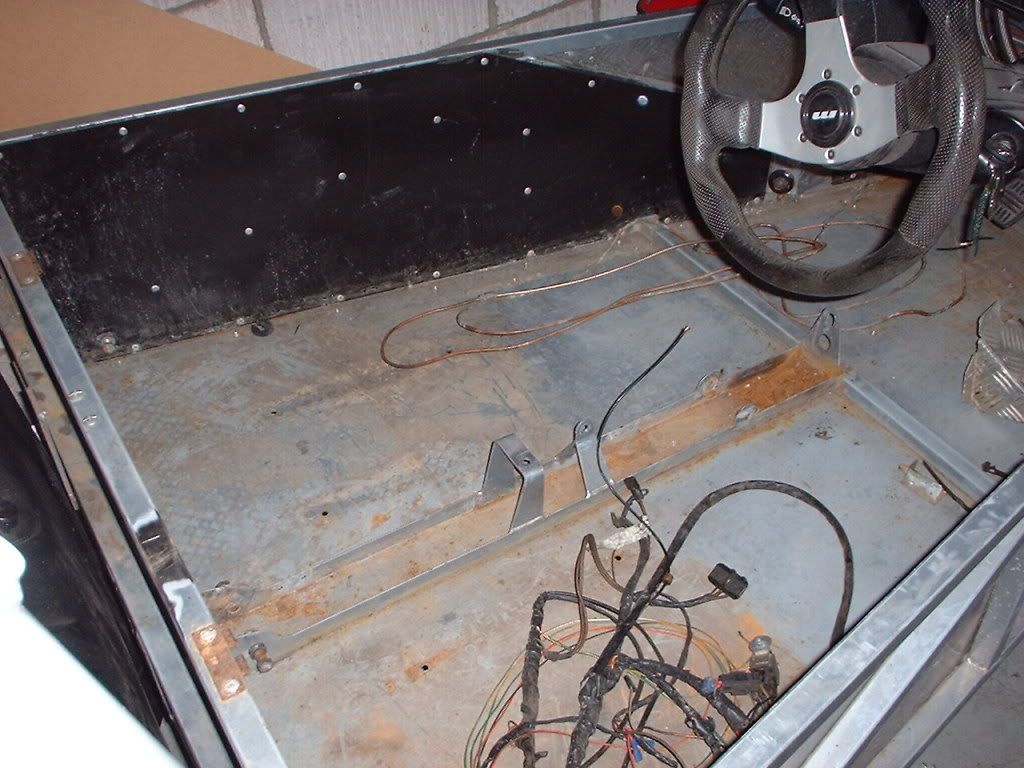
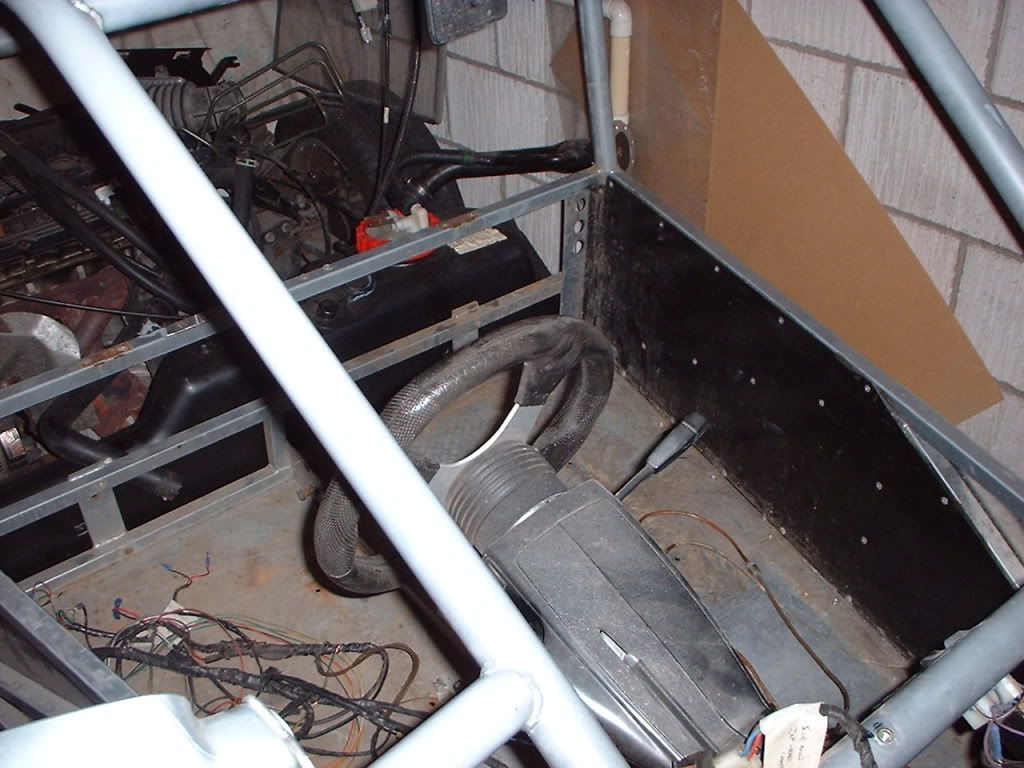
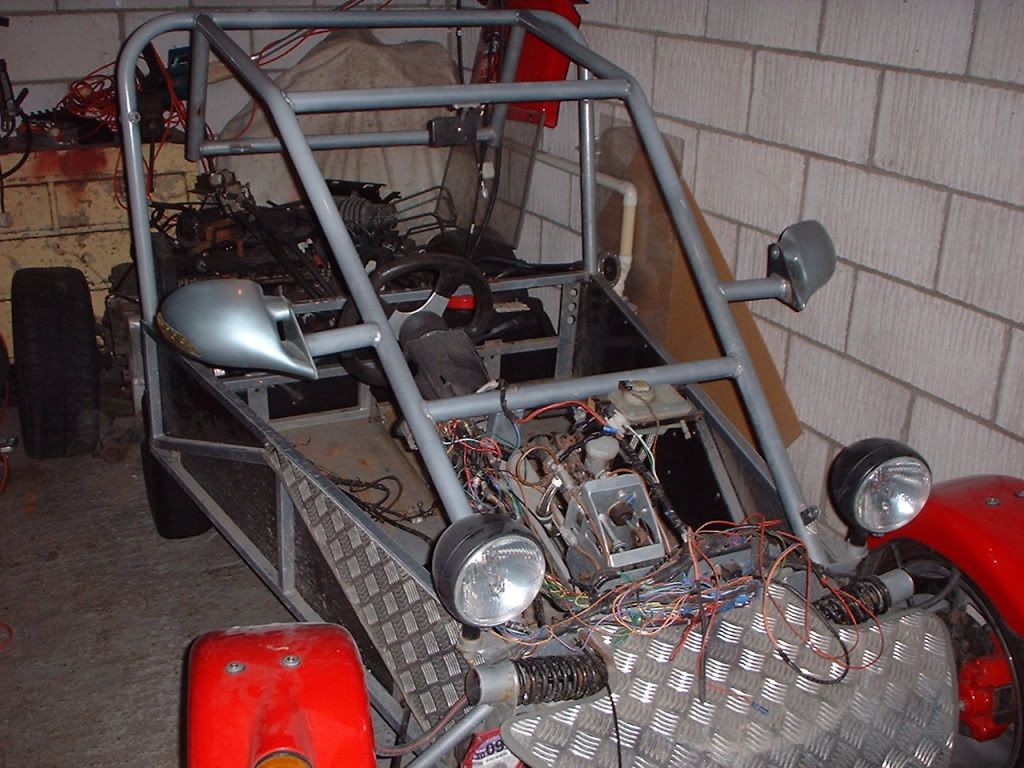
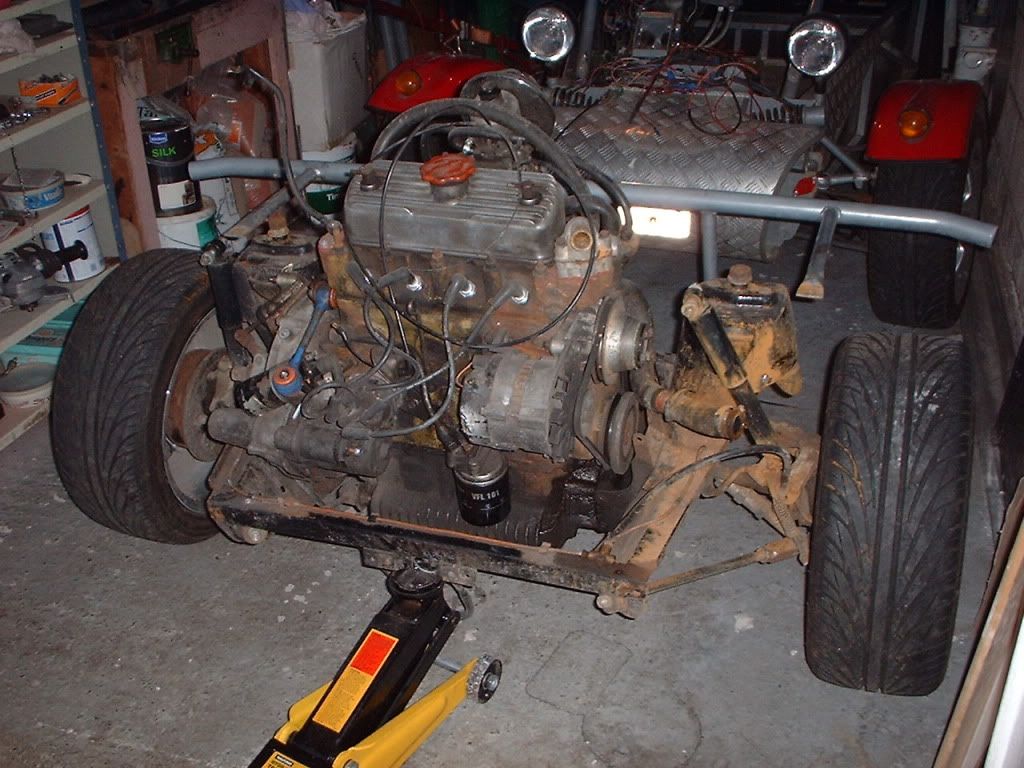
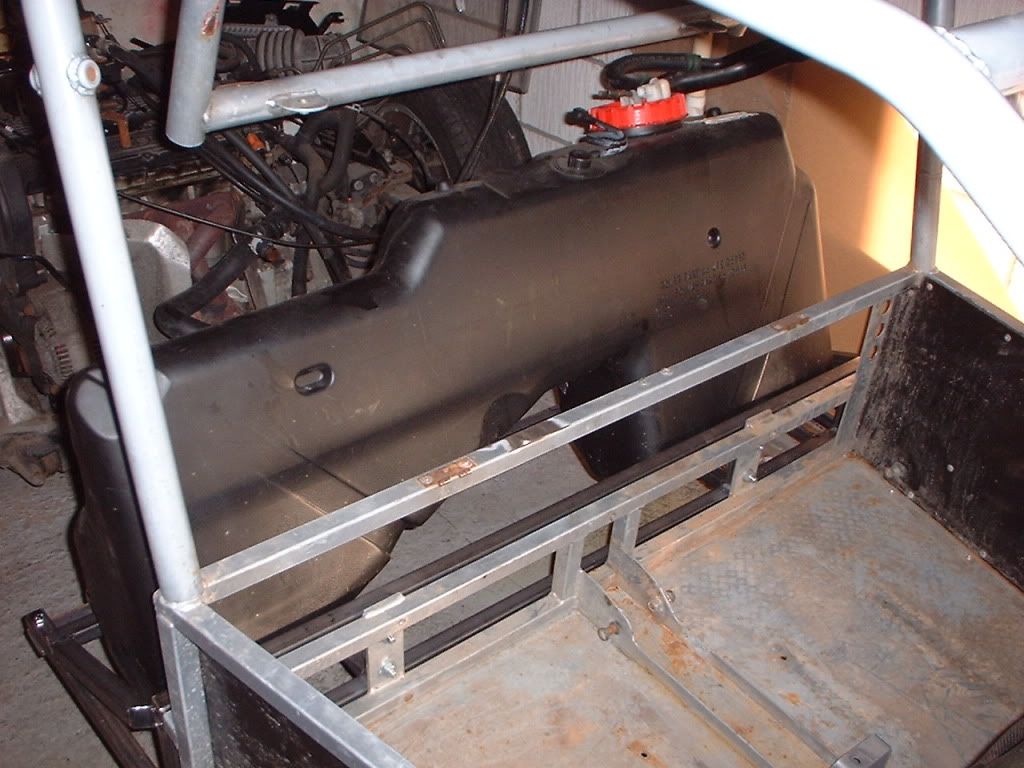
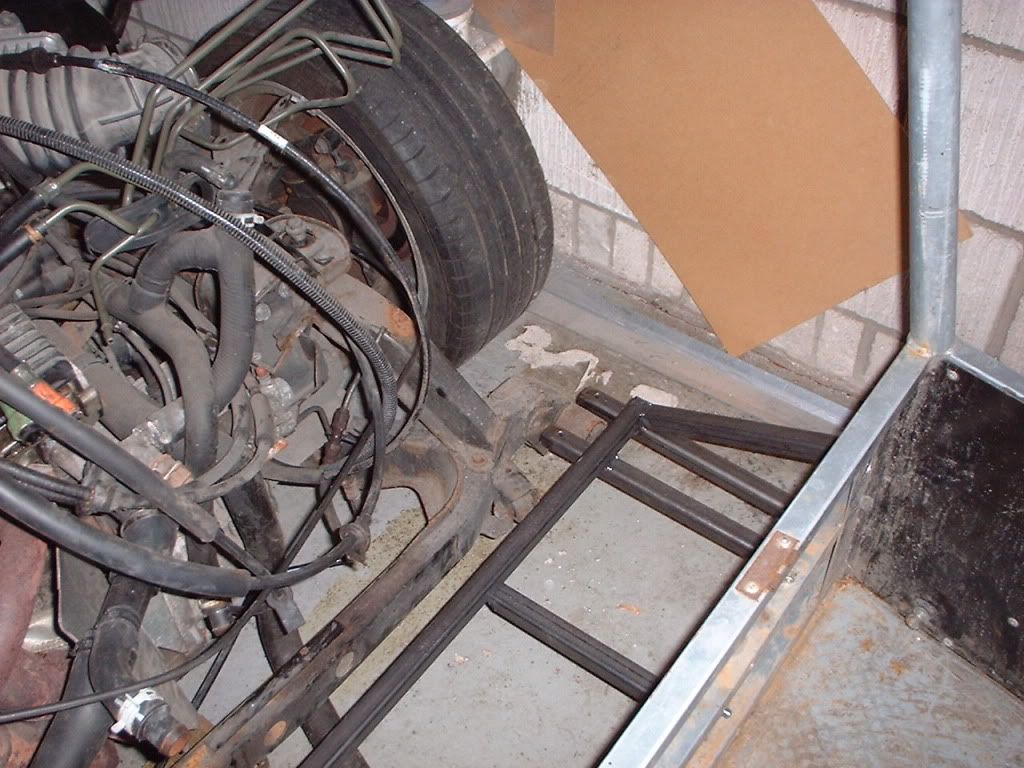
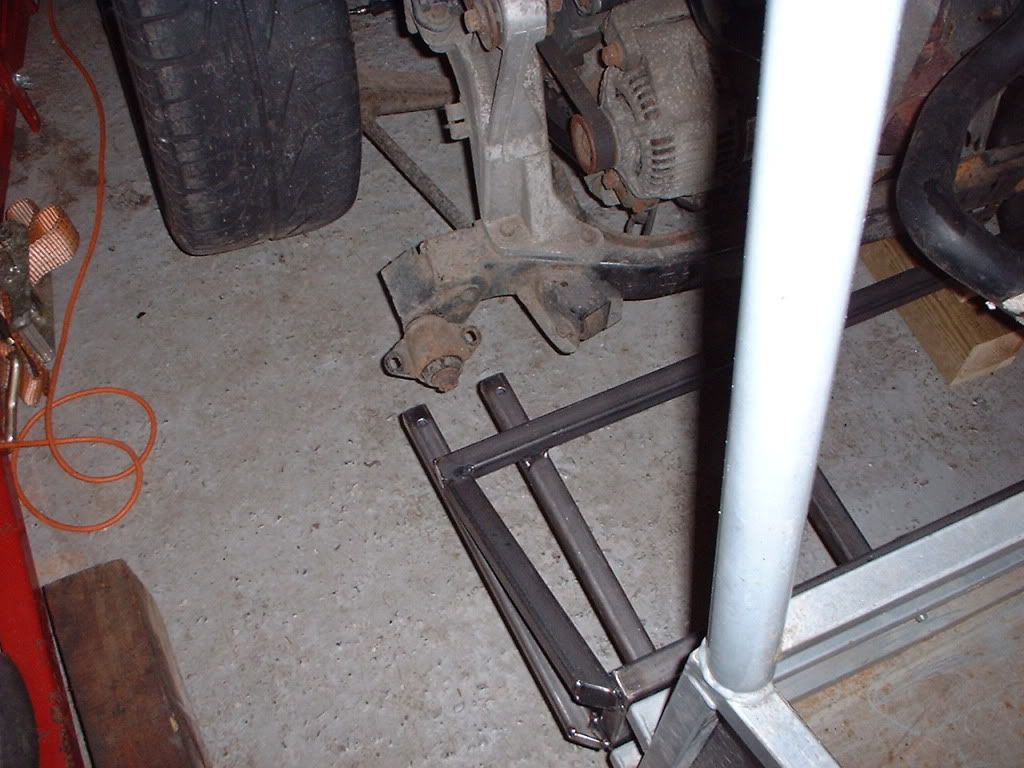
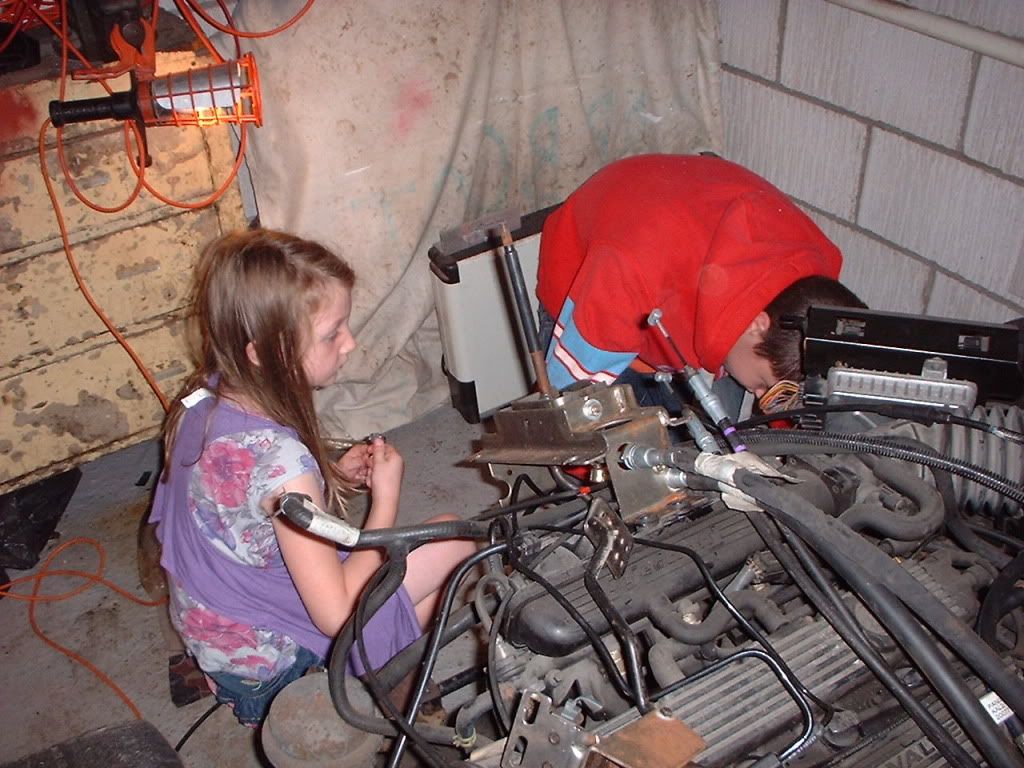
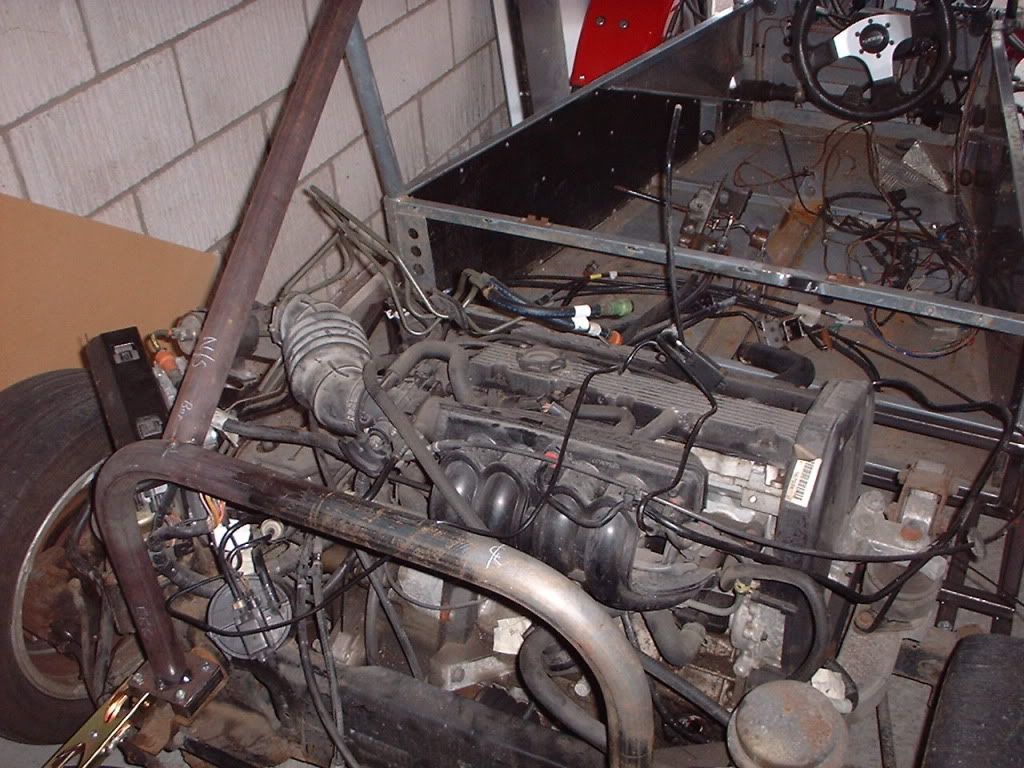
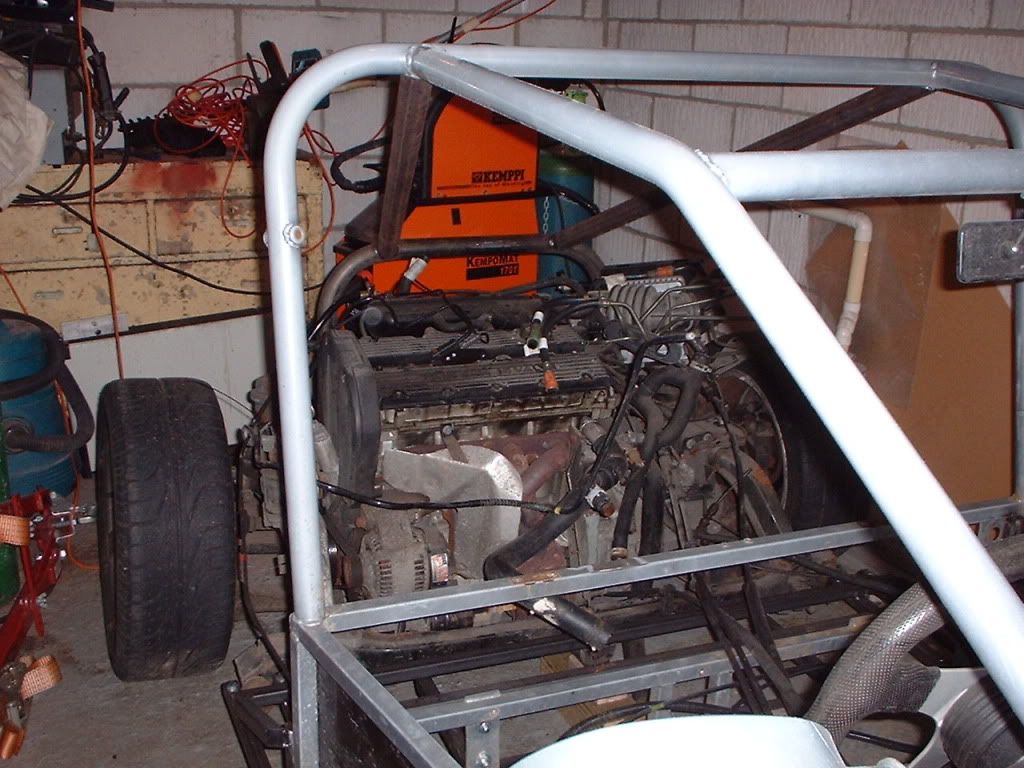
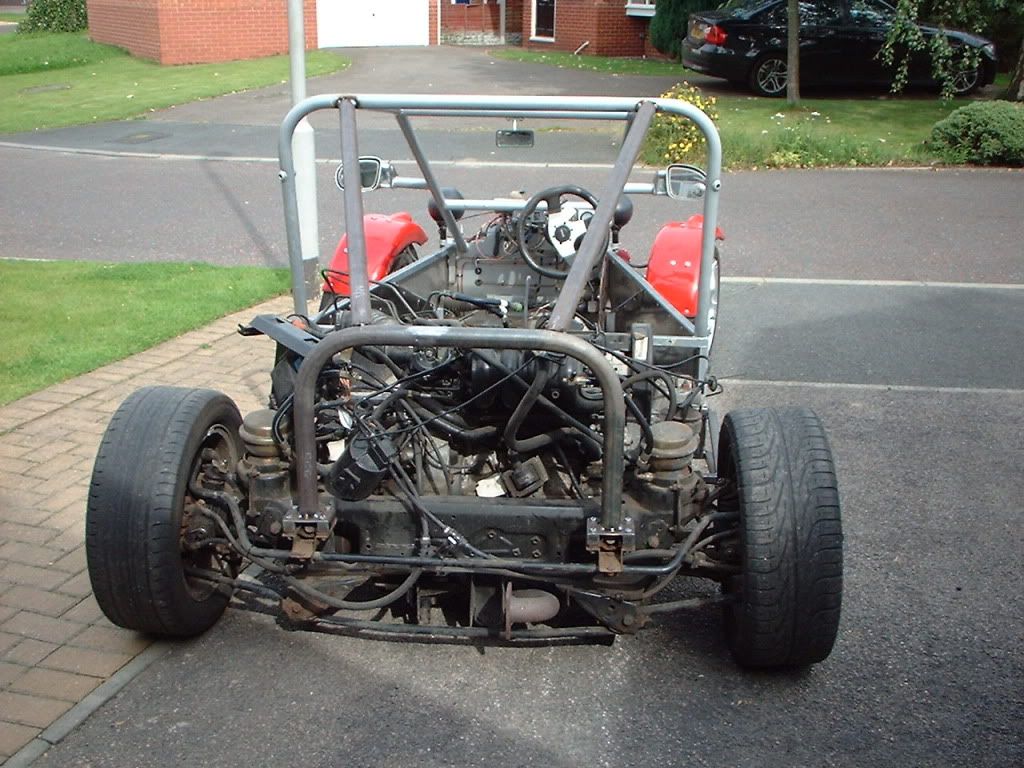
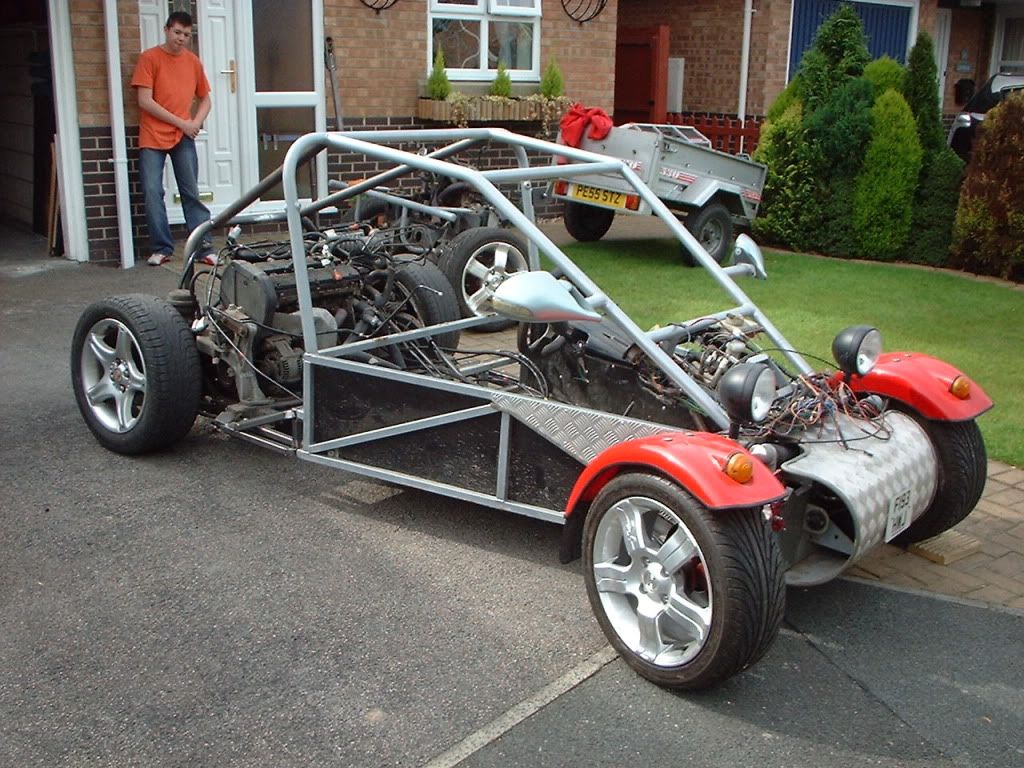
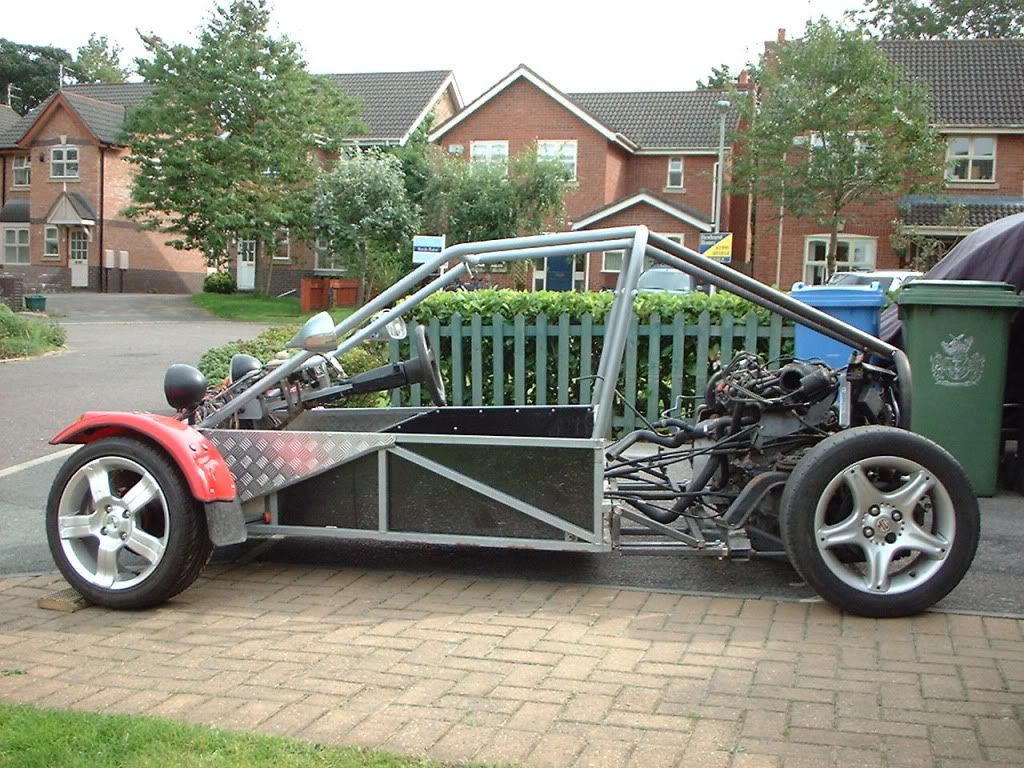
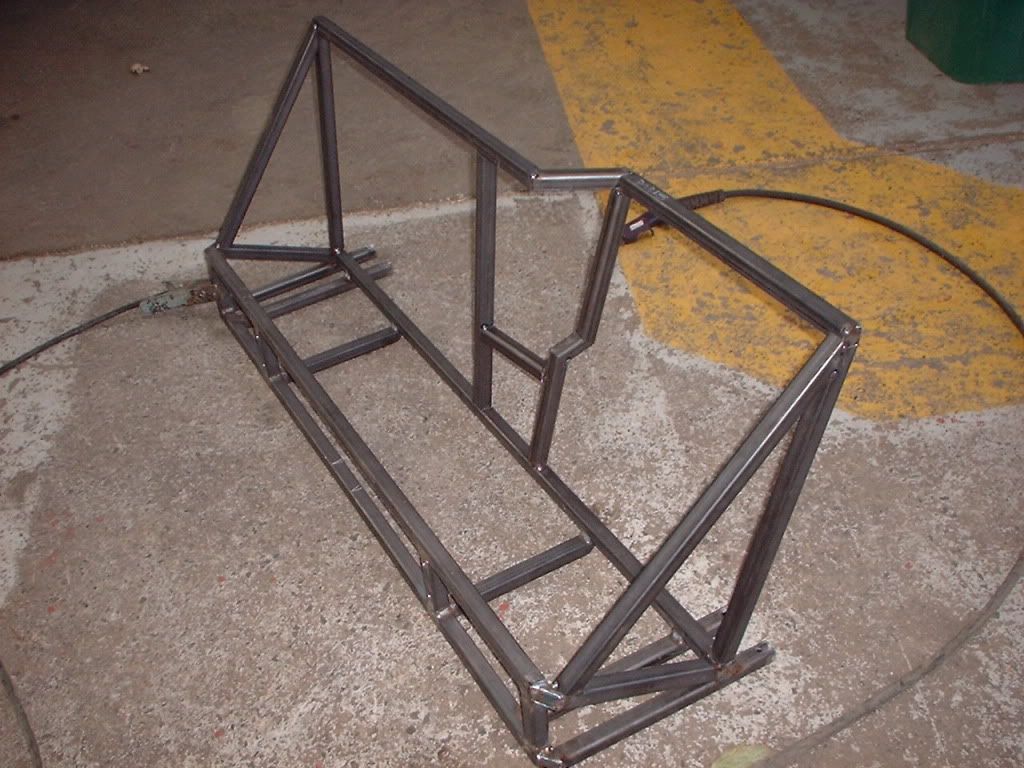
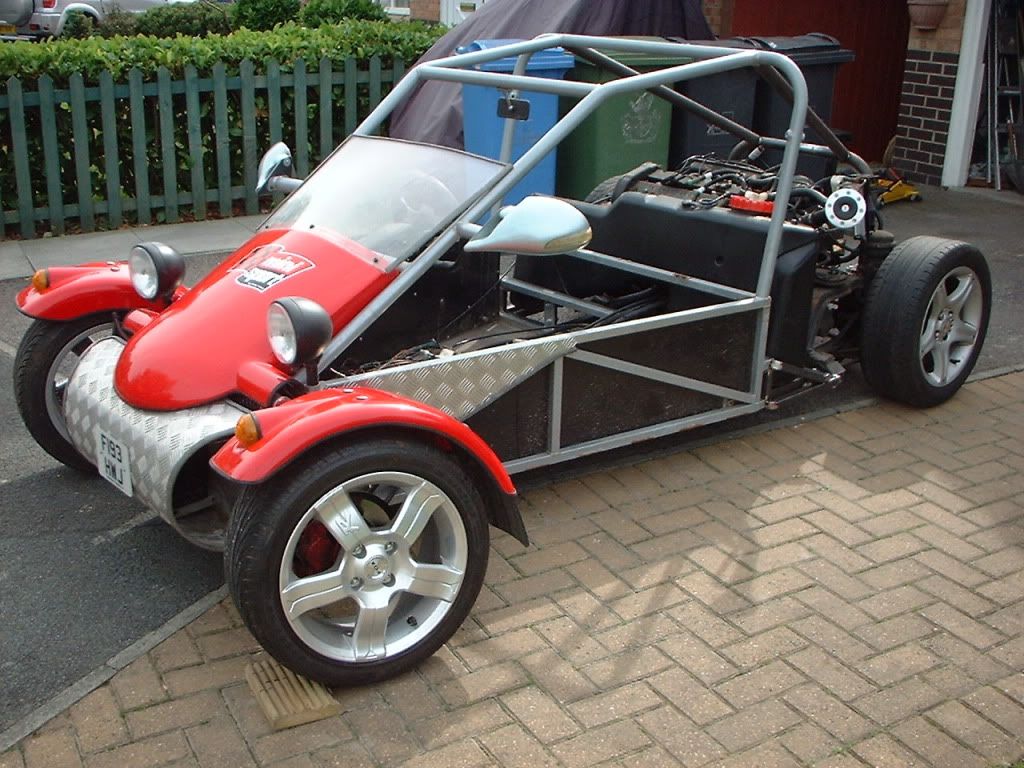
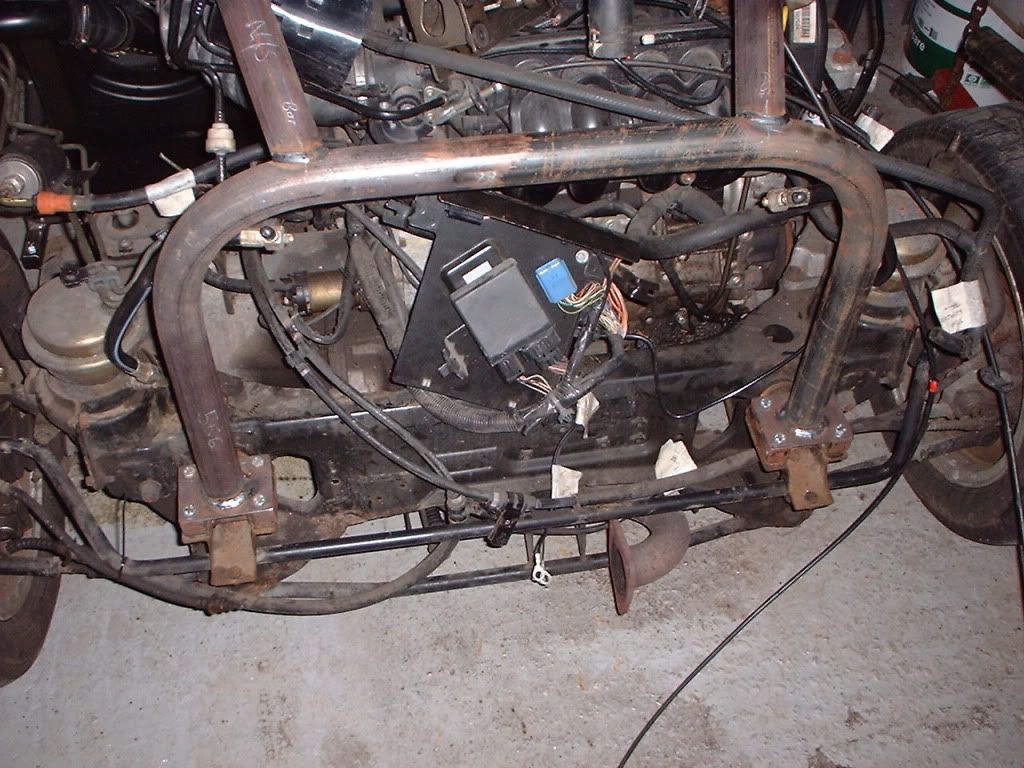
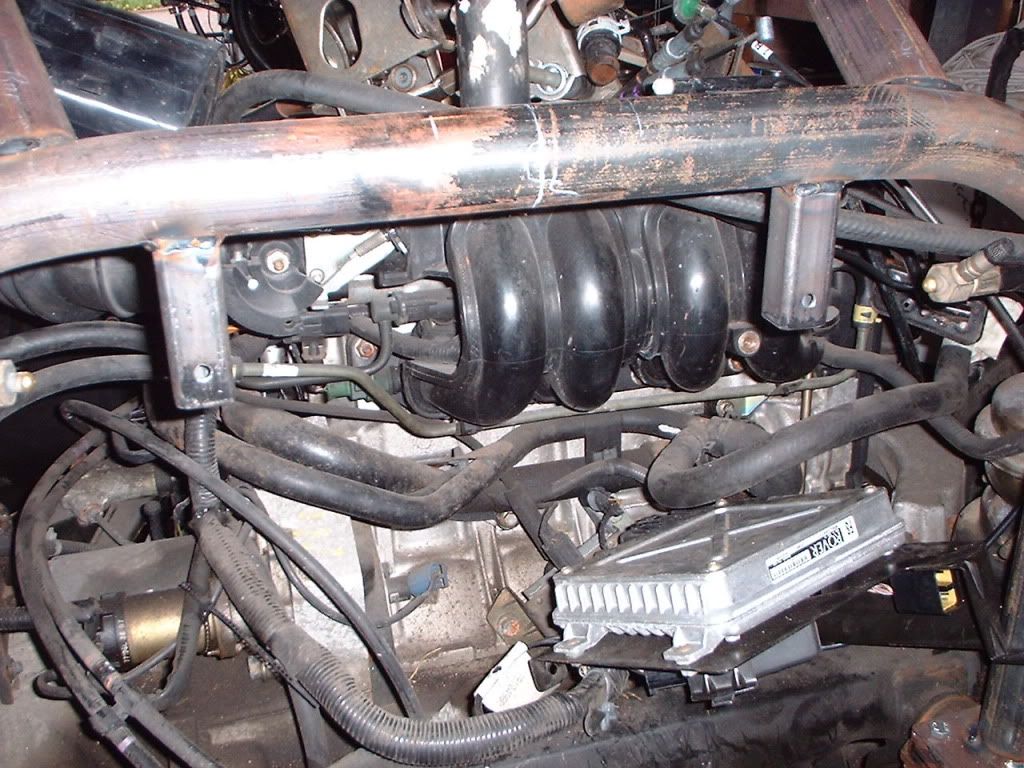
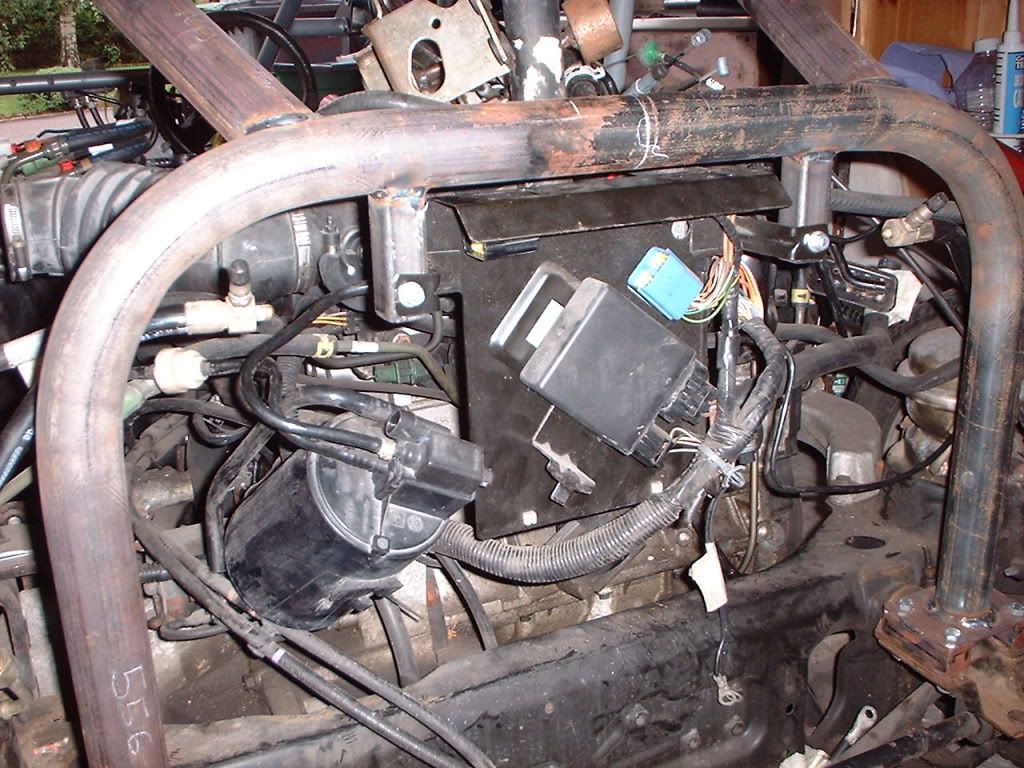
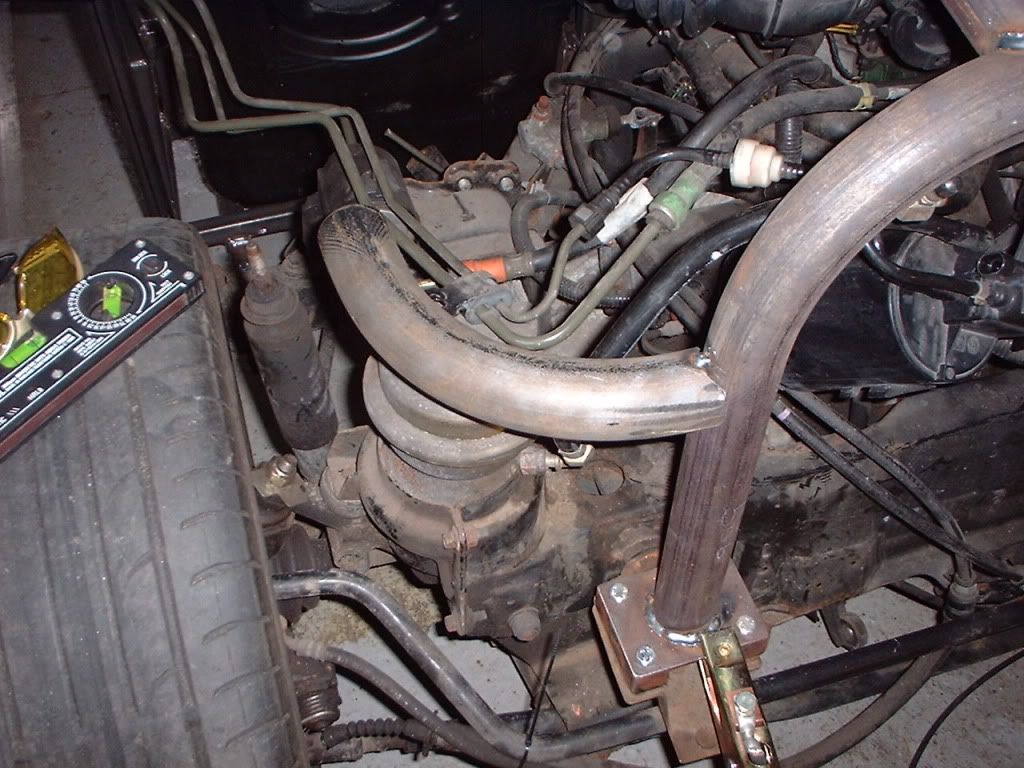
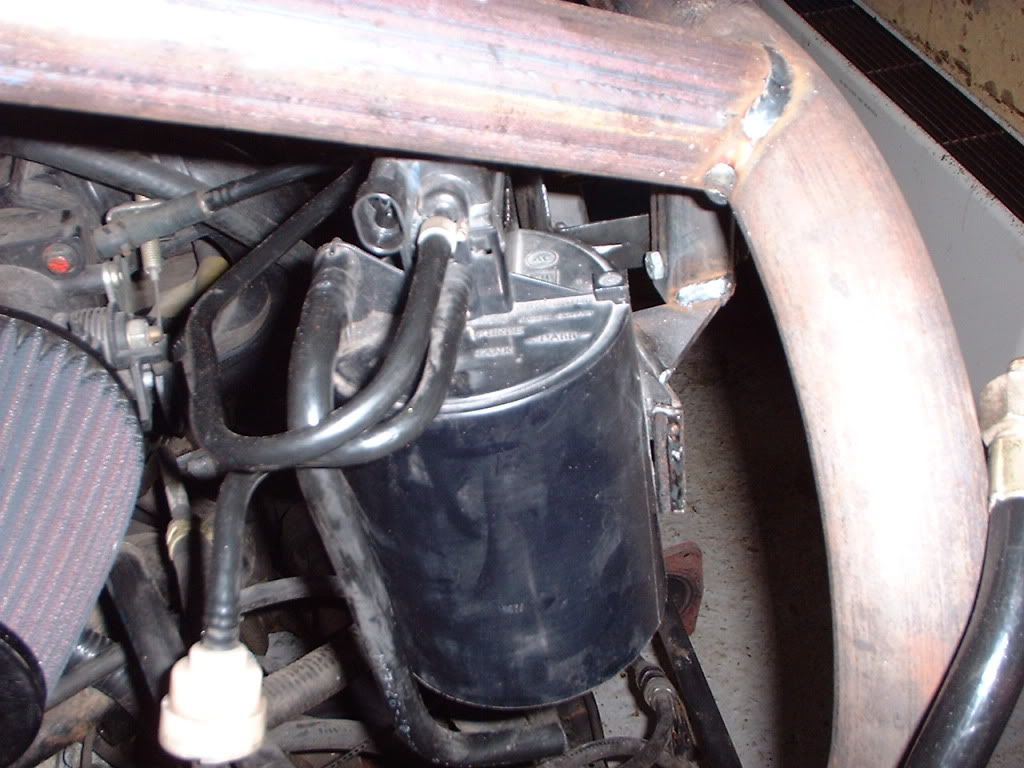
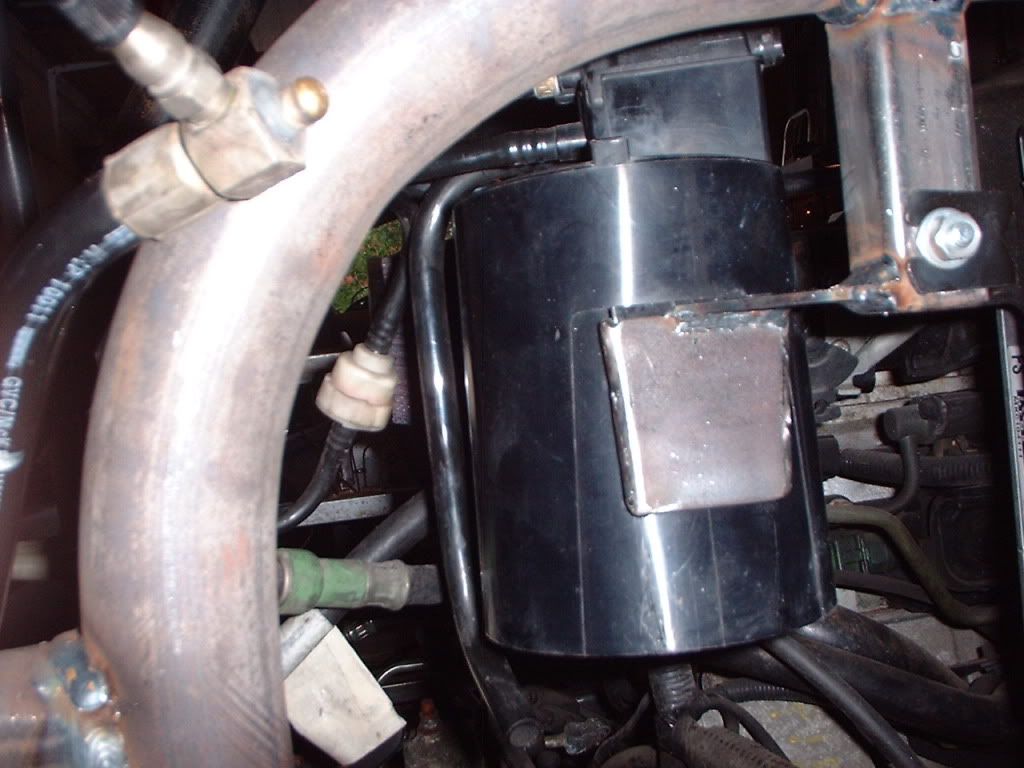
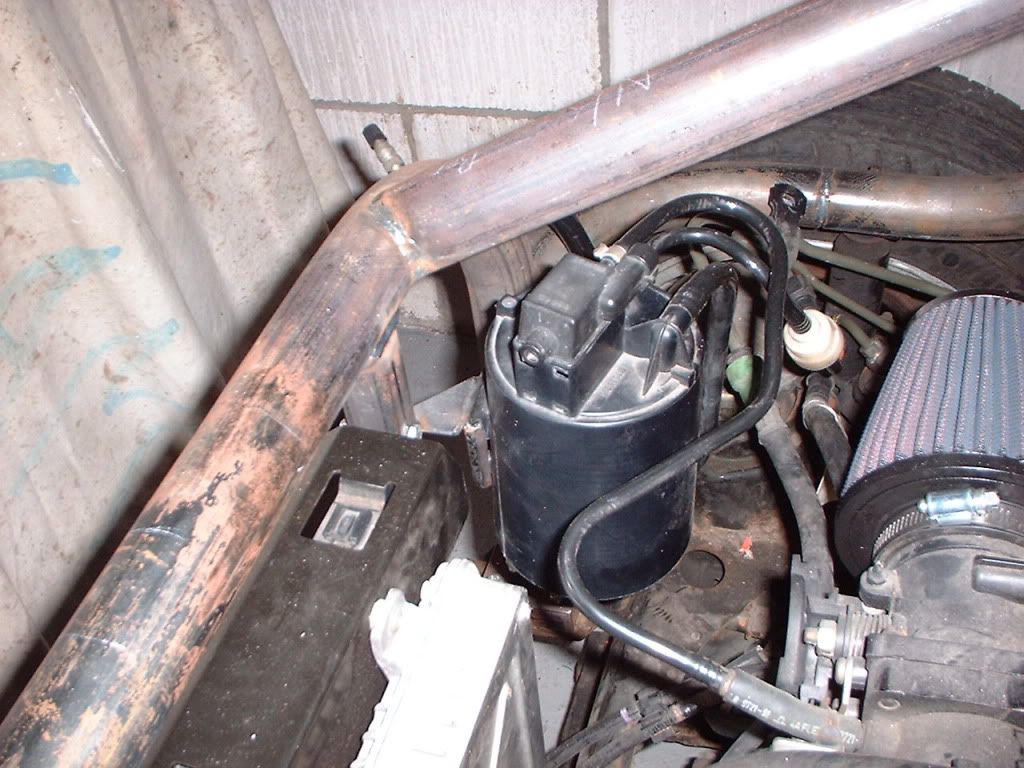
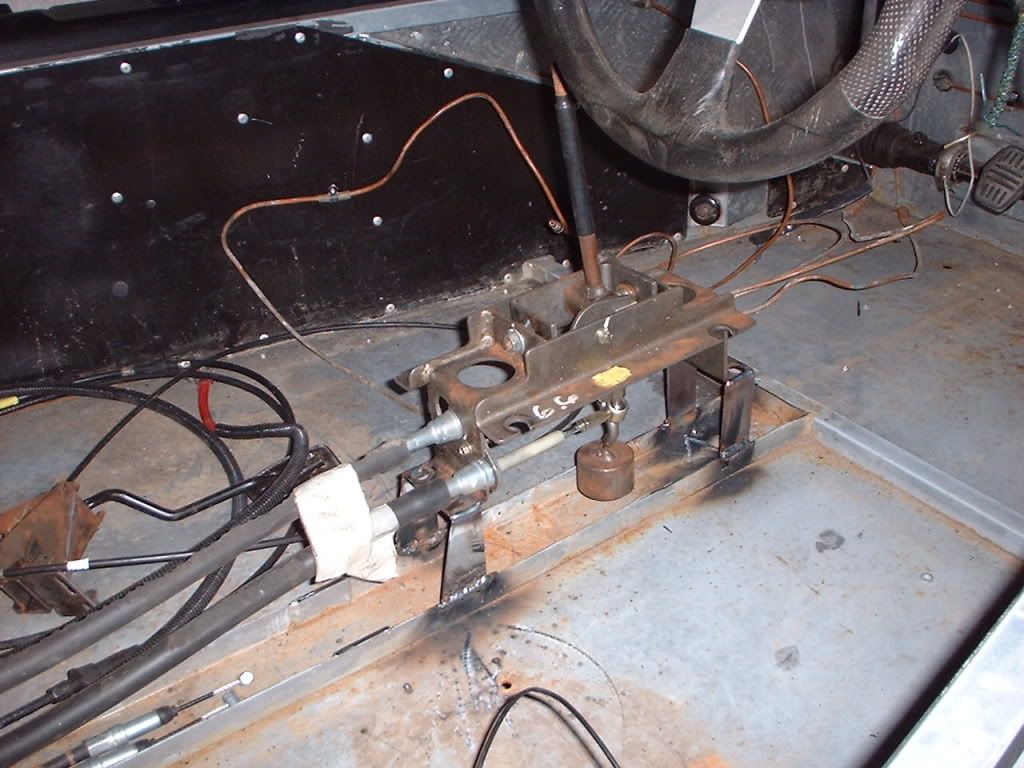
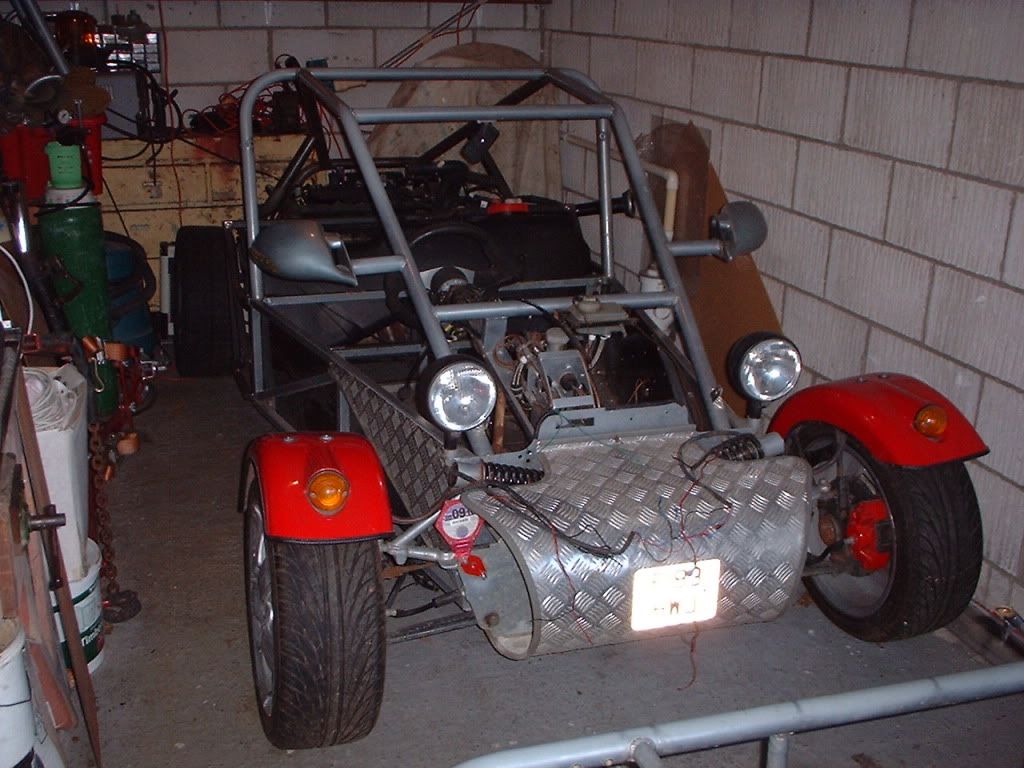
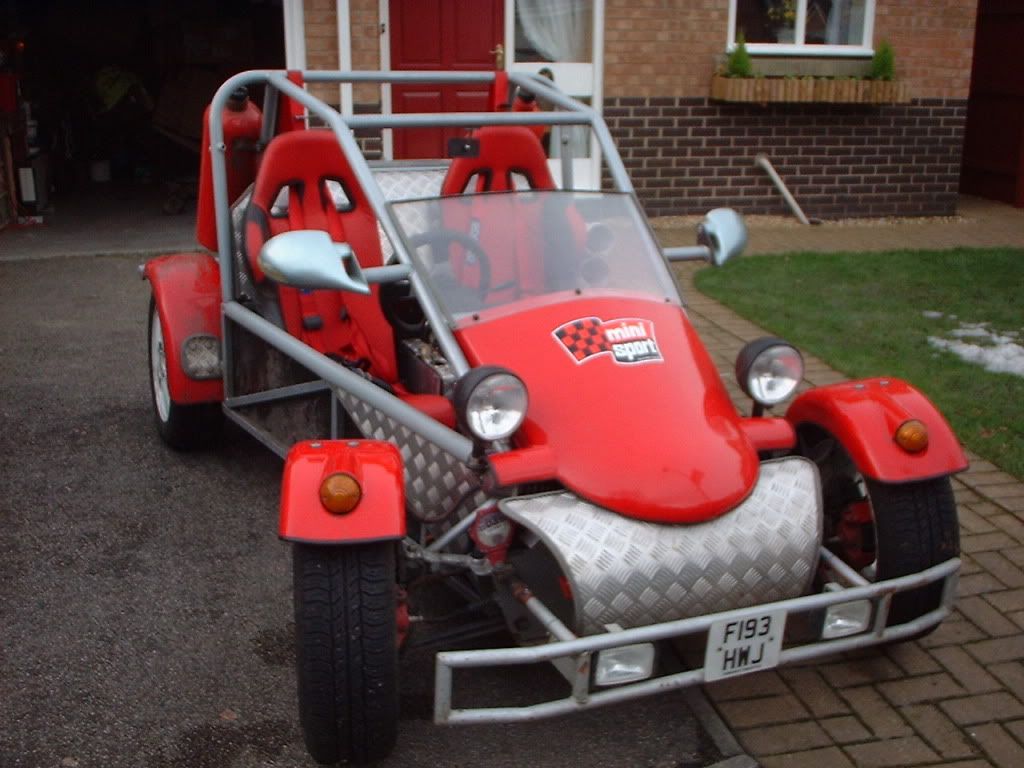
So this is how she looks right now!!
DSCF0006.jpg


DSCF0005.jpg


DSCF0008.jpg


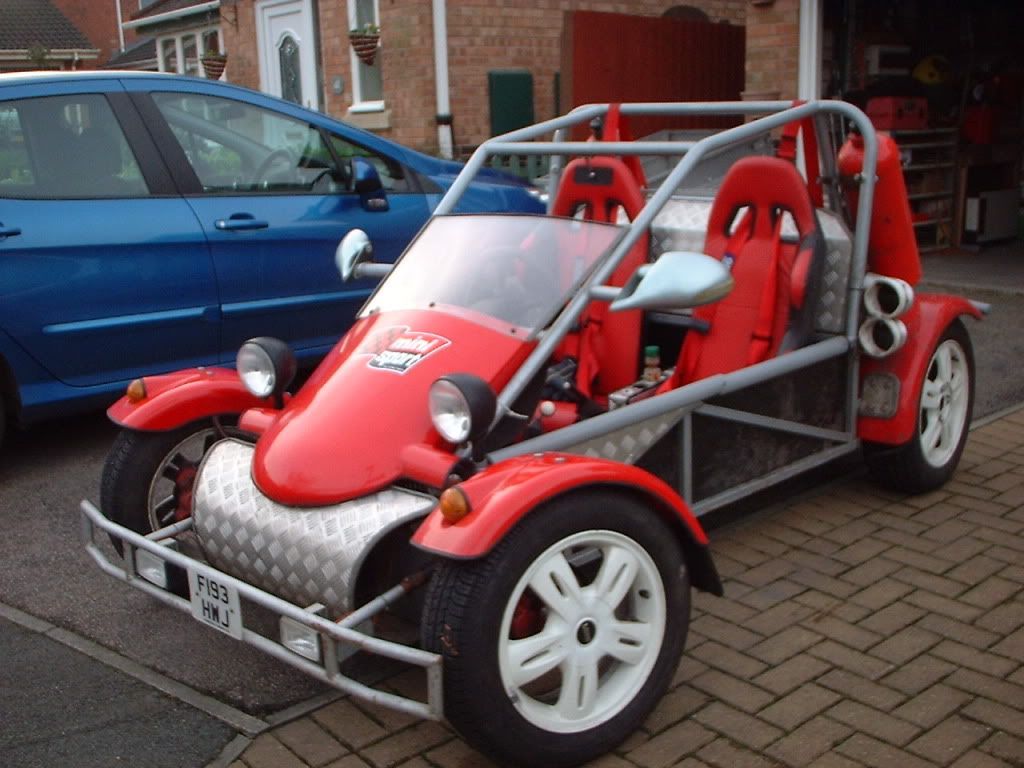
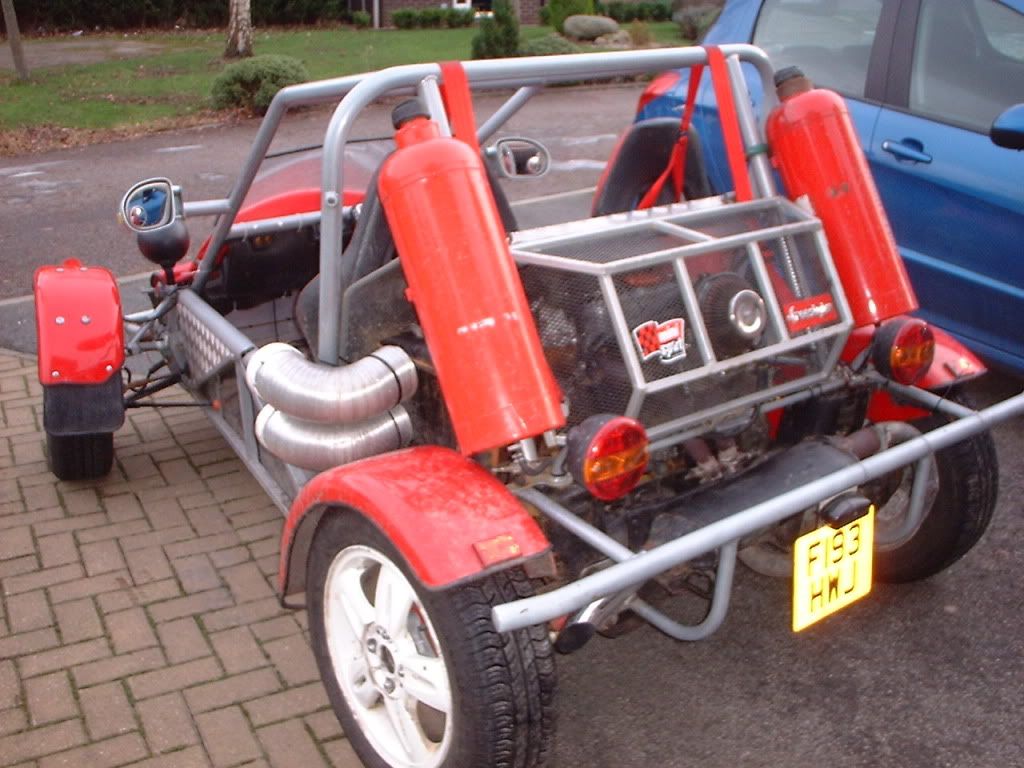
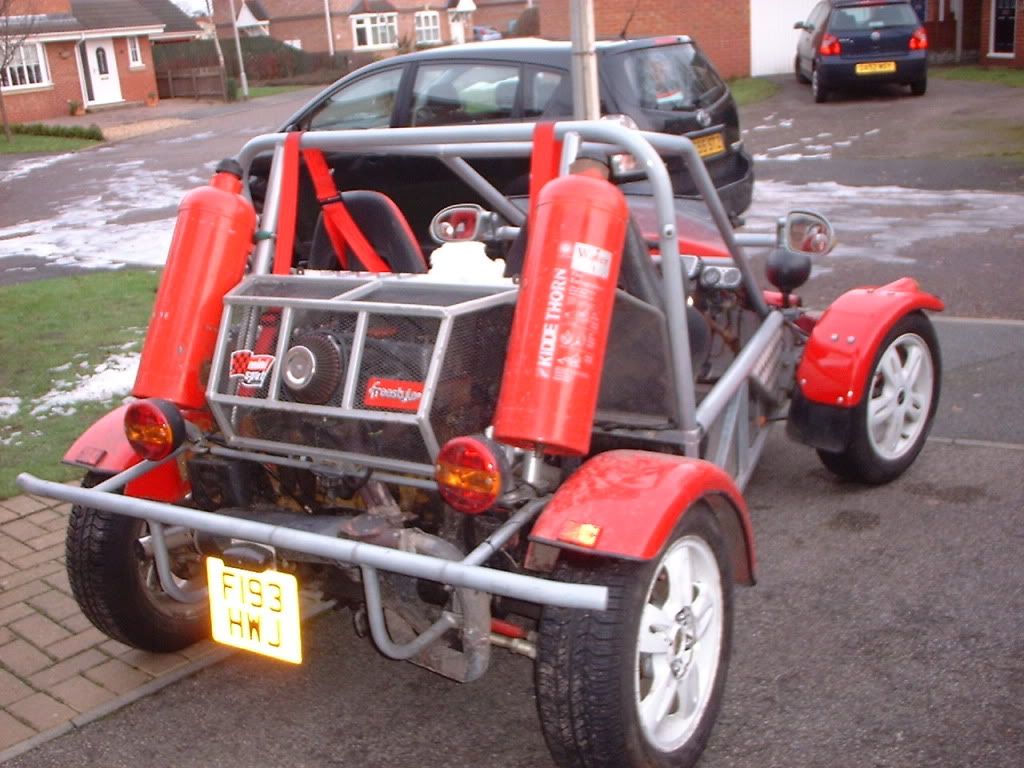
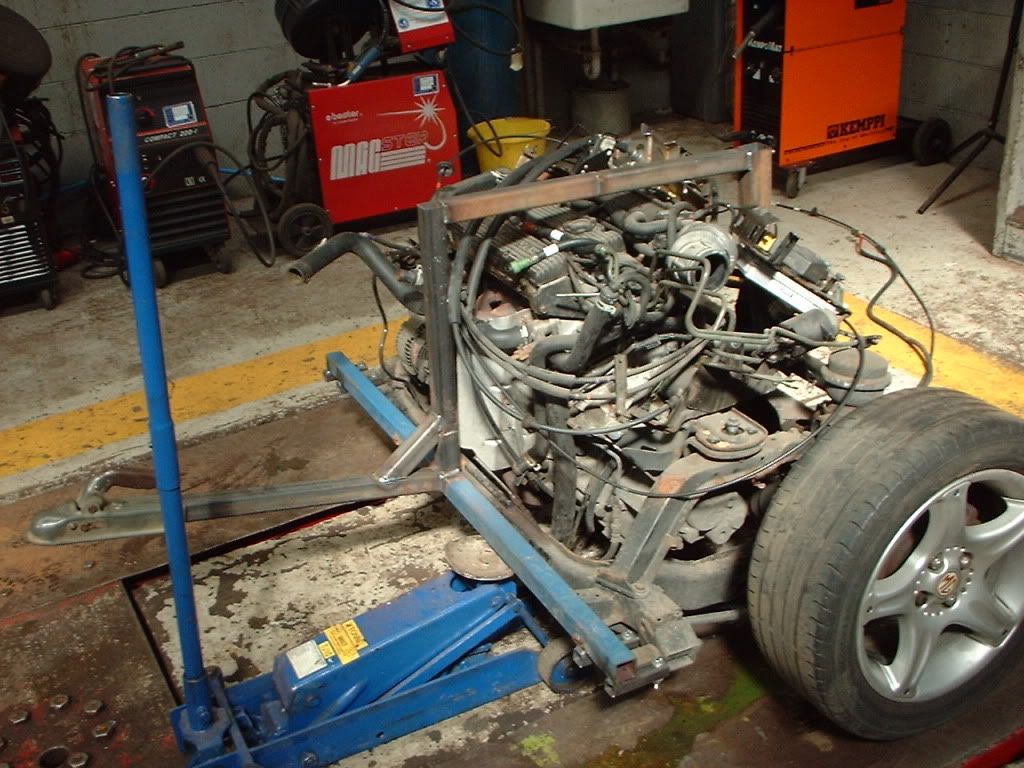
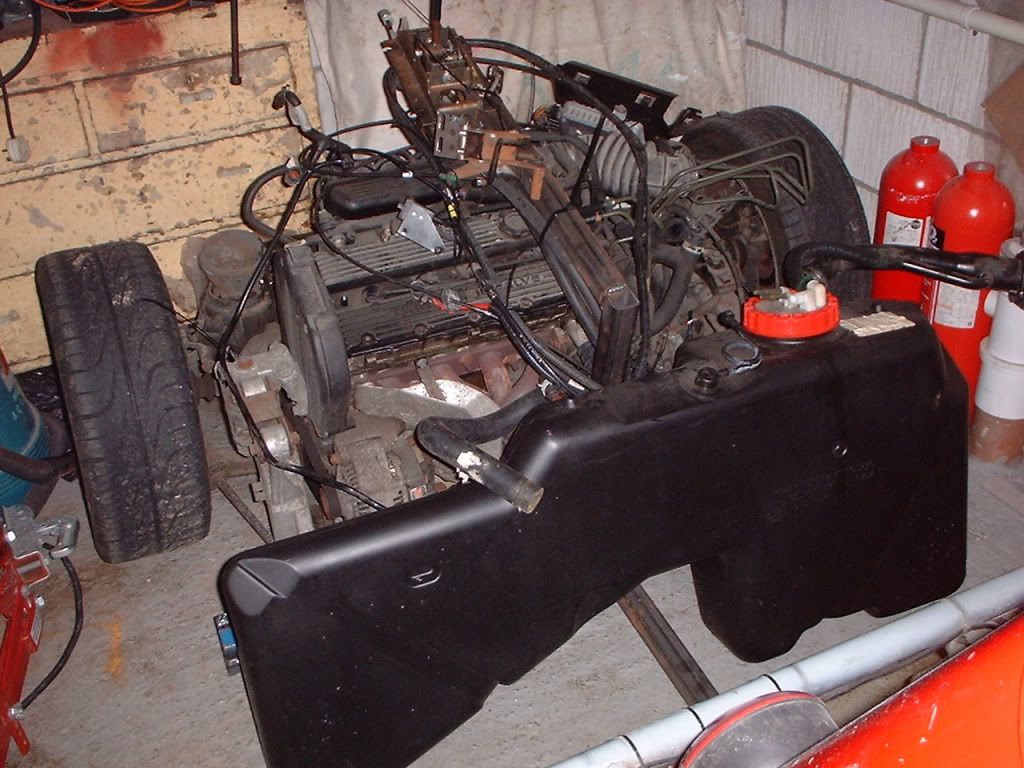
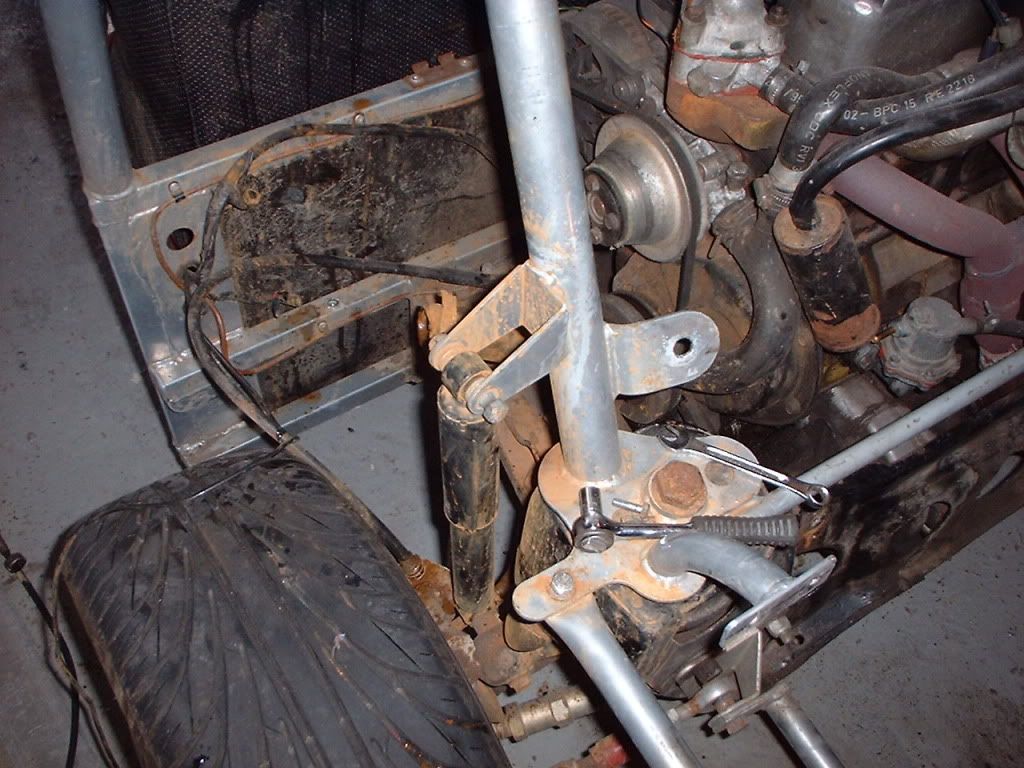
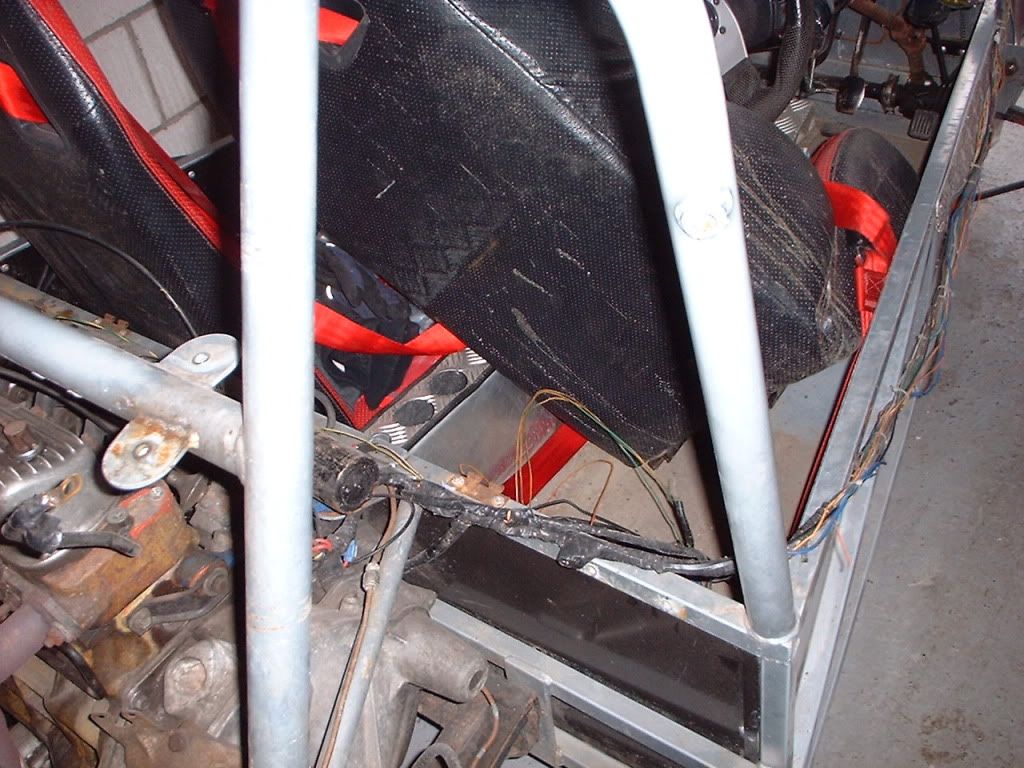
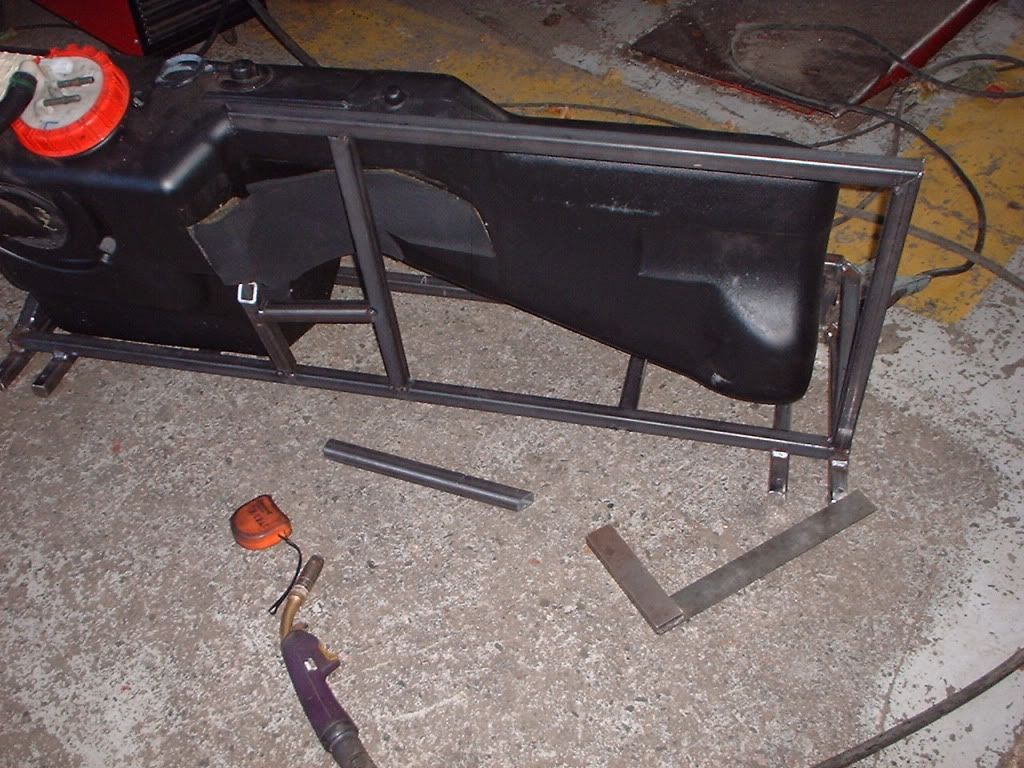
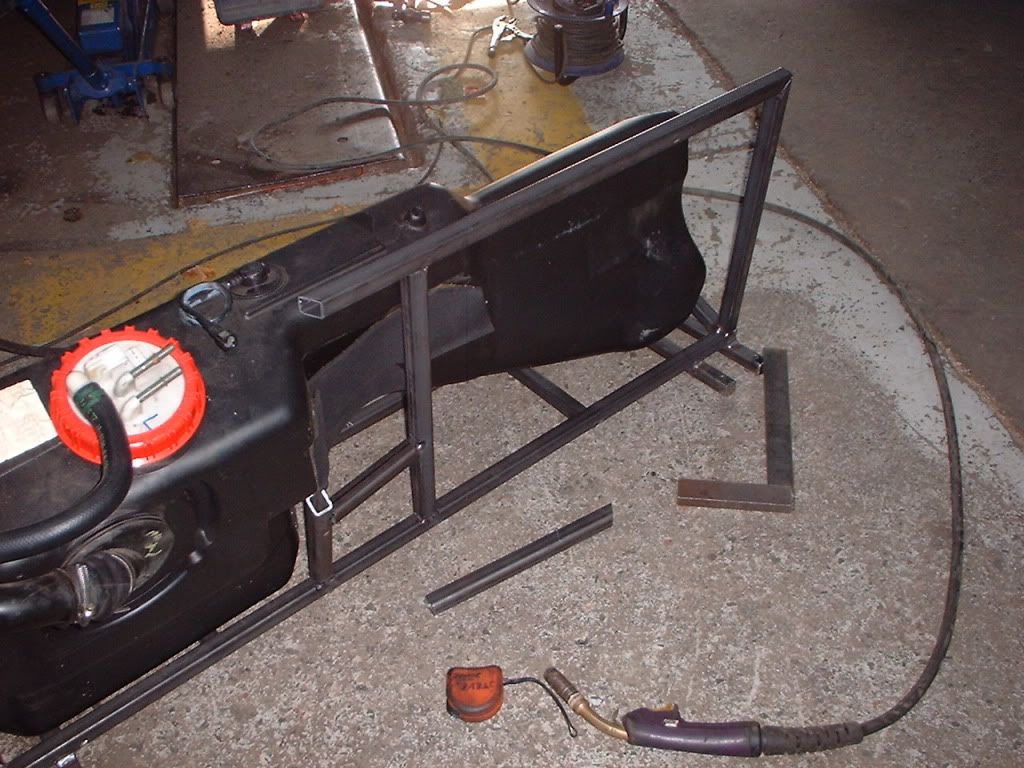
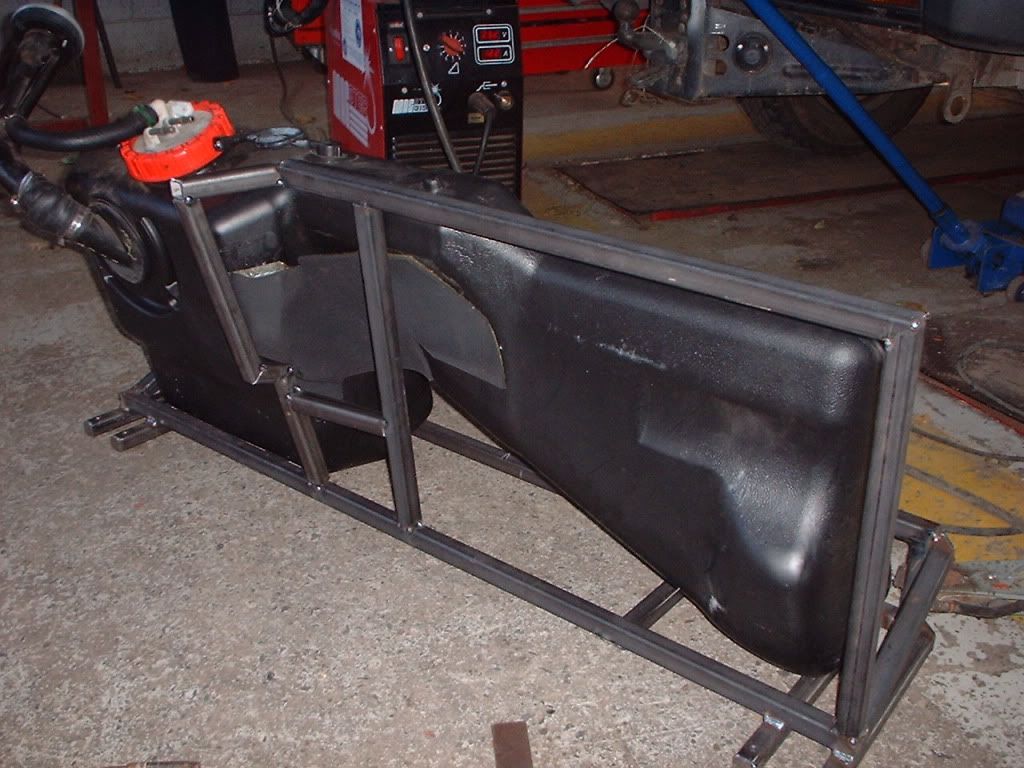
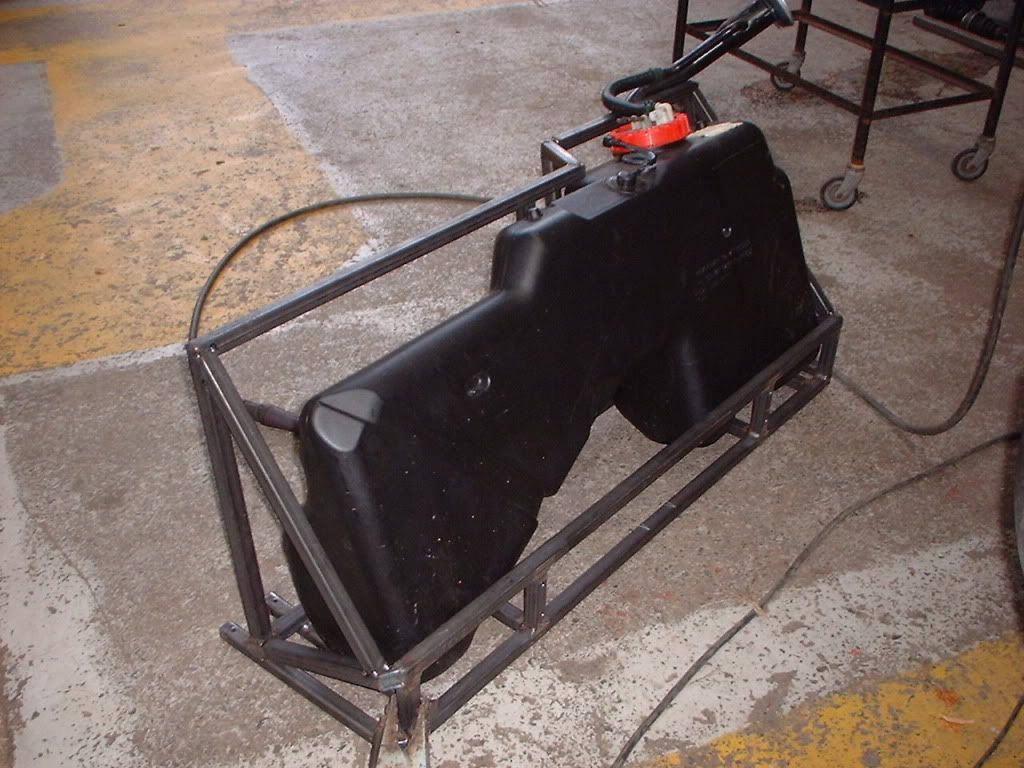
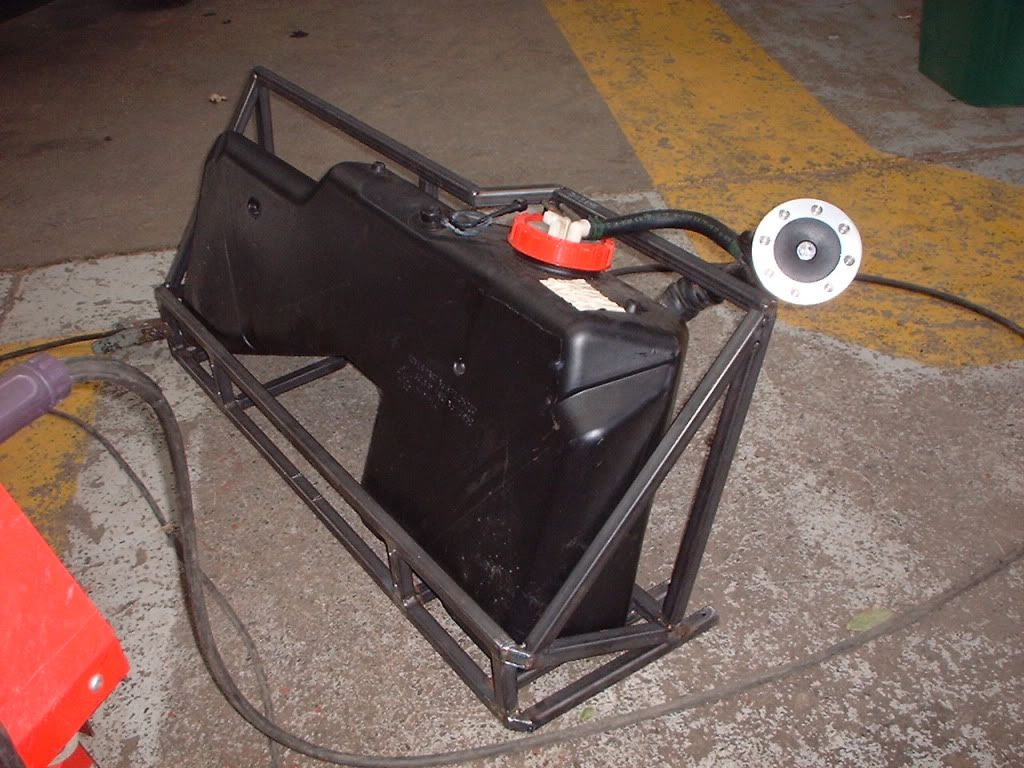
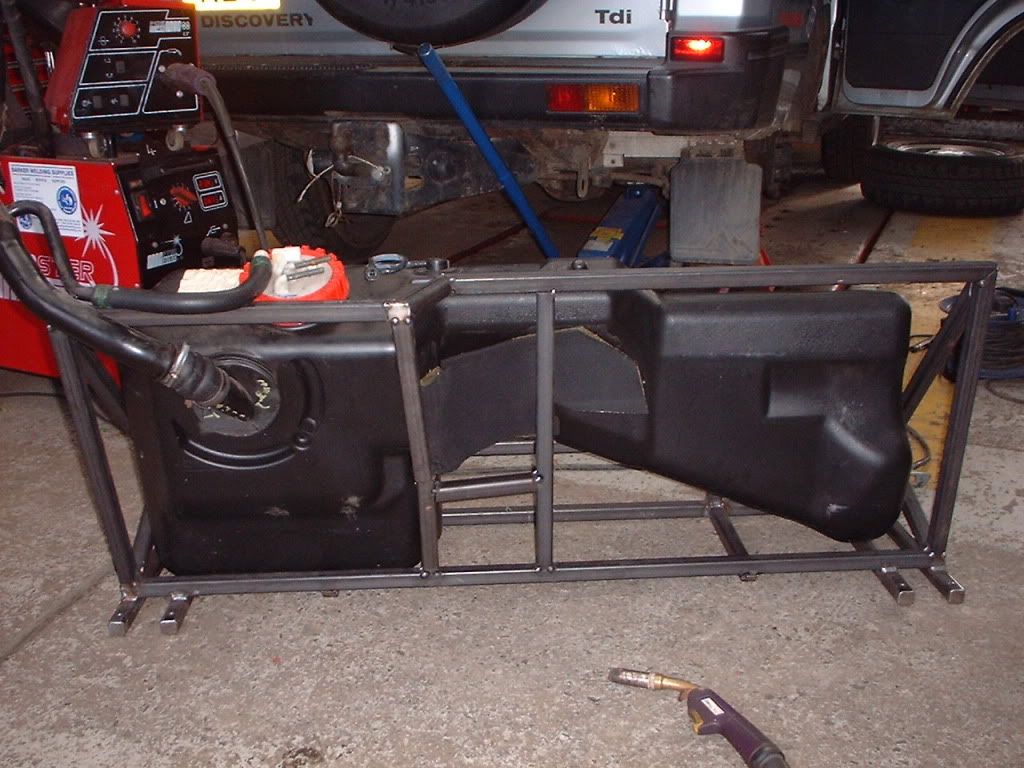
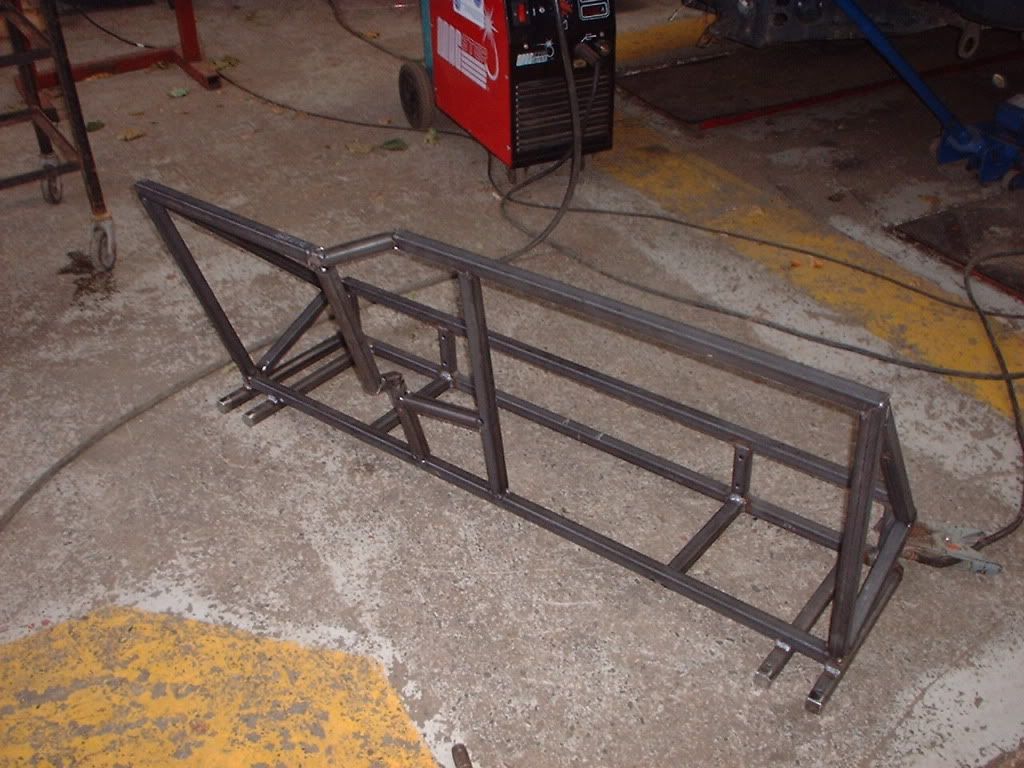
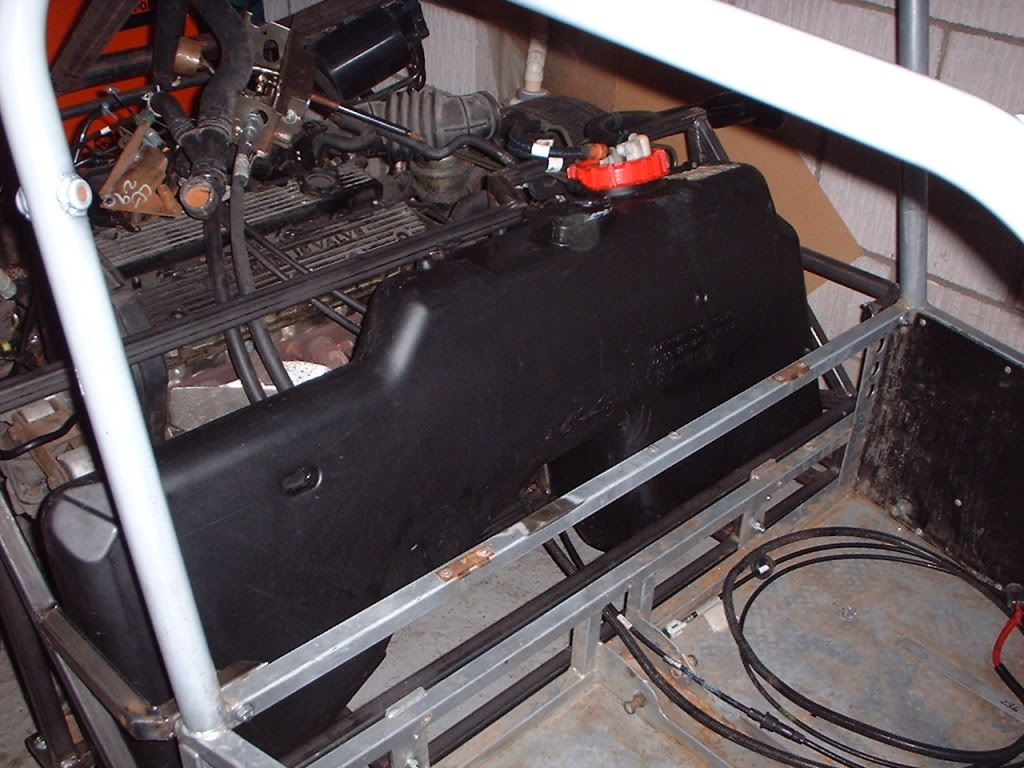
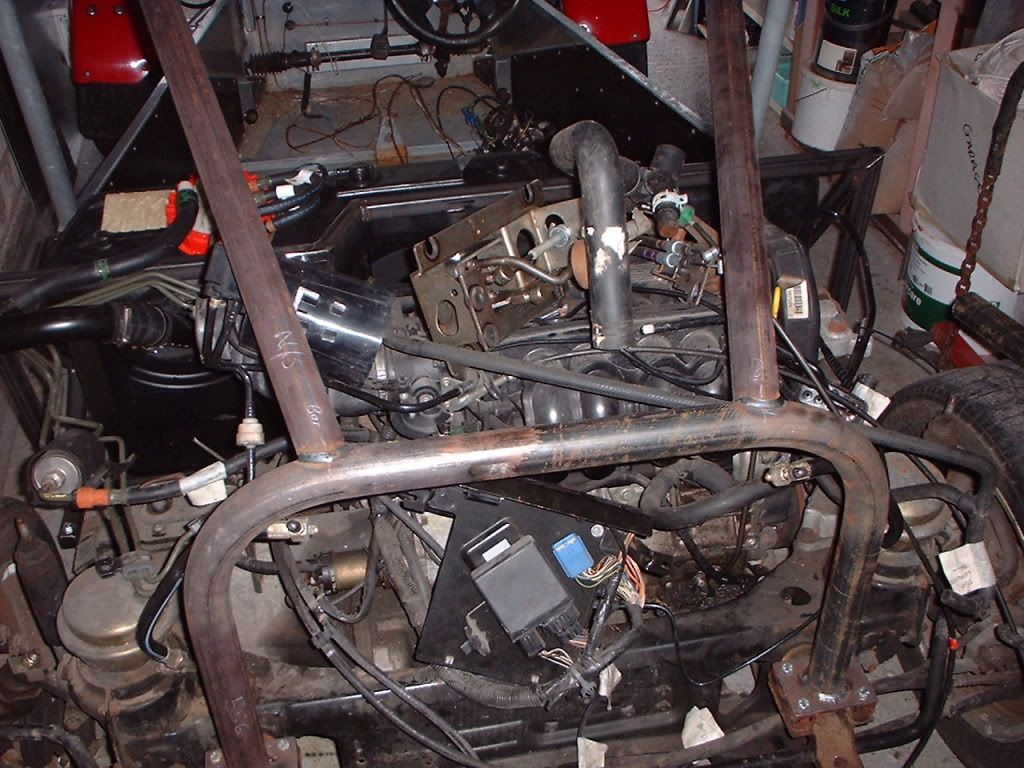
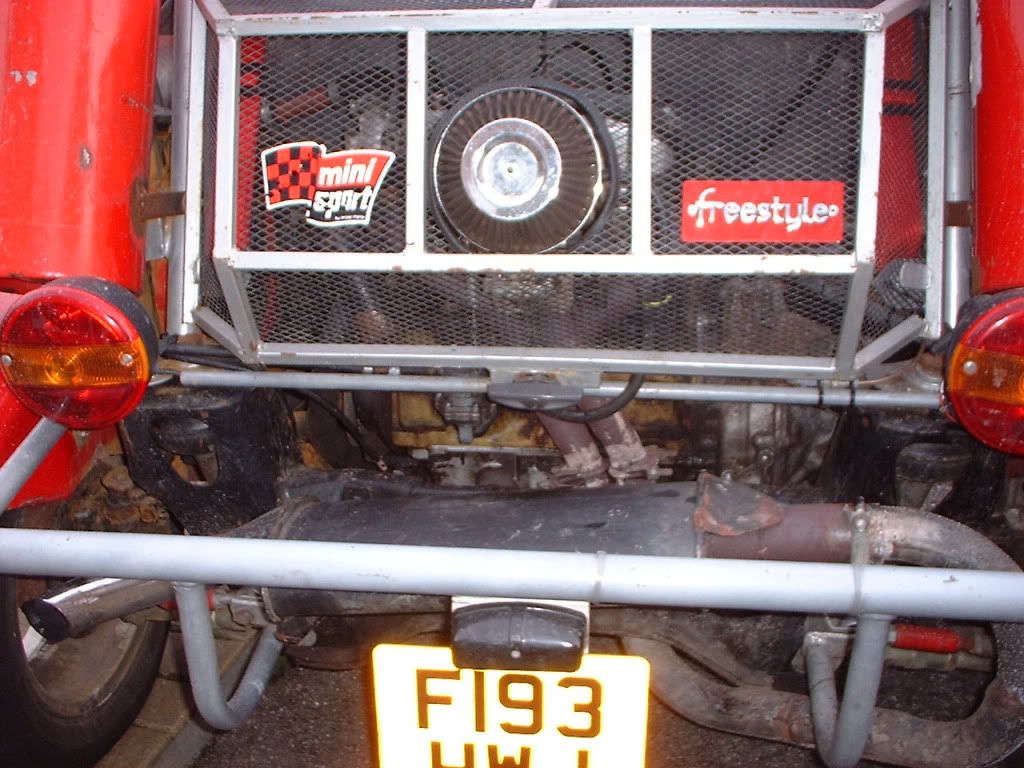
Have you noticed that only one fuel tank is connected? I've plans to construct an alloy tank in the near future, I'm also going to alter the radiator ducting!!

DSCF0009.jpg


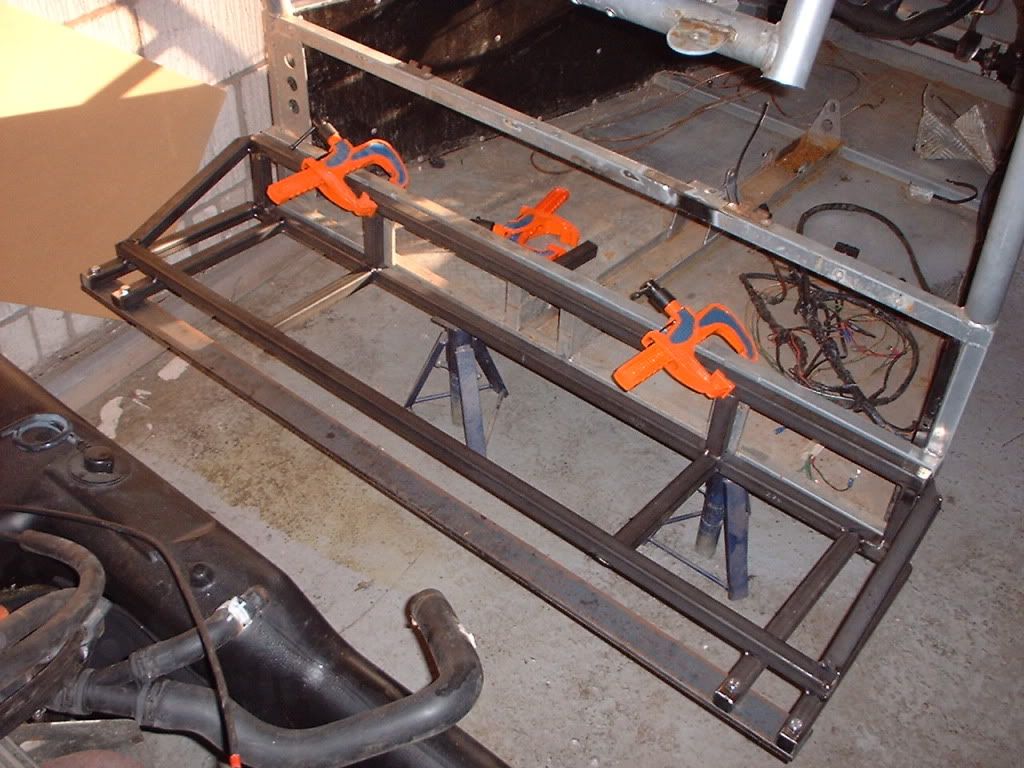
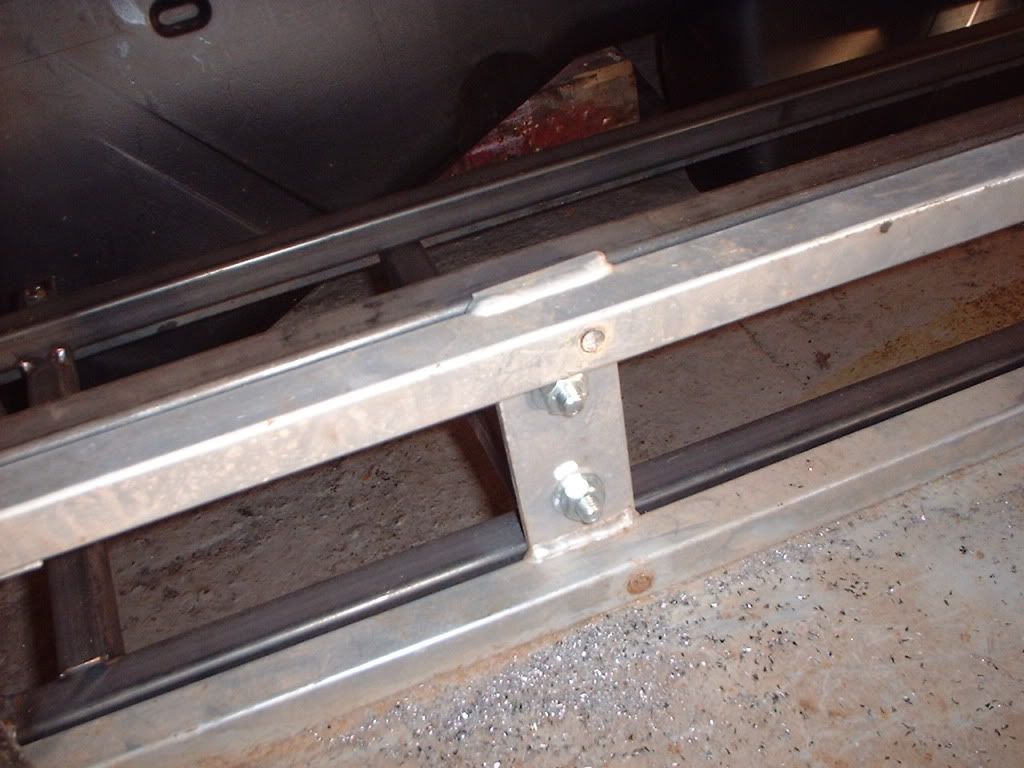
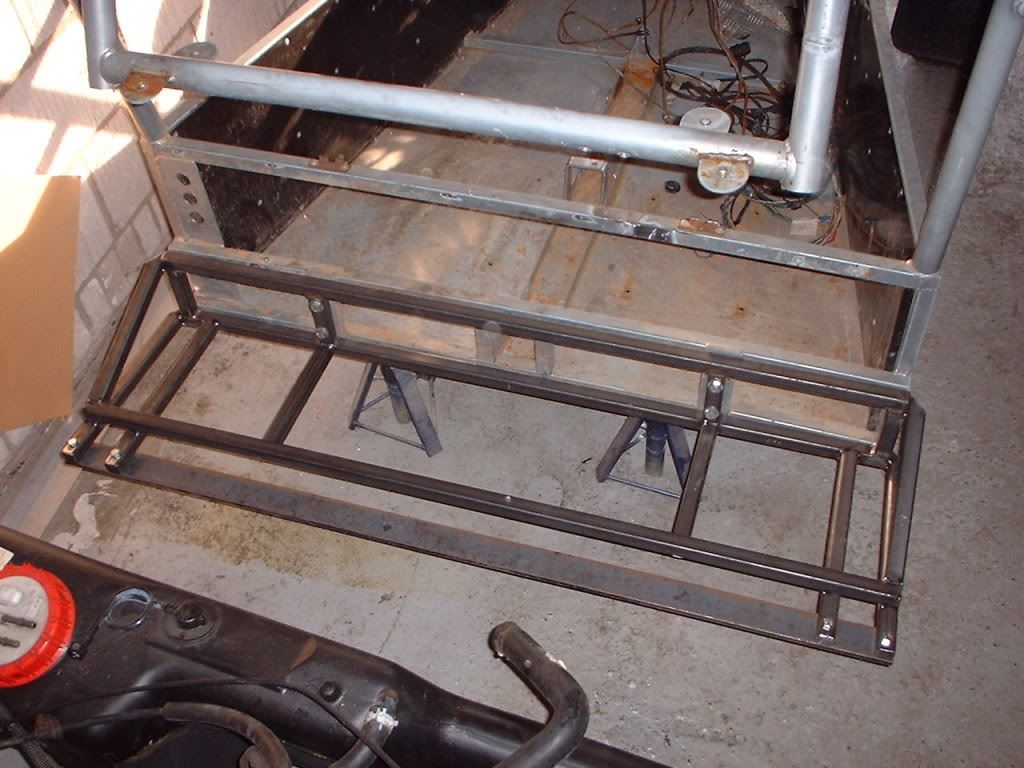
Any alterations I make, I'll take pic's and let you see them!

Steve.
 

Steves2580

New member
Hi All,

Just fitted the new fog lamp ;D, piece of cake!!

DSCF0005-1.jpg


So after fitting the lamp, me and Lee (my son) decided to go for a blast out in the snow ;D ;D

DSCF0008-1.jpg


It was a little on the cold side!!

DSCF0010-1.jpg


DSCF0009-1.jpg


Love it!!

Steve.
 

Steves2580

New member
Hi All,

Just a little up date!!

I've been beavering away and getting Mary into some sort of shape ;D

Well I started by treating the misses to a tip out on Valentines Day, we didn't go in the buggy (and I'll tell you why)!!
I thought it would be romantic to go to town and do a little shopping, the misses didn't realise that I was taking her to Halfords!!
So anyway, there I was in Halfords, low and behold there was a sale on, half price Alloy wheels!!
Well I couldn't help myself, a new set of wheels ended up in my boot!! I was told romance was dead!!!

Rushed home, with a mighty grin on my face and straight into the garage, after a few hours I was back out after painting and refitting one of the fuel tanks, fitting the new wheels (basically just messin) ;D

SNC00324.jpg


As you can see from the picture, me and Lee had our first motorway trip, just about half an hour to MiniSport at Padiham!! M6, M61 and the M65 (bloody cold, only had my overalls and a thin fleece).

Shes starting to look like someone cares!!

Keep you posted!!

Steve.
 

Steves2580

New member
Well, here we go!

The conversion is starting ;D

Collected MGF from Cheadle Hulme, it towed very well!

Only thing I've done is drag it back and put it in a barn at work, I'll be stripping the MFG as soon as possible :D

First Piccy is on its way!

Steve.
 

Steves2580

New member
Just been over to the barn and took this piccy ;D

DSCF0011708.jpg


While I was over with the car, I thought I'd best check it over!
It had been stood for nine months, I but the jump pack on (as the battery was missing), turned the key and the bugger fired up first turn! Thank god ;D

It didn't look too good when I first saw it, it had three flat tyres and a broken anti rollbar. I thought I'd bought a right kipper!!

I hope my luck isn't going to run out ;D

Steve.
 

Steves2580

New member
Well I've had a couple of hours stripping the MGF, finding loads of parts that I won't need, so I'll be filling ebay shortly ;D

DSCF0021908.jpg


Every wire and connector is marked up with masking tape, just hope I will be able to read my writing  :D

DSCF0031908.jpg


DSCF0041908.jpg


I plan on having a full day stripping on Saturday, hopefully get the rest of the loom out and possible the rear subframe and engine!

I'm having loads of fun ;D

Keep you posted!!!
 

Steves2580

New member
Hi,

Had another couple of hours of stripping the MGF today ;D I didn't get chance to take any piccy (bugger!)
Most of the loom is disconnected, dash is out, carpets are out, I've definatly made a right mess of it HaHa!

Tomorrow is an early start, hoping to get the rear subframe out, powerwashed and taken home to Mary, fingers crossed!!!

I'll get some more pictures as it is now, then when I've had enough tomorrow ;D

God this is good fun! (is that sad ???)

Steve ;D
 

Steves2580

New member
Well I have had a bad day on Saturday :mad:

The M G F ing git is still in one piece :( I really wanted to get it stripped right down.

All the parts are pretty freed off, so it's only a couple of bolts and it's in bits, just run out of time!

Wiring loom is out and in a large box, all brake lines removed, subframes unbolted bar four in each.

Handbrake removed, gear stick and cables removed, steering column removed, fuel tank out (what a bastard!), all pipes and wires released from body, so it should fall free ???

Only got a couple of pictures!!

Rolled into workshop and onto ramp
DSCF0052108.jpg


Full cockpit wiring loom in the nearside footwell
DSCF0062108.jpg


Steve.
 

Steves2580

New member
Hi folks,

I really got cracking yesterday, got loads done ;D

I knew I was close to getting the front subframe off, but it just fell right off (apart from me getting absolutely soaked with Hydrogas from the suspension) ::)
DSCF0072408.jpg


Then straight onto the back end, just had to remove all the Hydrogas pipes and she started to peel away nicely
DSCF0082408.jpg


DSCF0092408.jpg

Struggled there for a short time as I'd missed removing the handbrake cable brackets from the rear of the engine bay :-[

DSCF0102408.jpg


DSCF0112408.jpg


Gently does it and clear (top view)
DSCF0122408.jpg


Rolled out from underneath
DSCF0132408.jpg


Old Michelle outed ;D
DSCF0142408.jpg


DSCF0152408.jpg


DSCF0162408.jpg


I then had an issue on how to get the engine and subframe home, time to get creative ;D
So I made it into a trailer ;)
DSCF0172408.jpg


DSCF0182408.jpg


DSCF0192408.jpg


DSCF0202408.jpg


Parked it in thew garage and had a bit of tea ;D
DSCF0212408.jpg


DSCF0222408.jpg


I should have called it a night, but I got a little carried away and started stripping Mary's back end ::)

DSCF0232408.jpg


DSCF0242408.jpg


So Mary is getting undressed for us, exhaust off, engine cover off, fuel tanks drained, fog light and number plate removed!
That's it for today, as soon as I do some more I'll put up some more piccy's ;D

Steve.
 

Steves2580

New member
Hi guys,

Well I didn't have a bad day yesterday, not as much done as I'd of liked ::)

Thought I'd better make it safe, so the battery was disconnected ;)
DSCF0252808.jpg


Fuel tanks off, started to remove rear lights, fancy some different ones when I get to putting her back together :eek:
DSCF0262808.jpg


Wire covers removed from both side so wire chasing could be done
DSCF0272808.jpg


Rear lights gone, rad drained and gone ;D
DSCF0282808.jpg


Loads of room to play with the rad and fan assembly out :D
DSCF0292808.jpg


Seat removal taking place, what a bugger to get to the nuts ???
DSCF0302808.jpg


Loads of wires behind the seat, cool 8)
DSCF0312808.jpg


I'm going to try and have a full day on her tomorrow, apart from a visit to the Trafford Centre, Lee's phone has to go back to the Apple shop. I was going to take it to our local green grocer, but I'm told thats the wrong type of apple (granny smith) ;D ;D

Hope you all like the photo's, let me know if I can improve them!!

Steve.
 

Steves2580

New member
Hi all,

Not a bad half day really :D

Got started with more stripping of Mary, both from seats out
DSCF0323008.jpg


Centre console removed
DSCF0333008.jpg


After removing the centre console I came accross this, if I was Rolf Harris I'd ask if anyone can tell what it is??
I've been welding for 20years, teaching it for 7years and I've never seen eagle poop like this before (no offence to whoever did this, god forbid it was anyone from our club) :eek:
DSCF0343008.jpg


Lower fire wall removed, giving more light and room to move
DSCF0353008.jpg


DSCF0363008.jpg


All bolts removed from subframe
DSCF0373008.jpg


Jack place under front of engine to support and lower as required
DSCF0383008.jpg


Into two!!
DSCF0393008.jpg


Engine had to be on a large tilt so that the carb was clear of the rear tie bar
DSCF0403008.jpg


Main chassis rolled forward clear of the engine
DSCF0413008.jpg


Chassis out on to front lawn, just a little sun bathing
DSCF0423008.jpg


Tow frame removed from MGF engine
DSCF0433008.jpg


MGF engine levelled off ready for measuring up for a new subframe
DSCF0443008.jpg


Chassis, new engine and old 998cc engine all in garage, snug fit
DSCF0453008.jpg


Fuel tank in place for measuring up
DSCF0463008.jpg


Old engine and subframe supported by jack
DSCF0473008.jpg


Thts another day gone ;D

Just about to set off for Trafford Centre (such fun, hope traffic's not too bad :(

I'll keep you posted on the conversion ;D

Steve.
 

Steves2580

New member
Hi Guys,

Just a small update, not a great deal to report :(

Handbrake and gearstick removed, then just a basic clean up.

DSCF0480209.jpg


DSCF0490209.jpg


DSCF0500209.jpg


998cc Engine, subframe and all the ancileries up for sale if anyone is interested

DSCF0510209.jpg


Steve.
 

Steves2580

New member
Hi guys,

Just a little done today!

The other day I took loads of measurements of the rear chassis of the Freestyle and loads of measurements of the MGF subframe and the body shell!! :D

Well today I threw all the measurements in the air and took the one's that landed first, took those measurements and build a small subframe, hopefully it will bolt to the rear chassis and to the front of the MGF engine subframe!

Bloody hope so, it's millimeter perfect ;D

I'll get some piccy's tomorrow, when it may be bolted back together ;D

Can't wait to get it back on the road ;D ;D

Steve.
 

Steves2580

New member
Another really good days progress on "Mary" ;D

Started with fitting the new subframe that bolts to the chassis and MGF subframe
DSCF0530409.jpg


DSCF0550409.jpg


Subframe attached and checked that the MGF fuel tank actually fits in
DSCF0560409.jpg


DSCF0570409.jpg


MGF engine subframe brought forward to bolt to new subframe and chassis
DSCF0600409.jpg


Nearly there ;D
DSCF0610409.jpg


Child labour ha ha ;)
DSCF0620409.jpg


DSCF0630409.jpg


Rear hoop fabricated
DSCF0640409.jpg


Rear subframe mount ready for hoop
DSCF0650409.jpg


Hoop support getting cut to length
DSCF0670409.jpg


Hoop and N/S support tacked in place
DSCF0680409.jpg


DSCF0690409.jpg


Both supports tacked in place
DSCF0700409.jpg


Rolled out on to drive way ;D ;D ;D
DSCF0710409.jpg


DSCF0720409.jpg


DSCF0730409.jpg


Looking very nice, What do you think? Let me know!!!

;D ;D ;D ;D ;D

Steve.
 

Steves2580

New member
Just had half an hour or so today :mad:

Removed Mary's wiring loom, most of it was damaged, looked like a short curcuit had happened at sometime!
Poor little thing!

Still enjoying myself with the conversion!

Keep the thoughts and comments coming guys ;D

Steve.
 

Steves2580

New member
Just a little update!

Had a couple of hours on the fuel tank frame, here's some piccys

Sat the fuel tank on the frame, then started a bit of fabricating, built up the rear frame
DSCF0750709.jpg


DSCF0760709.jpg


This was impossible to measure up and draw plans, it was a case of cut a bit of steel, tack it in place, then cut the next piece and so on ;D
DSCF0770709.jpg


DSCF0780709.jpg


More side bracing going in
DSCF0790709.jpg


DSCF0800709.jpg


Fuel tank removed before welding it up, thought it would be best, as the bugger's full of petrol ;D ;D
DSCF0810709.jpg


DSCF0820709.jpg


The above pictures were taken yesterday, since then the frame has been fitted back in the buggy, but I've missed getting any pictures of it in place!!

Looking very cool, if I do say so myself ;D ;D

Next update as soon as I can!!

Steve.
 

Steves2580

New member
Another little update:-

Not a great deal done this weekend, more shopping (boring stuff, ASDA etc) than working on the buggy :(
At least I did a little bit, so its closer to the finish :D

First job on the list for this weekend was getting the fuel tank frame back in and sitting the tank in too, there's still a tiny bit of welding to do on it, but it will have to come out again ;)
DSCF0831109.jpg


I then moved onto the back end, time to position the engine brain, quick measure, check wire's would be long enough and off we go!
DSCF0841109.jpg

DSCF0851109.jpg


I made some little hanger brackets and welded them in place, then just a quick bolt up :D
DSCF0861109.jpg


DSCF0871109.jpg


Moved onto N/S rear shocker mounting
DSCF0881109.jpg


DSCF0891109.jpg


Copied that design over onto the O/S
DSCF0901109.jpg


Making of the shocker brackets
DSCF0911109.jpg


DSCF0921109.jpg


DSCF0931109.jpg


Both side brackets tacked up ready for welding off
DSCF0941109.jpg


Welded
DSCF0951109.jpg


Polished up
DSCF0971109.jpg


O/S bracket fitted to the mount, shocker inplace
DSCF0981109.jpg


N/S bracket fitted
DSCF0991109.jpg


I was going to roll her out of the garage, but the weather was crap :mad:
I really want to see it out so I can get a real good look and get some more pictures for you, so frustrated :(

Bring on the next hour I get free ;D
Keep you posted

Steve.
 

Steves2580

New member
Just a small update!

Not had a right lot of time to play this weekend :(

Pictures of the Air Purge Tank bracket
DSCF1001909.jpg


Nice little bracket, while tacking this little bugger I set fire to my jeans (what a prat)
DSCF1011909.jpg


DSCF1021909.jpg


Purge Tank fitted  :D
DSCF1031909.jpg


DSCF1041909.jpg


Not got a clue what this purge tank actually does??
DSCF1051909.jpg


Then I thought I'd better get my arse into gear and get something constructive done ;D
So the gear linkage system had to be welded into place :D
DSCF1061909.jpg


DSCF1071909.jpg


Well that is it for today, as I said a very small update.

A stage closer!

Steve.
 

Steves2580

New member
Just a small update, not had a great deal of time on the conversion today:-

First job on todays list was getting the MGF throttle peddle assembly to fit, what a bugger that was :(
Couldn't take any pictures of the construction, but here is the finished/fitted assembley
DSCF1082609.jpg


Loads of modifications (cutting/welding/bolting) had to be done to make a large peddle bracket fit in a small place
DSCF1092609.jpg


Next job was the handbrake, this wasn't easy either :(
I'd made some plates the other day, it was noe time to fit them to the buggy, again no pictures of the fitting operations, just the fitted items
DSCF1102609.jpg


DSCF1112609.jpg


DSCF1122609.jpg


After welding the handbrake in position, I had a quick tidy up, sweeping the floor of both buggy and garage, then I stepped back and took this picture ;D

DSCF1132609.jpg


Well not as much done as I wanted too, but other jobs had to be done (mowing the grass, clipping the hedge, etc).

At least its another stage closer, I'm feeling the wiring loom is next :D

Wish me luck ;D

Steve.
 
Top