Bruces long Freestyle project

BRUC3

New member
So today I finally picked up my Freestyle after waiting patiently for a few weeks.

Its going to be an on-going project which in truth will probably be spread over a couple of years!

At this time my girlfriend is currently 27 weeks pregnant with our first, so we will see how old Ruby will be once the buggy is fully SVA'd and road legal!

I have basic knowledge from owning a mini pickup a few years ago. (about 6 years to be a bit more precise!)

All the work will be carried out in my garage which doesnt have electric or heating, so cant see much getting done through the winter months! I do however have a generator which enables me to use a grinder etc...!

Anyways, thats enough anout my background and on to the buggy!

So I set off at 8.30 this morning in my Transit van. The overall journey consisted of 2 cars, a smashed headlight, 1 car trailer, and a full tank of fuel! (dont ask!)

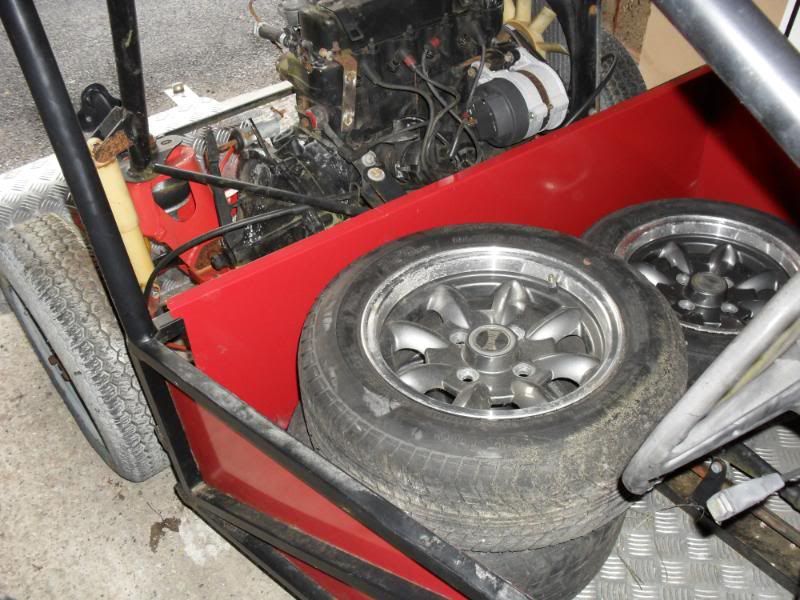
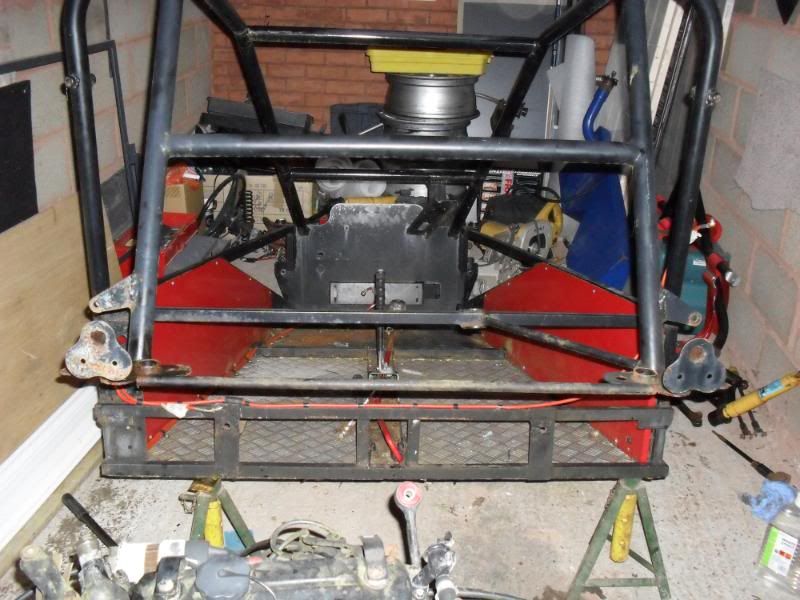
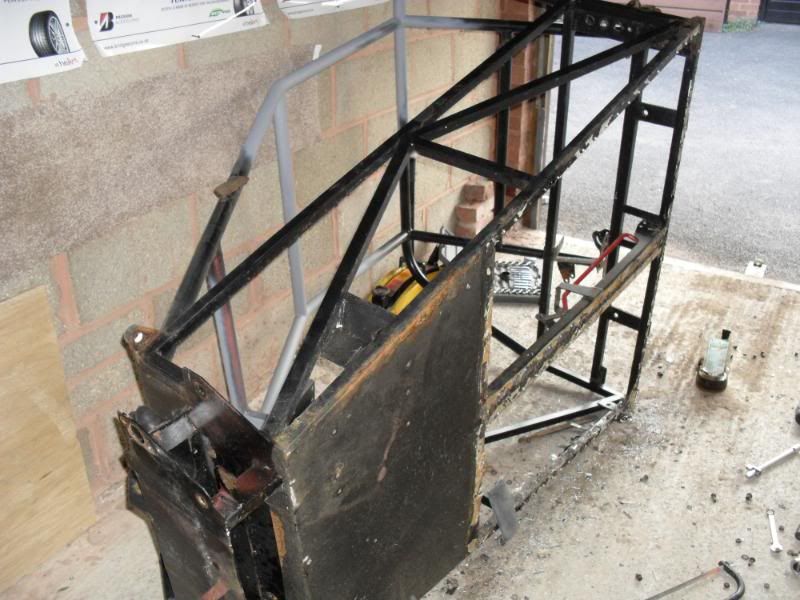
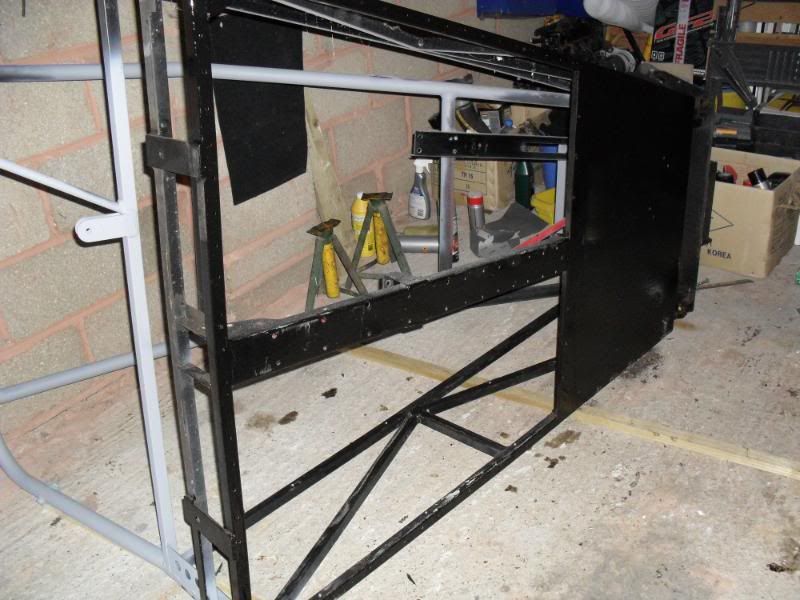
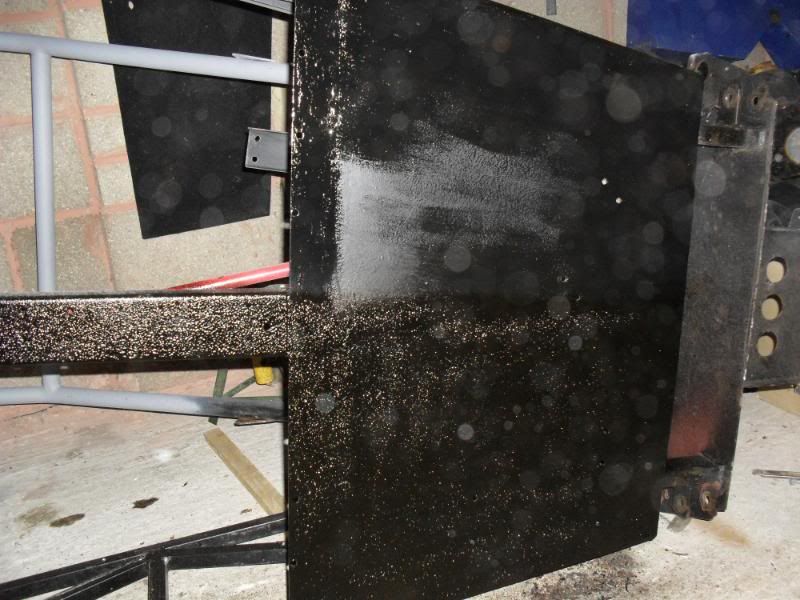
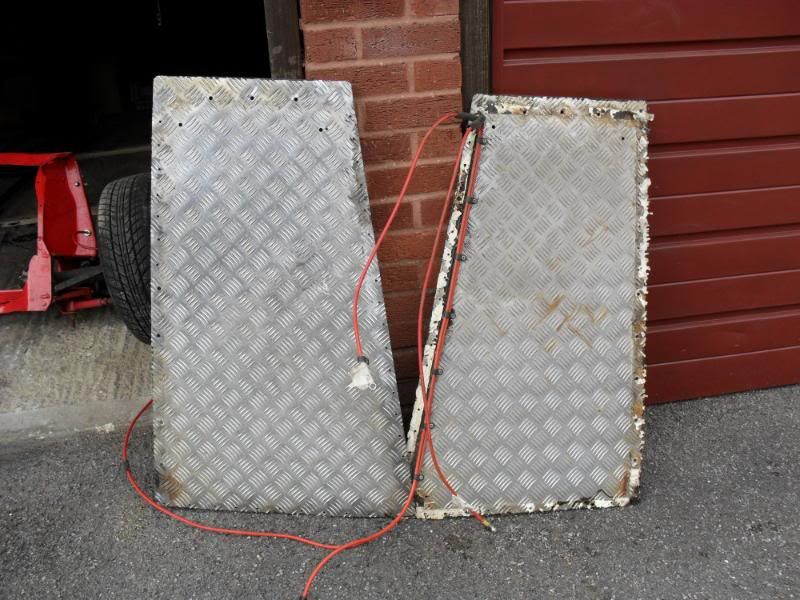
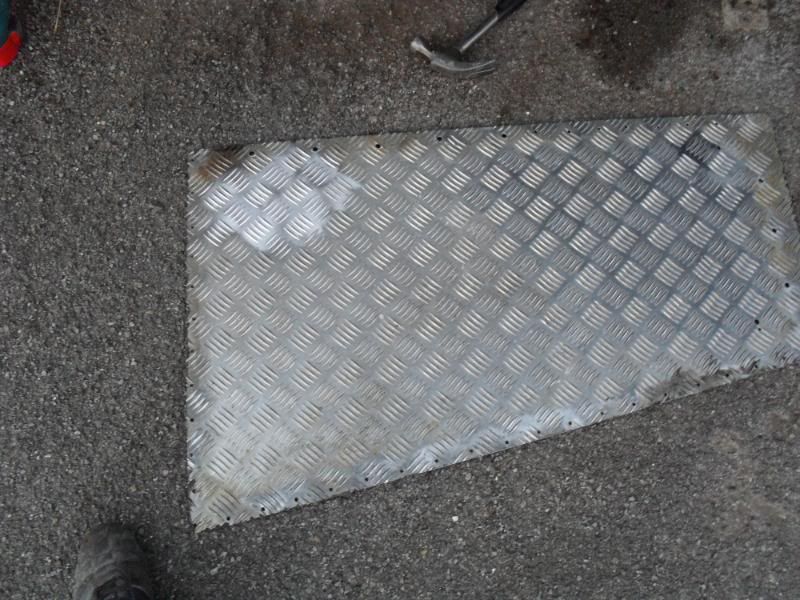
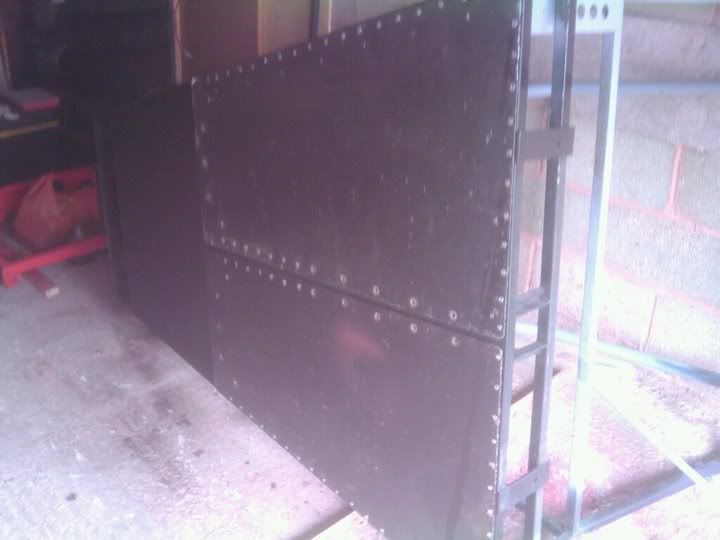
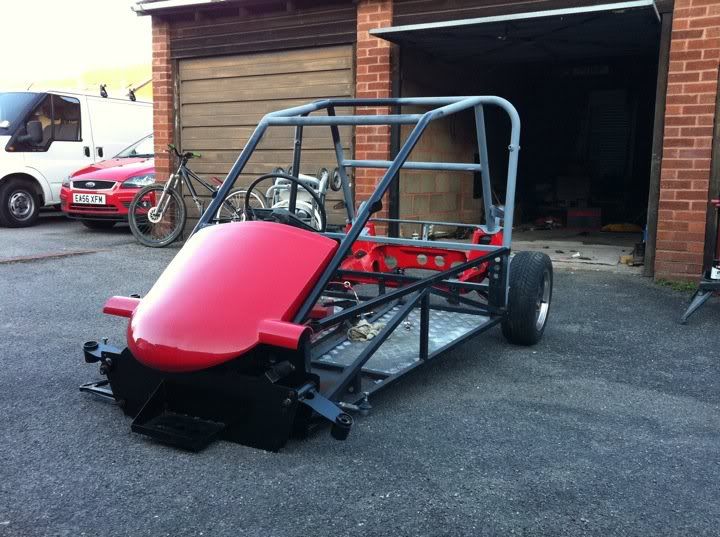
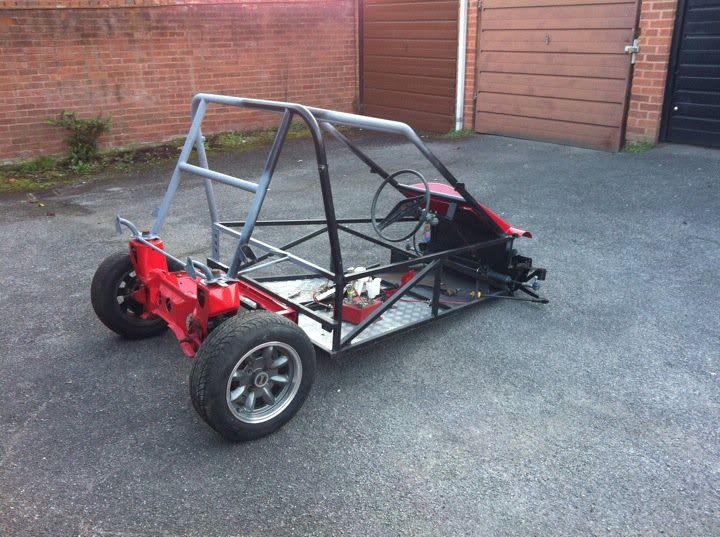
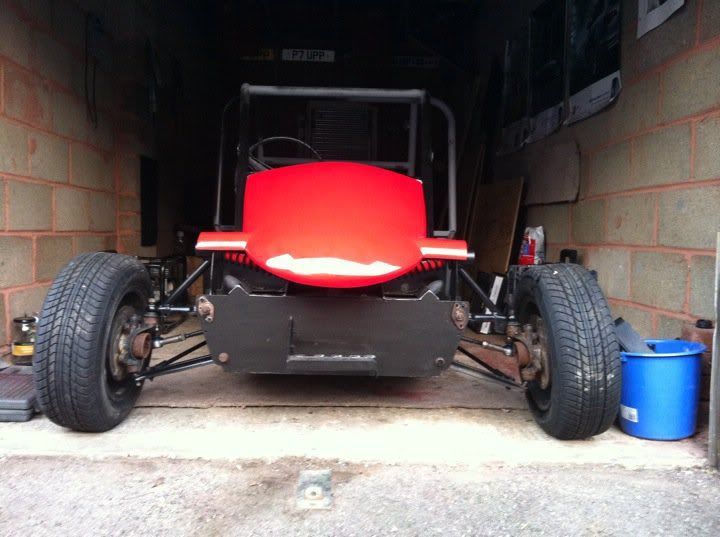
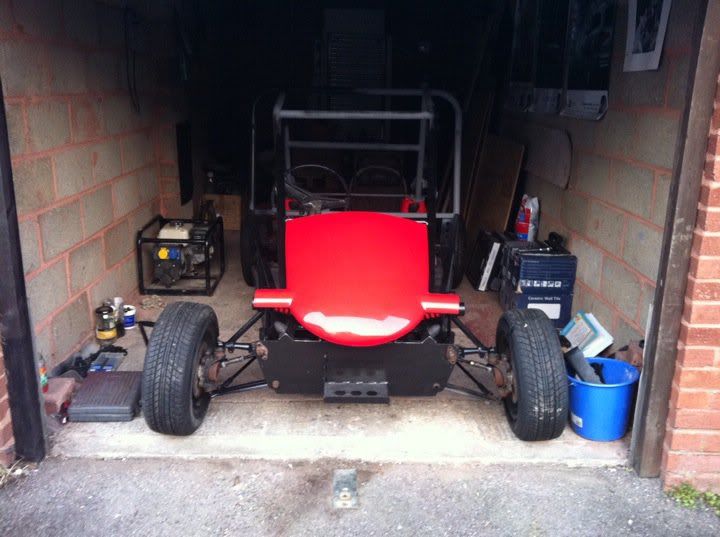
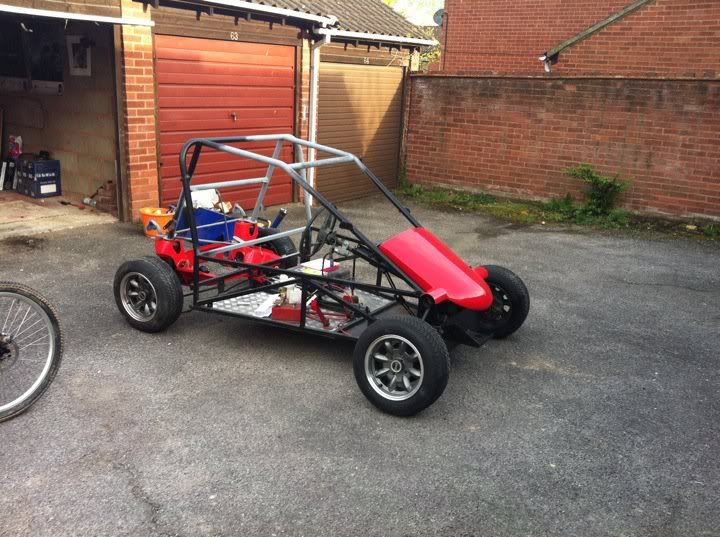
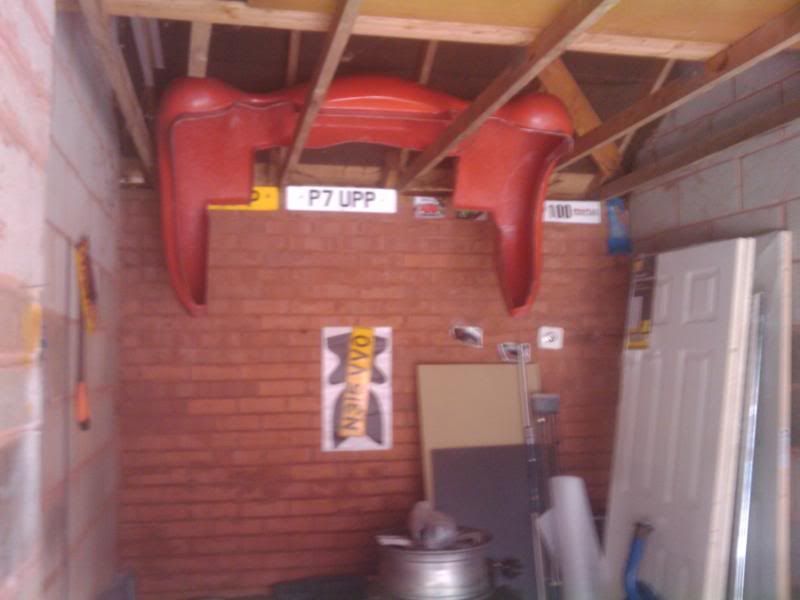
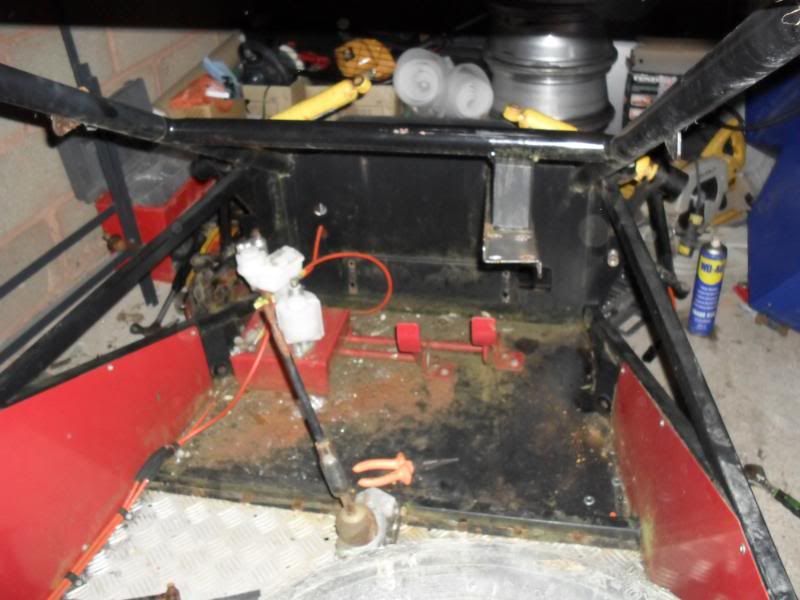
I got the buggy home about 2, and the first job was to get all the body panels out of the way as its only a single garage!

2010-05-15170029.jpg


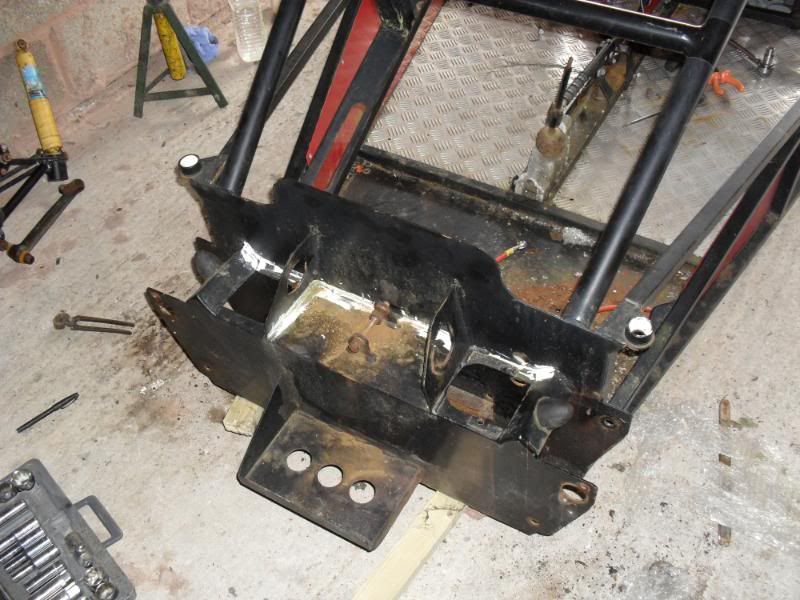
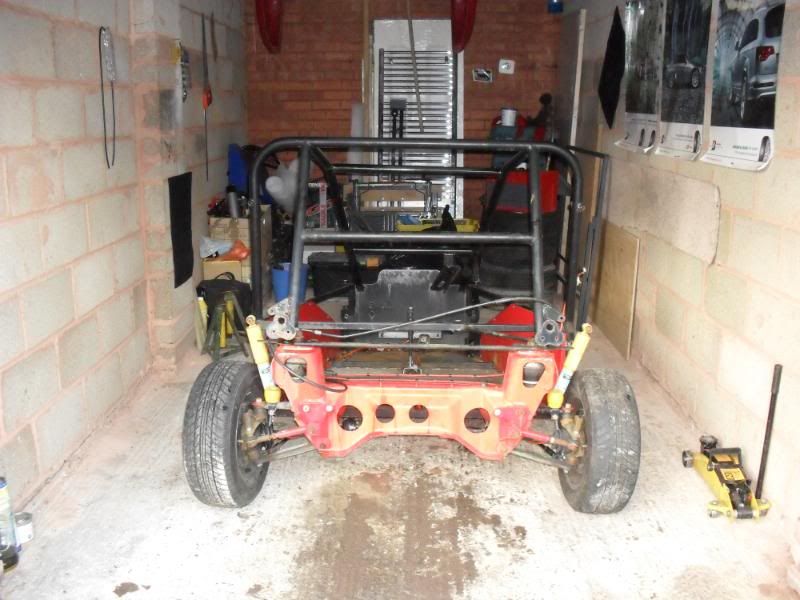
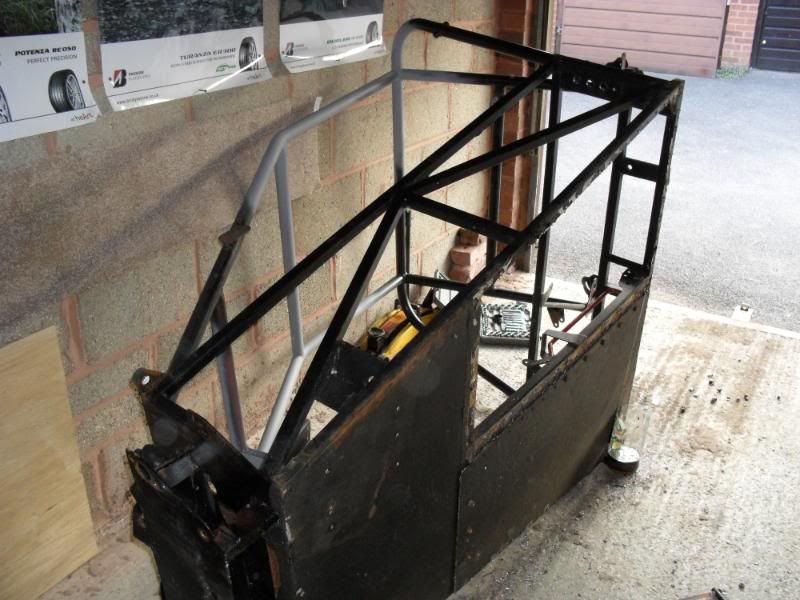
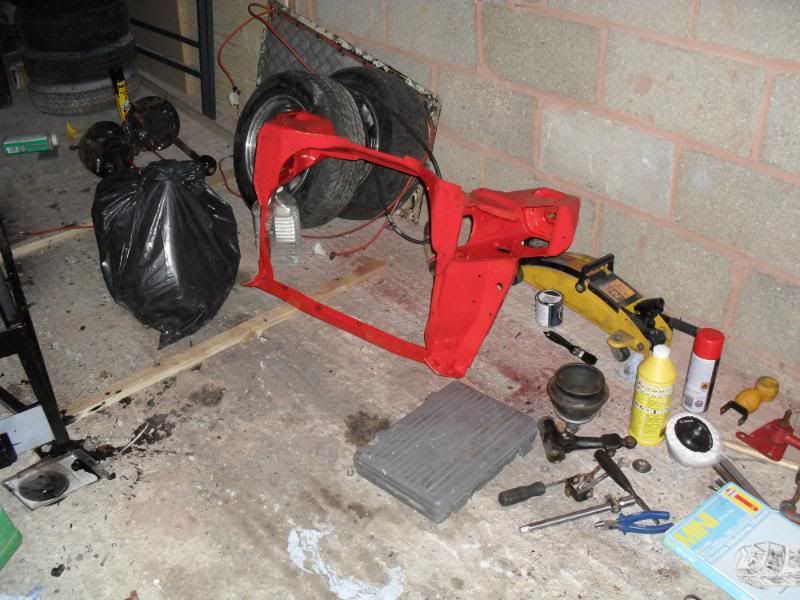
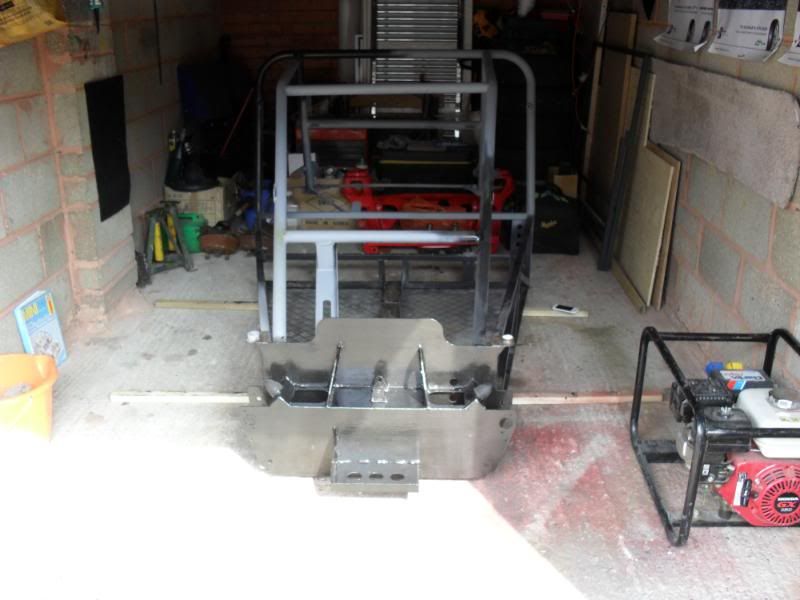
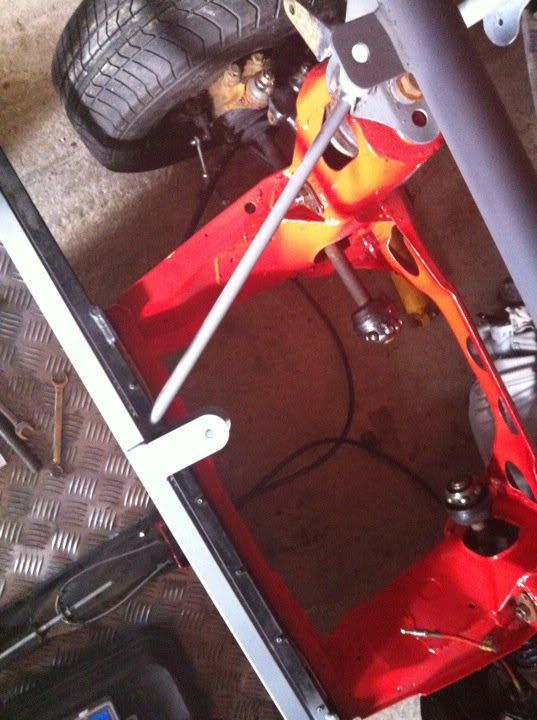
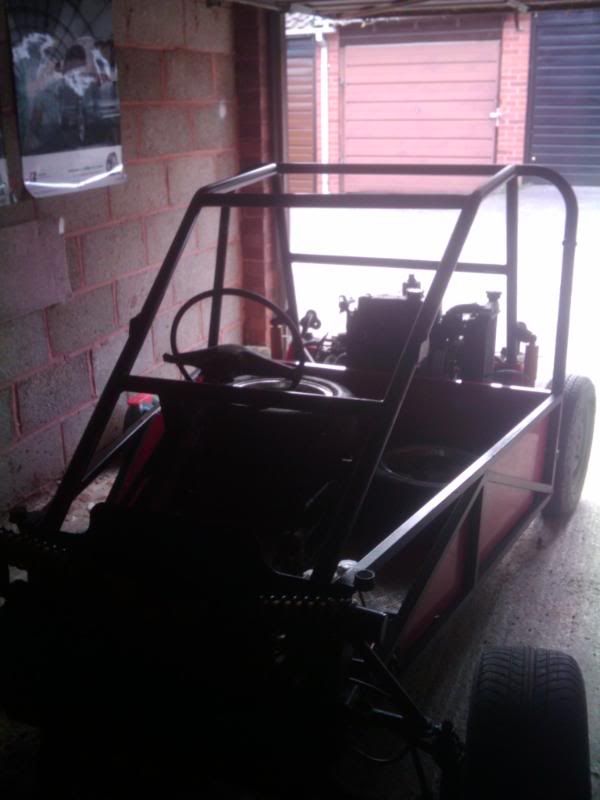
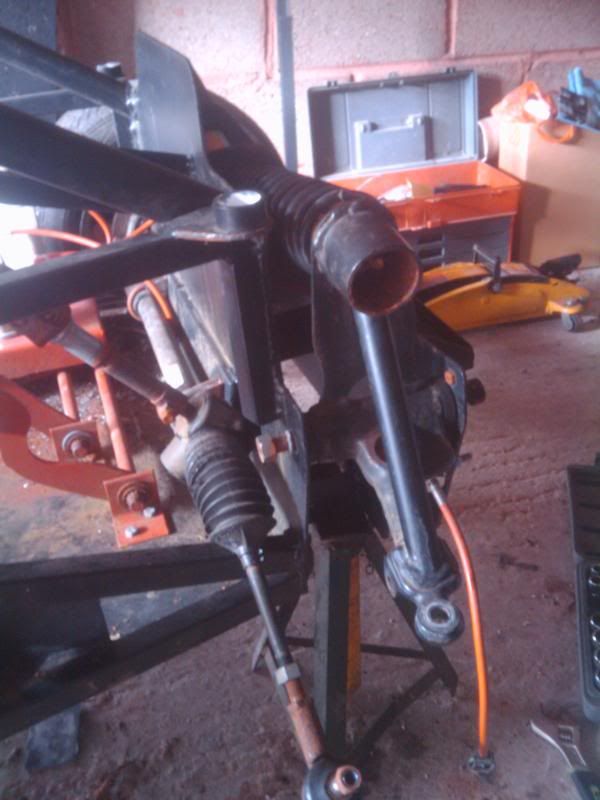
Next up was to jack the car up and sit him onto some axle stands so I could start witht he stripping!

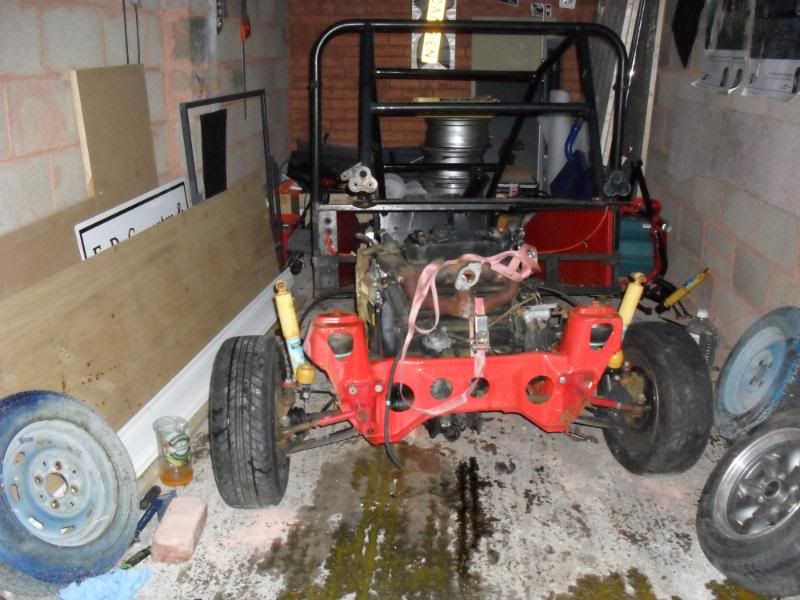
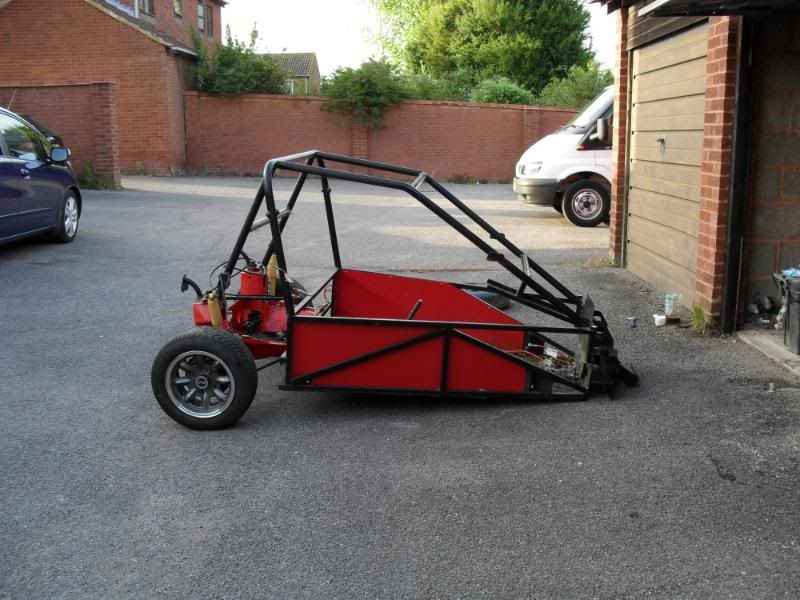
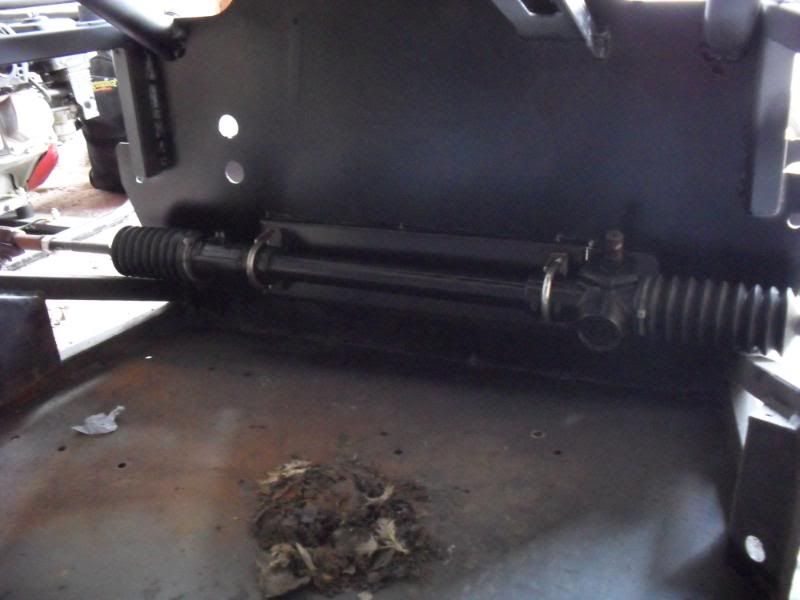
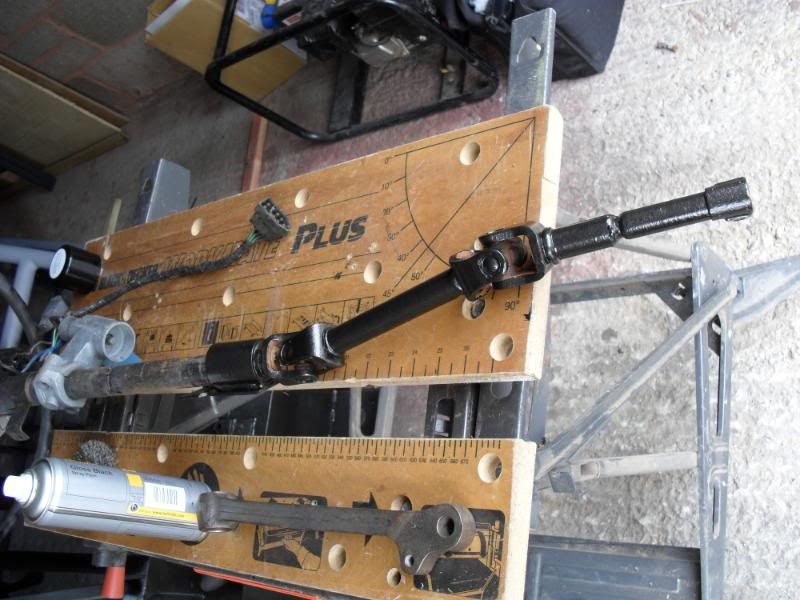
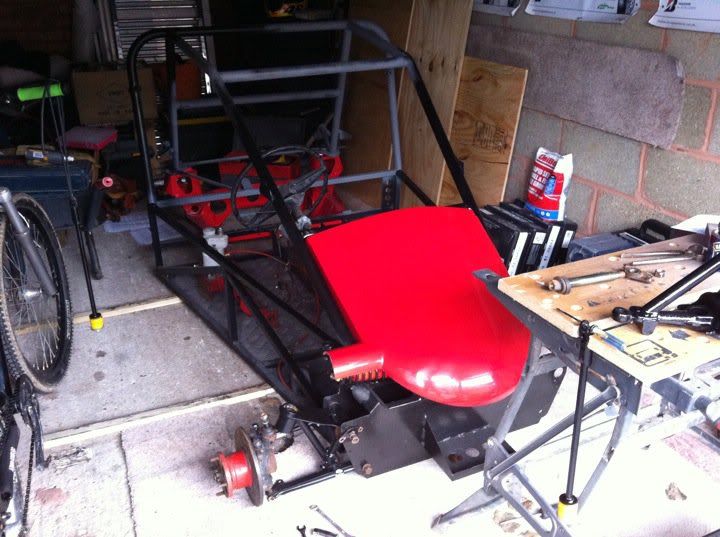
Here he is sat up...

2010-05-15170048.jpg


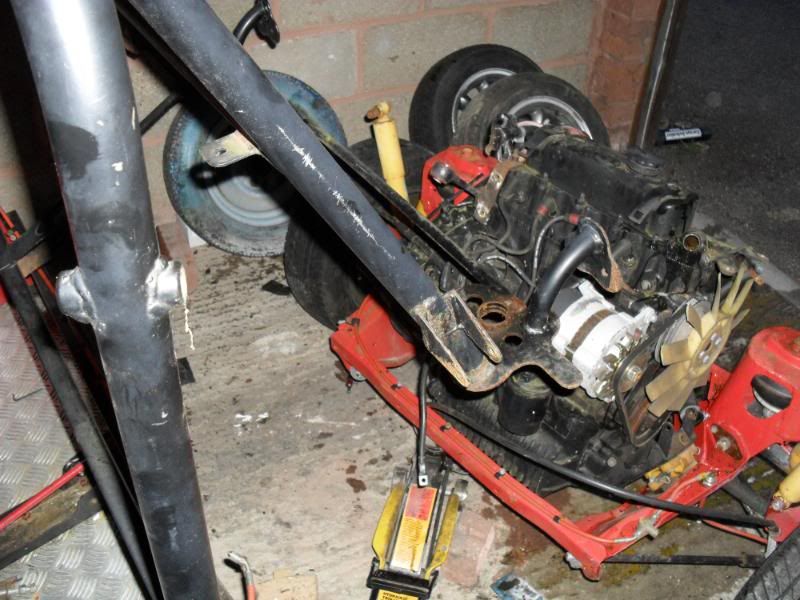
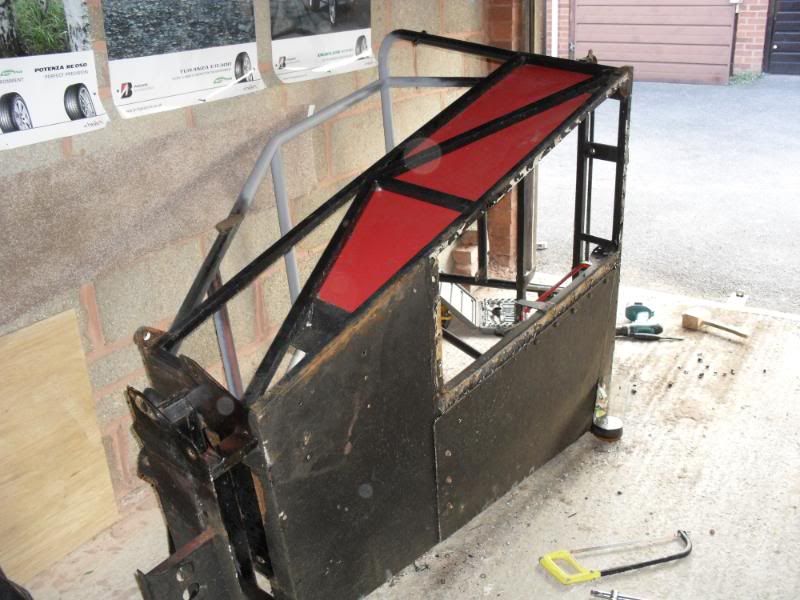
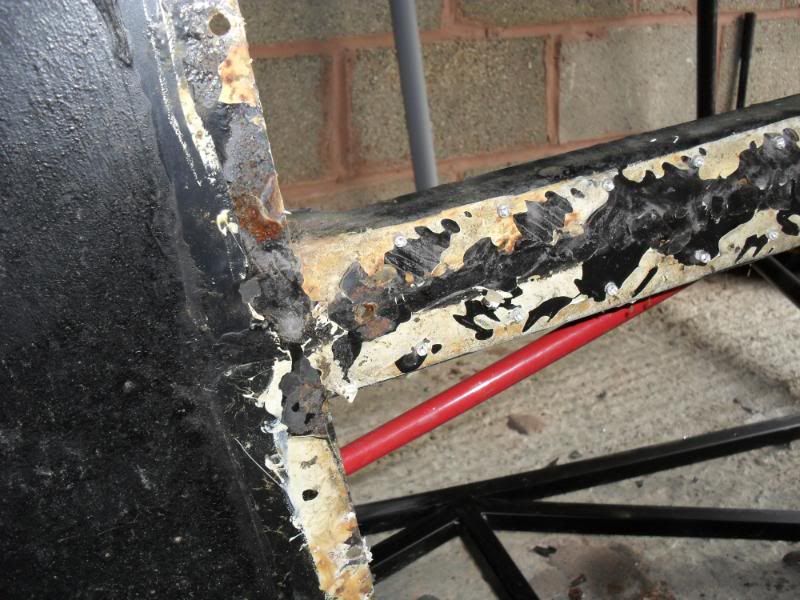
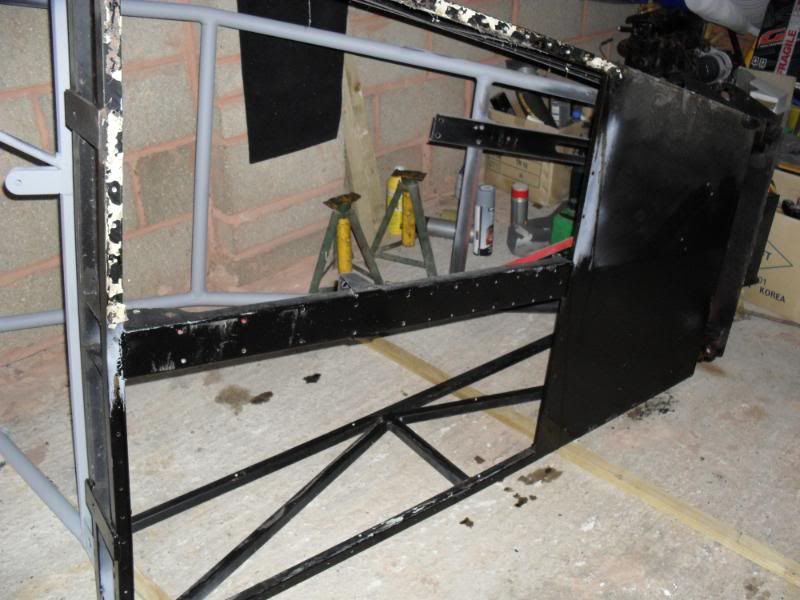
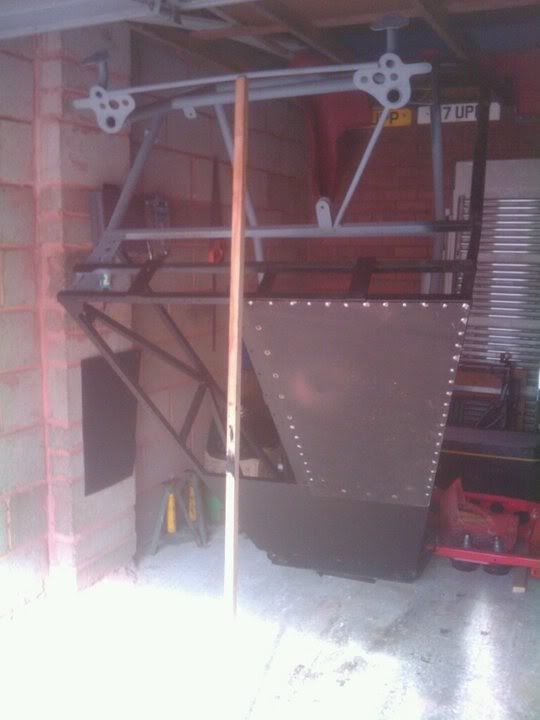
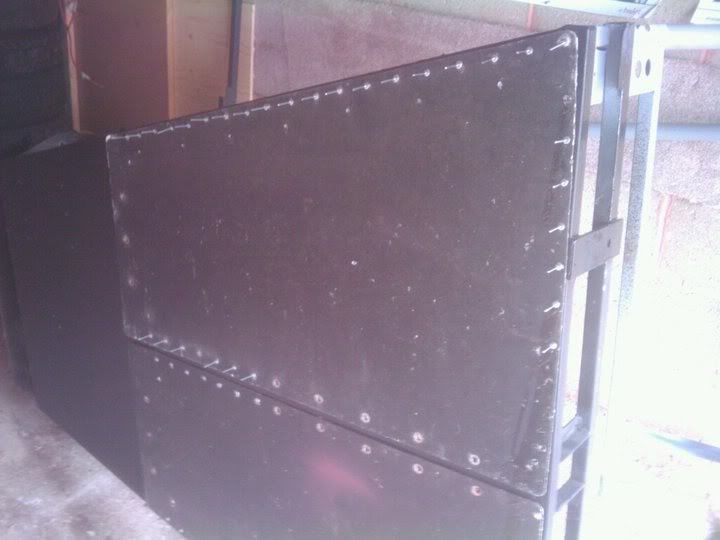
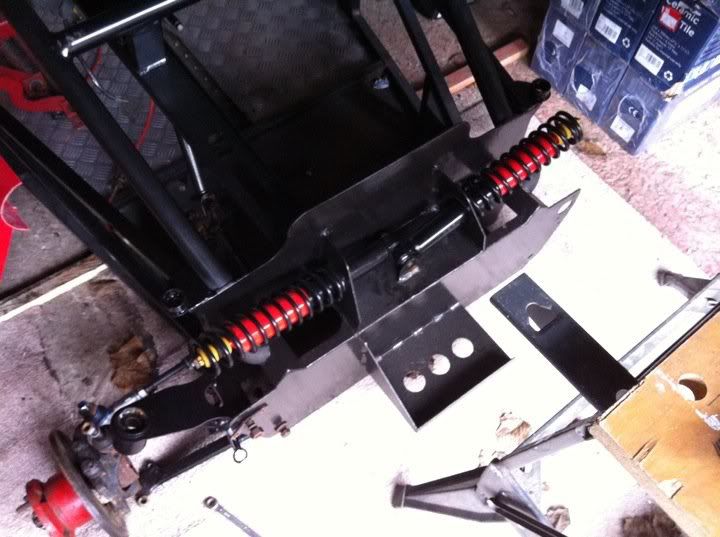
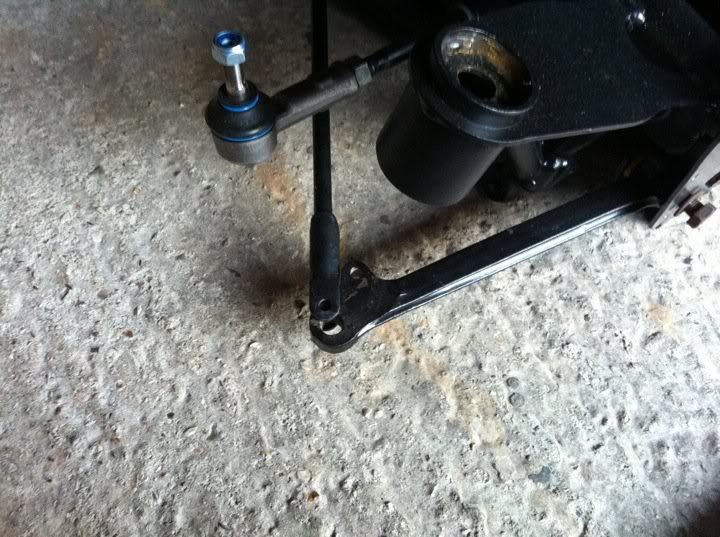
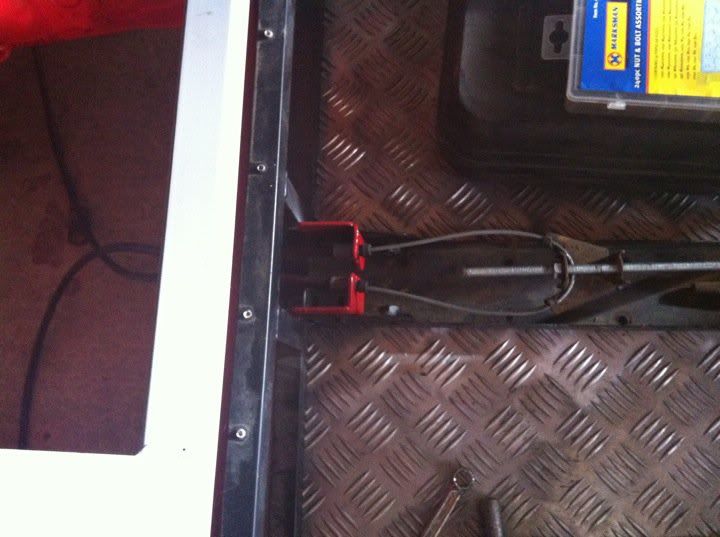
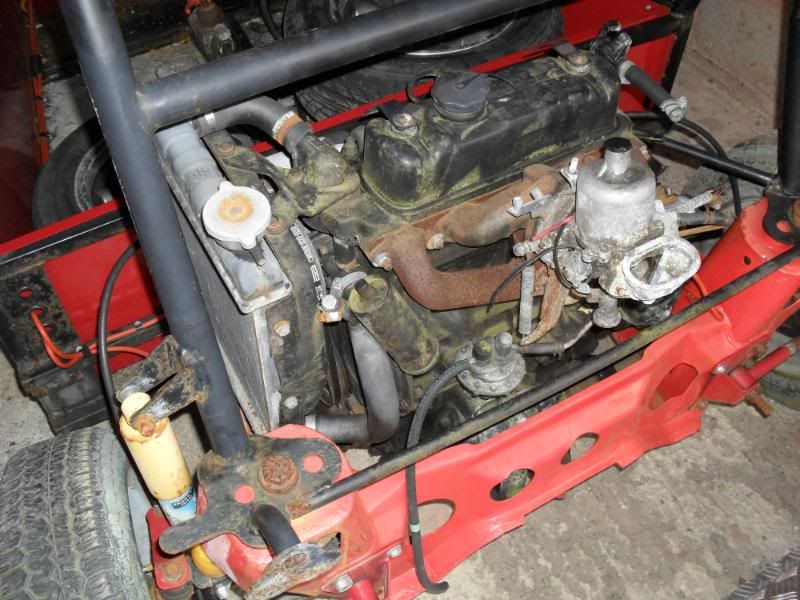
And then the work started!

2010-05-15170014.jpg


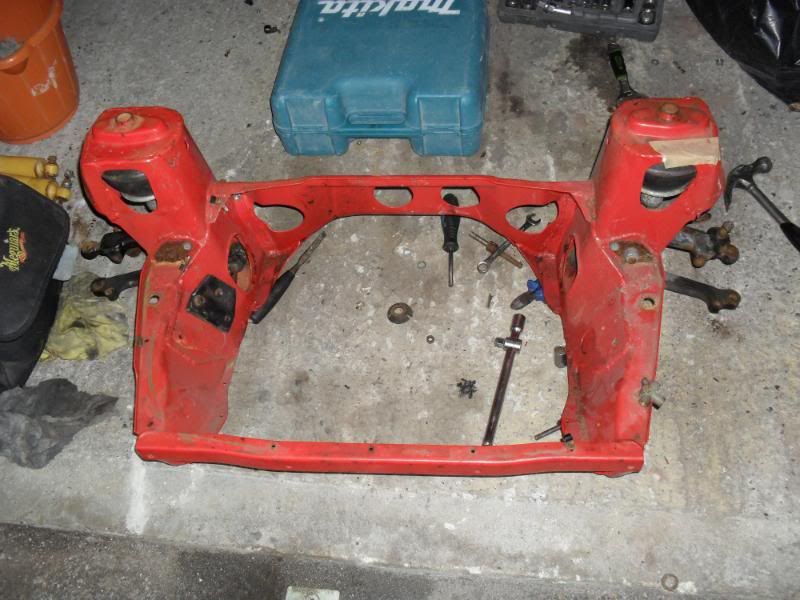
Anyways, im affraid to say other than removing a few rusty old bolts I didnt get very far at all due to having to pick up the mrs from town!

Hopefully get back out there tomorrow and get cracking!
 

BRUC3

New member
As the above pictures are a bit pants, heres a few more just so you can get a general idea of what condition the buggy is in!

This is the front as it currently stands. I couldnt remove the N/S hub completly as it needs a knock, and its a bit late to be banging about!  :-\

SAM_0450.jpg

As you can see in this pic, the floor is pretty badly corroded, so will probably remove that all together and fit some shiny chequer plate down instead!

SAM_0449.jpg

This is a 998 engine, which Malcs had running for a short while. Im going to remove this and fit a nice shiny 1275 :)

SAM_0444.jpg

These are the wheels that come with the car. I'l probably use these to roll the car about, but will hopefully fit a nice set of shiny 13's!

Until tomorrow!
 

BRUC3

New member
Just another quick update, nothing interesting im affraid!

The front end is now completly stripped. Cheers Alan for the advice on the pins!  ;) They come off much easier when you know what your doing!!!  ::)

SAM_0455.jpg


I also removed the pedal box, disconnected all the brake lines and also the handbrake cable.

The rear subframe is ready to come away from the chassis, but I couldnt get one of the tower bolts undone with my adjustable spanner! I guess im going to have to stop being a tight arse and buy myself a socket to go on the end of my crack bar!  :)

Nothing exciting I know, but until next time!
 

BRUC3

New member
Just a quick one tonight!

After struggling like f*#k to get the remaning tower bolt off at the weekend, I decided that I was going to buy a 34mm socket, and get the crack bar on the lil bastad'.

A quick trip to Halfrauds tonight, and in true fashion they had 30mm, 31mm, 32mm, 33mm, 36mm, 38mm.

Yep, no 34's. Bugger. So in the end I settled with a big adjustable spanner.

Arriving back home determined to split the subframe and chassis, I got busy with the spanner! After about 5 mins of struggling to no avail, I stood back and realised where I was going wrong...

Maybe if I tried turning the bolt left, it may undo...  :eek:

TWAT!!!

None the less, the bolt come off straight away!

Next task was to pull the 2 apart. After a quick look, I realised the frame was never going to lift over the top whilst the rad was still attacthed. In true Bruce fasion (lazy) I assumed the coolant system would be dry... WRONG!

After popping off the bottom rad hose, the contents of the cooling system were soon over my garage floor...

SAM_0458.jpg


After that 'incident', it was purely a case of knocking the gearing pin out and pulling the 2 apart.

SAM_0459.jpg


Seeing as I was on my own, this was a little awkward so I shall be leaving the subframe and enigne there until I can work out an easier way to move it about... Any suggestions guys?

But anyways! I managed to split the buggy and progress is moving along nicely!

SAM_0460.jpg
 

BRUC3

New member
So this evening I was determined to get the engine split from the subframe.

It was bit of a pain in the arse to do it on my own, but with a lot of shoving and pulling it eventually 'fell' out...

Once this was out the way, I then bolted the subframe back to the chassis and rolled the buggy out the garage...

SAM_0461.jpg


Looks pretty cool!  8)

So with the buggy out the way, I decided it was time I gave the garage a good clear out as there were bits of buggy and building materials scattered all over the floor!

After a good clear up, I pushed the buggy back in for the night and called it a day.  :)

SAM_0463.jpg
 

BRUC3

New member
Bit of an overdue update as I havent updated it for a while!

So last night I decided to get cracking, and get the chassis to the point I wanted it at.

First things first, I pulled the chassis away from the subframe so I could work on it a bit easier.

After putting the subby out of the way, I went about turning the chassis onto its side.

Next up was to start drilling out the hundreds of pop rivets holding the floor panels on!

Once that was done, I got a flat head screwdriver and prized the floor away from the chassis...

SAM_0476.jpg


Next up was the side panel...

SAM_0477.jpg


And then the other floor panel...

SAM_0478.jpg


Now this is where I have to make a decision...

I thought the front section of the floor was also removable, which would of been ideal as the plan was to throw this part away and replace it with a nice shiny aluminium piece. Mainly due to the fact its quite rusty...

SAM_0480.jpg


Alas its welded in place, so has to stay due to the fact I dont want to do no welding!

I also have this all over the buggy...

SAM_0479.jpg


A mixture of silicone, and flakey paint!

Now do I go the painstakinly long and tedious route of coating the whole chassis in Nitromores and stripping the paint, or do I cheat and fork out the money to have it shot blasted?

I think I want to have it shot blasted as it will also remove the rust on the front floor... and also save me one hell of a boring job!

But the other part of me says I took on this project as a long term thing, and maybe I should stick with it and strip it myself!

Until I make that decision, thats all for now! :)
 

BRUC3

New member
Thought I had better take some pics tonight as my thread is looking a lil' bland!

After spending last night armed with a wire wheel, I had half the underside rust free and painted in black hammerite...

SAM_0487.jpg


This evening mainly consisted of turning the chassis onto its other side (the side it is in the pics), and giving the garage yet another good sweep!

I also wire wheeled the remaining half of the underside, hammerited and waxoiled the side which was dry from painting yesterday!

Just a few random pics for ya to look at! Nothing to exciting!!! :)

SAM_0488.jpg


SAM_0489.jpg


Tomorrow im hoping to waxoil the remaning underside, then Im going to start thinking about stripping the rear subby ready for painting that!
 

BRUC3

New member
Done a bit more last night :)

I finished the waxoil on the underside of the car, and was quite pleased with how its turned out! The waxoil I sprayed on the other night has actually thickened really well, and has turned out a lot better than I expected it to!

Last night I started to clean up the aluminium chequer plate flooring. I attacked the edges with a wire brush as they were covered in old flakey paint and silicone from where I pulled them off the chassis.

I also started to give the part you see a good rub down with some compound, but am going to wait until I drag my lazy arse to get some autosol!

Heres a before and after pic...

SAM_0491.jpg


After that, I decided to start stripping the rear sub frame.

Forgot how much I hate rusty Mini bolts!!!  :mad:

Anyways, heres where I got to after plenty of bashing and swearing!

SAM_0493.jpg


Next decision is to decide what colour to paint the subby! Thinking of red hammerite again...?
 

BRUC3

New member
Well I decided to stick with red as I like the black and red theme!

Bit of a rubbish update tonight!

I decided to go with Dannys idea and polish up the existing flooring with a wire brush as I dont fancy paying £170 for 2 new floors!

I started, then my battery gave up on my drill, and I left the charger and other battery on site! Doh!!

Anyways, heres a quick pic of how its coming up.....

SAM_0495.jpg


Hopefully you can see where I started!!!

The other thing I finished was stripping the sub frame. After much searching, I finally found out how to get the top arm roller pins out. I wasnt clouting them hard enough!

Anyways, once fully stripped I gave it a good clean up with petrol and a rag, then gave it a light coat of red hammerite spray...

SAM_0497.jpg


Thats all for tonight im affraid folks!
 

BRUC3

New member
Nothing major today, but definitly a step in the right direction!

First up this morning I went out to the garage and had a good clean up. Its amazing how quick a single garage gets messy!

After a bit of a re-shuffle, and a bit of precarious sweeping...

ummm.jpg


I was ready to work on the buggy!

First up was to clean the edges of the remaining floor panel. Once I had done this I fitted it onto the buggy.

Ready to be popped...

rivets.jpg


And all fitted nicely :)

popped.jpg


SAM_0501.jpg


SAM_0503.jpg


Once this was done, I set about prepping the car so I can start building the front back up.

First of all I attacked it with a wire brush, then gave it a couple of good coats of black hammerite...

SAM_0498.jpg


SAM_0499.jpg


Im still not 100% happy with the finish, but think once its all built up it will look pretty good!

Thats all for today, and probably for a while now as the Mrs is due to drop any time soon!!!
 

BRUC3

New member
Bit of a boring one today, and not expecially big but another job done!

When I bought the buggy, Malcolm told me that the steering rack was refurbished before he put it on. Its in excellent condition, although the rubber gators had all split. I bought a new pair on ebay last week, and set about giving the rack a quick clean and fitting the new boots :)

Heres a new one next to an old boot...

SAM_0505.jpg


And here is the rack all booted up! :)

SAM_0506.jpg


I also gave the rack a light coat of paint just to give the shine back, although I havent got any pics yet!
 

BRUC3

New member
Sprayed the front of the footwell earlier, and fitted the steering rack...

SAM_0507.jpg


and heres the rack all fitted :)

SAM_0509.jpg


One question though. How much of the steering column do you actually see as mine looks pretty nasty!

Do I need to clean it all up and re-paint, or is most of it covered by the cowel?
 

BRUC3

New member
Not much of an exciting one today im afraid!

First up I painted the steering coloumn last week and it turned out like this...

SAM_1039.jpg


Next I cleaned up the part it attaches to, and gave it a quick lick of paint!

SAM_1038.jpg


I also fitted the steering wheel and coloumn, but forgot to take a pic!

Will update tomorrow when I have hopefully fitted the shroud :)
 

BRUC3

New member
Just a small update as to how he looks now!

New track rod ends, I bought the longer versions, but need some new pins for the top and lower arms!

Their next up on the shopping list!!!

Also need to clean up the other side of the suspension components and paint as I have the offside!!!

199131_10150226100739498_599364497_8808304_7397928_n.jpg
 

BRUC3

New member
Well I finished work today at 2, due to the sodding rain so thought I would spend a couple of hours out in the garage on the buggy!

I managed to get the other shock absorbed finished (painted), painted the NS top arm, and both tie rods.... so hopefully this weekend I'l manage to get my arse down Halfrauds and get some washers in order to fit the front shock absorbers!

I had a quick play earlier, but wasn't totally sure on the spacing of them> I can see the NS one goes more towards the front, but they still seem to be sat a bit pissed on the bolt through the middle.....

Could someone explain how I should do it in a bit more detail?

I also need the rubber sealing rings before i can finally fit the top arms and bolt the suspension all back together!

I couldnt help myself, and placed the nose come in place just to get a bit more of an idea on how it will look once done! Bit of a motivation boost never hurts!!!

Anyways, a quick routine post pic to keep things interesting!!!

197265_10150231400809498_599364497_8850716_2156950_n.jpg
 

BRUC3

New member
Well what a busy bee I've been today!

First thing this morning I done a few hours on the bathroom! I pulled out the vanity unit and toilet and put down some 12mm ply ready to be tiled!!!

Anyways, on to the interesting part!

Seeing as I was grubby anyways, I decided to go out and do a bit to the buggy. Was only planning on an hour or so, but I got into it and time flew by!

I gave up on the front suspension as i'm not sure about a couple of things...

Firstly, how do I go about positioning the front shock absorbers on the bracket in the middle?

I guess I have to pack the gap with washers, but the manual says something about packing them so their as close to the middle of the bracket as possible?

The shocks just seem as if they don't sit right on the bolt if I do this?

Another thing I wasn't sure about was the tie bars joining the lower arms?

Am I missing a trick here or have I just got the wrong things?

200447_10150232380474498_599364497_8860191_4620480_n.jpg


If anyone could give me some advice that would be great!!!

Onto the next part!

Seeing as I was getting a but dragged down in stripping, painting, stripping, painting etc I decided I was going to just throw the parts I have together and replace them when I have the money and means to do so!

I figured I may as well have the parts together on the buggy instead of laid on the floor in my garage!

So first thing first..... the build manual is RUBBISH!!!!! I'm pretty rubbish when it comes to suspension and mechanical parts, i'm more of a bodywork guy! I struggled, but got there in the end!

After a lot of messing I finally had the rear suspension together, and the wheels on!

I had to wind the track rod ends in right the way, does this sound right?

Heres some pics to keep it interesting :)

196412_10150232378759498_599364497_8860171_6158468_n.jpg


200042_10150232383719498_599364497_8860210_2549413_n.jpg
 

BRUC3

New member
After spending a good hour and a half pissing around with them upper arm mounts, I finally gave in a thought sod it!

As I started to pack up I decided I wasnt going to let the buggy get the better of me and made the decision to get it up on 4 wheels for the first time since I bought the buggy!

None of the bolts are torqued up etc, but it was a big morale boost as my aim was to get the lil bastad up on all 4 wheels this year...... dont tell anyone its only temporary!!! :p

I've made the decision to go for adjustable tie arms and lower arms as im worried about the suspension set up not being bang, which I need seeing as I'l probably use the buggy as bbit of a track weapon for a while before the SVA!

Heres a couple of pics whilst I decide where to go from here!

188903_10150241269259498_599364497_8947125_6427033_n.jpg


188930_10150241269494498_599364497_8947129_5534865_n.jpg
 

BRUC3

New member
Spent another couple of hours this evening trying to work out how this buggy goes back together!!!

Anyone able to tell me why my hand brake cable is so long? Is it the wrong cable, or am I missing something?

196376_10150266419054498_599364497_8988423_5309760_n.jpg


Also are the brackets on the right way?

195840_10150266419319498_599364497_8988426_7977811_n.jpg


And I also removed the rear drum, as the brake was sticking meaning I could push the buggy in and out the garage!

First time he's been out in the sun on 4 wheels for a year!!!

207628_10150266419784498_599364497_8988431_599232_n.jpg
 
Top