Collie's 'Purple Pony'

collie

New member
Managed to do a little work in the warm of the house after a failed attempt last week, it was too cold to fit the reservoir I had bought (Can't remember who from? sorry!), rubbers were to hard and everything was freezing! However, the garage did get tidied.
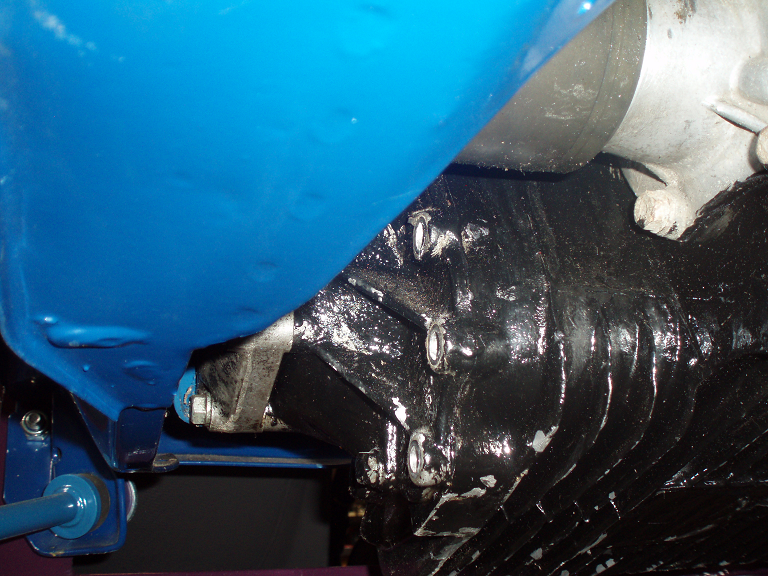
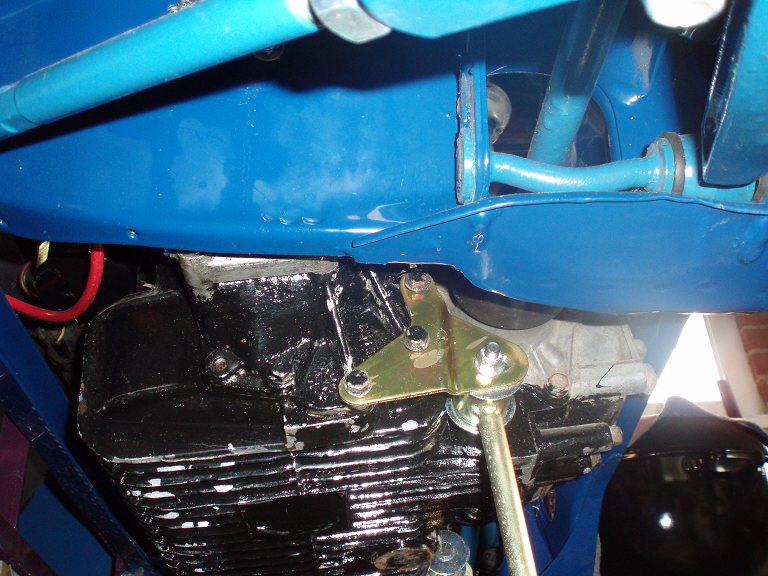
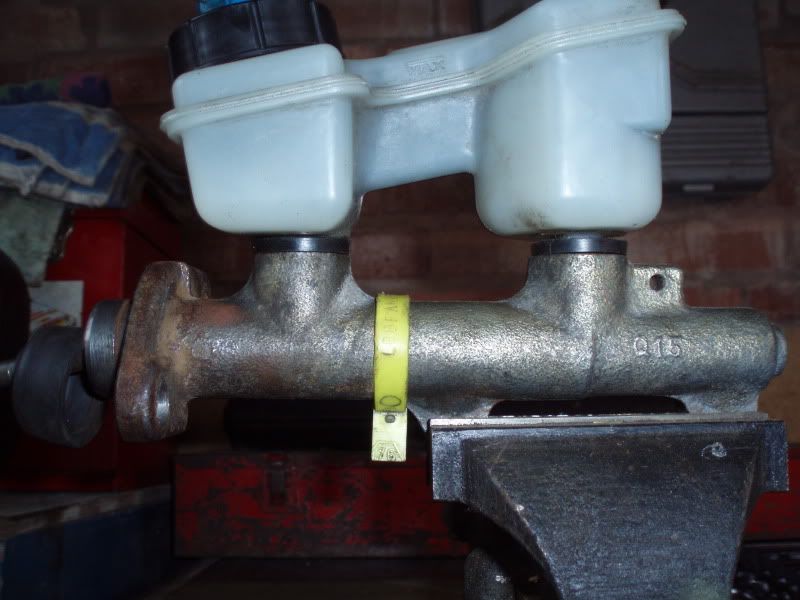
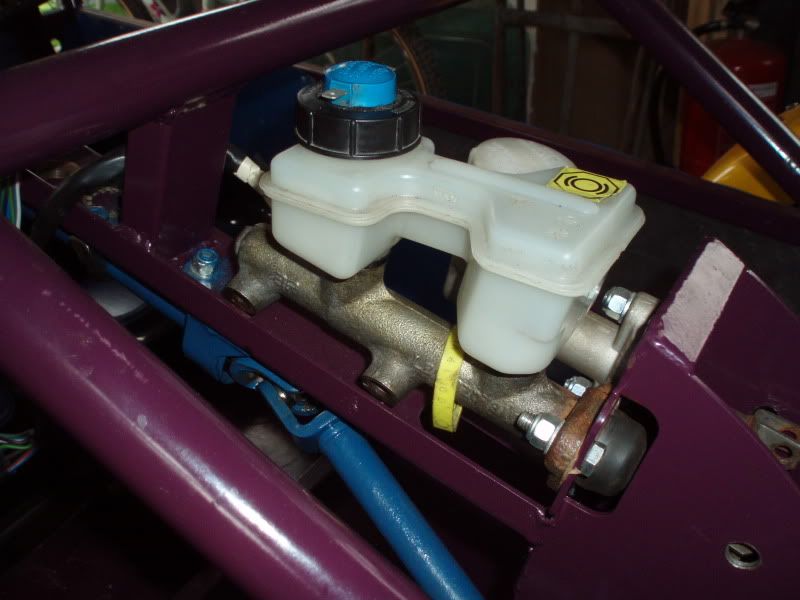
Having kept the reservoir rubbers in some hot water and master cylinder in the kitchen on the radiator all day, everything slipped in rather easy!
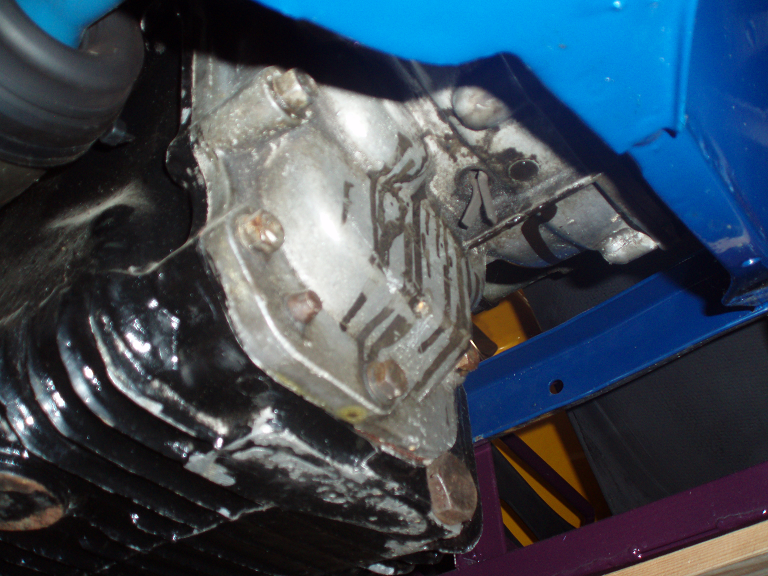
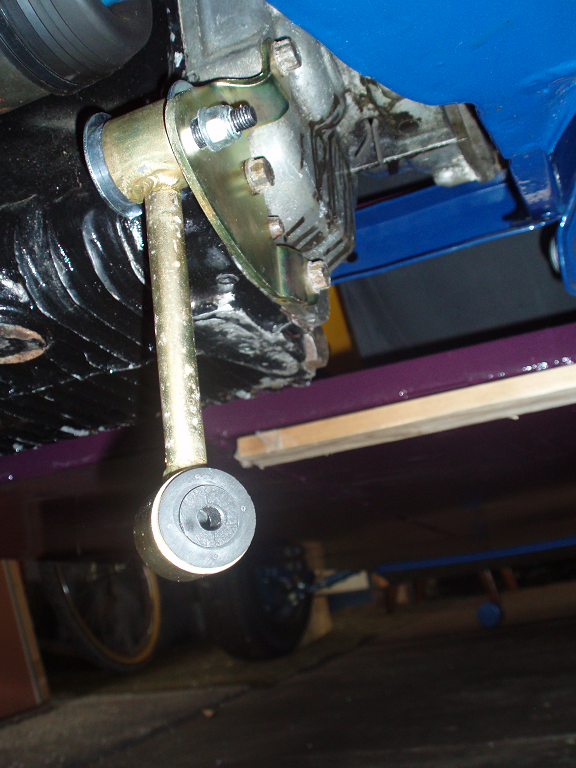
Also had the time to clean up the reservoir:
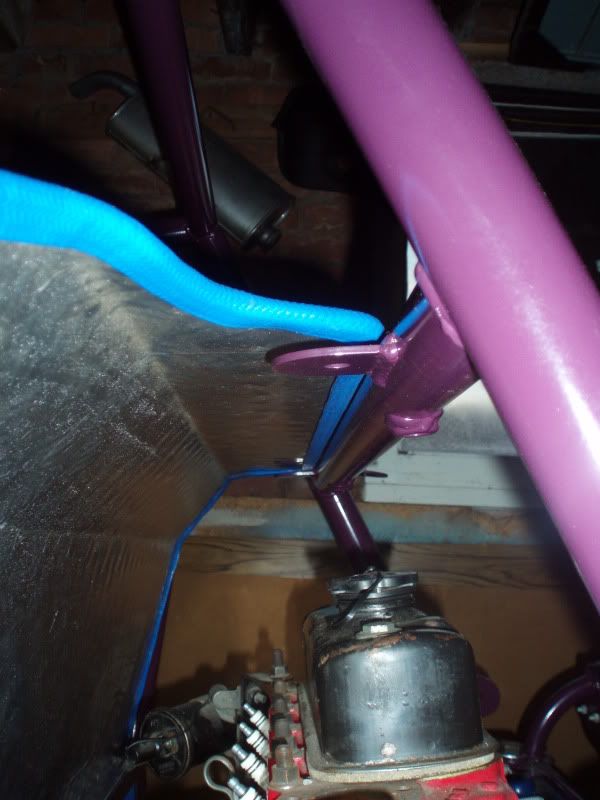
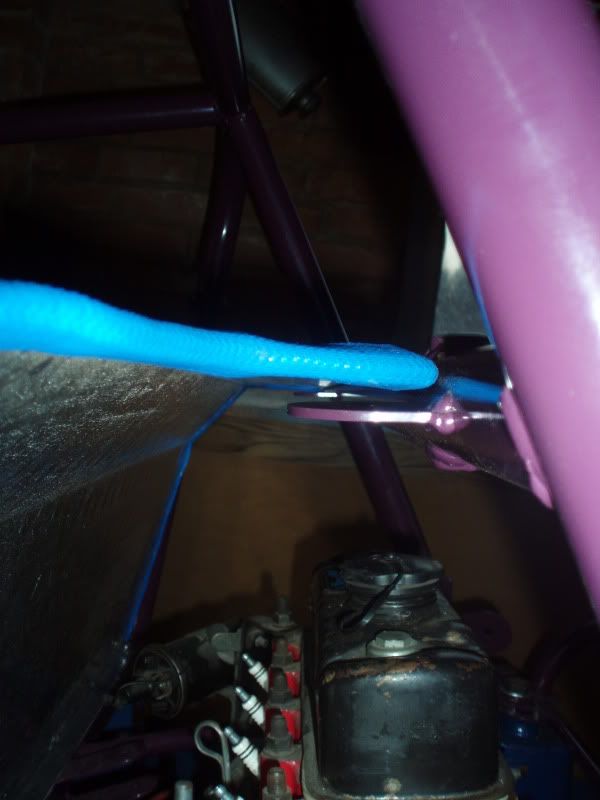
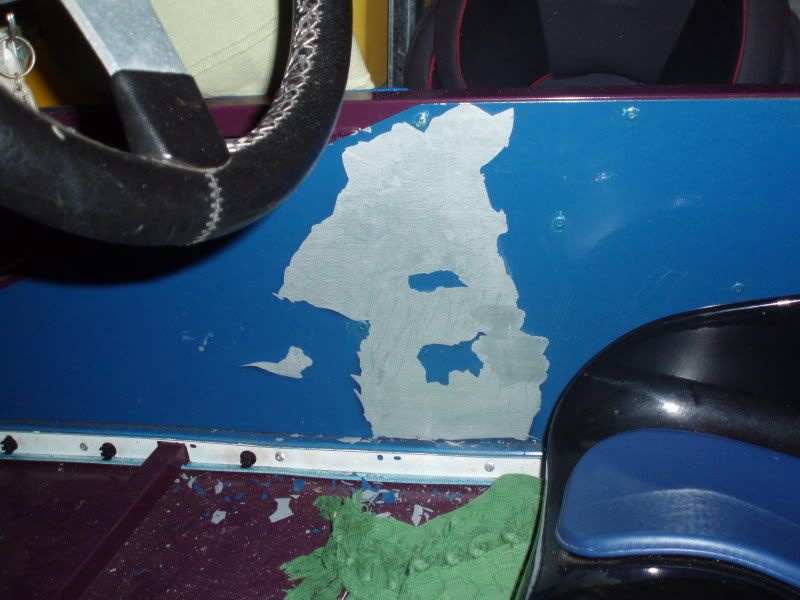
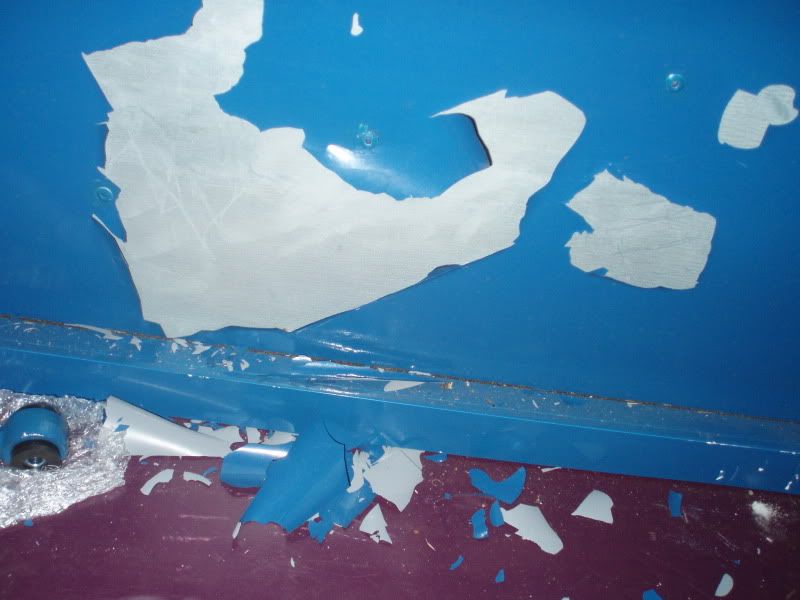
Before (You can see one of the ends of the reservoir wouldn't fit):
BuggyJan2011001.jpg

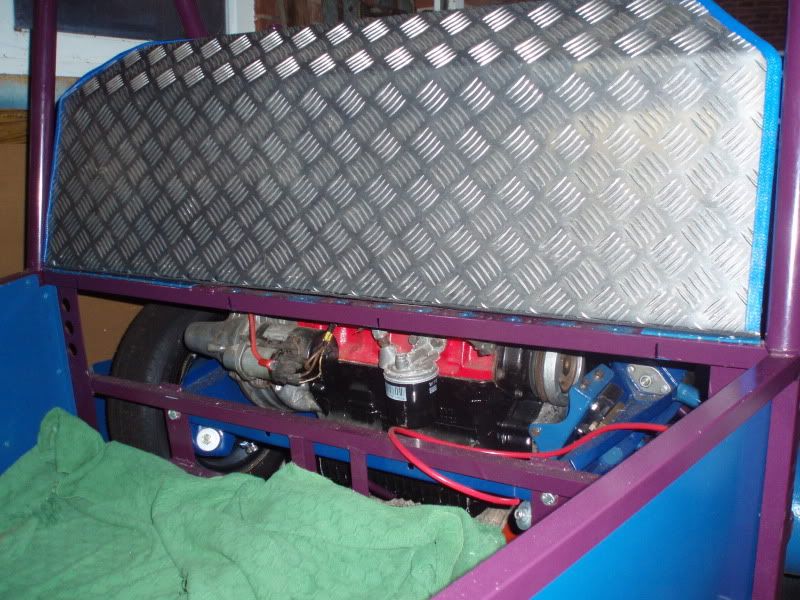
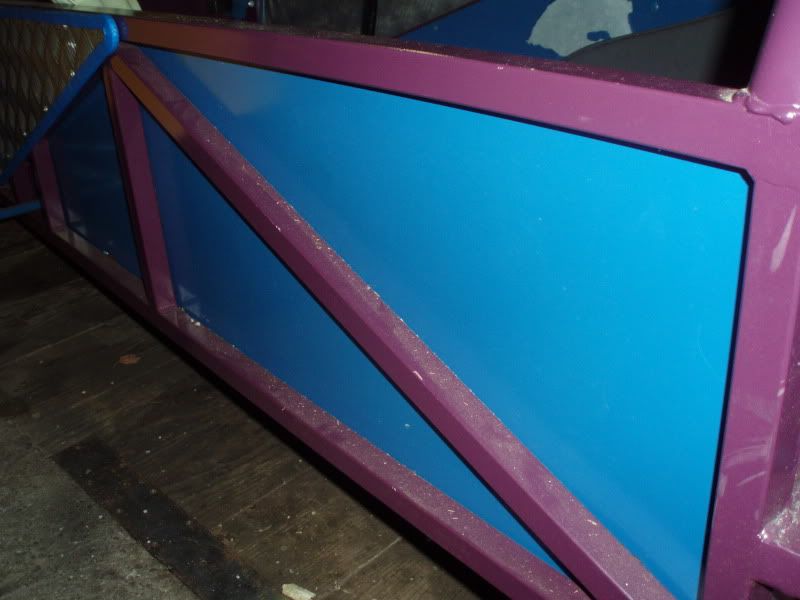
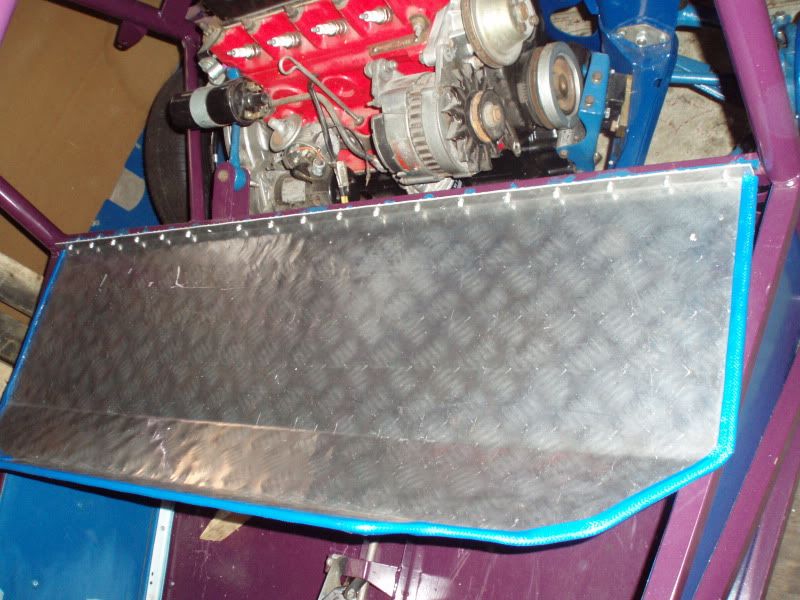
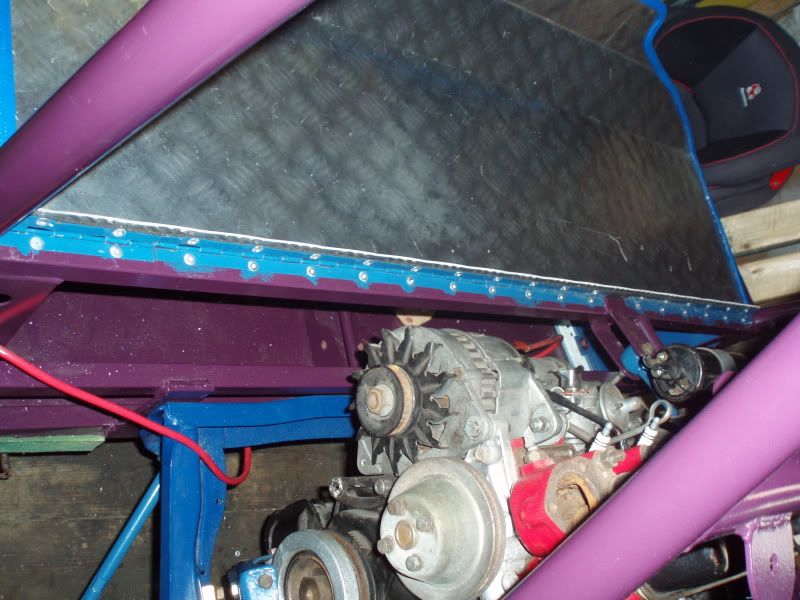
After (Cleaned and fitted to the buggy):
BuggyJan2011009.jpg

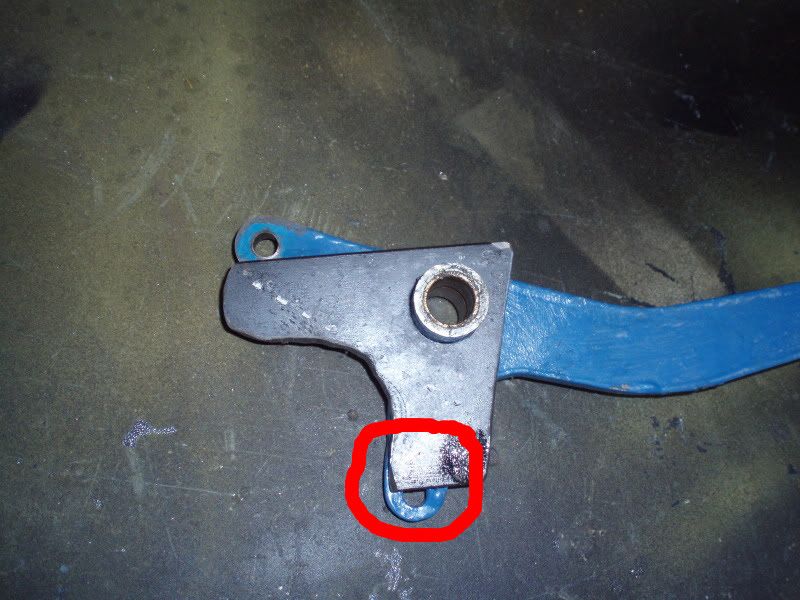
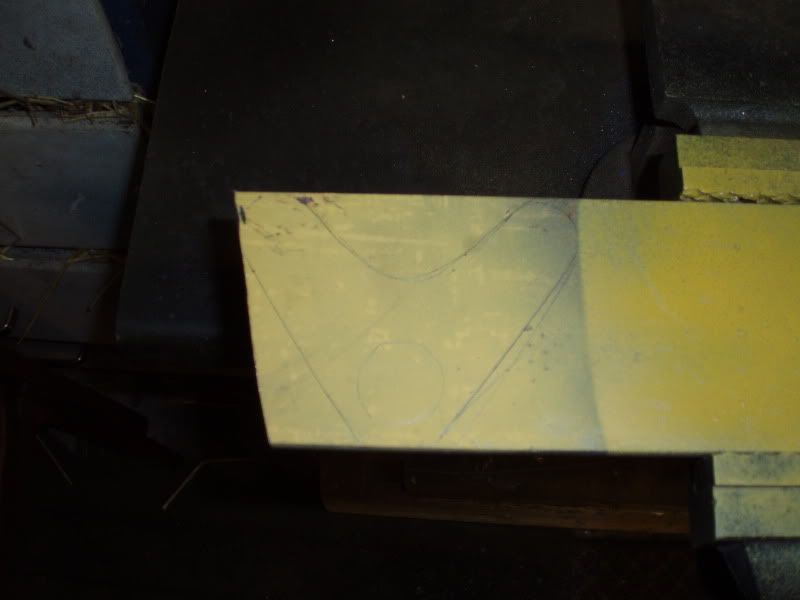
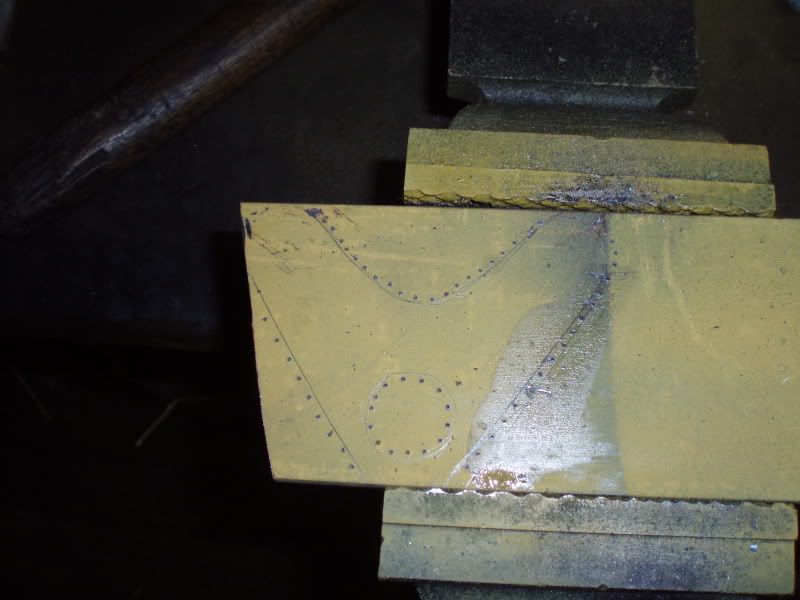
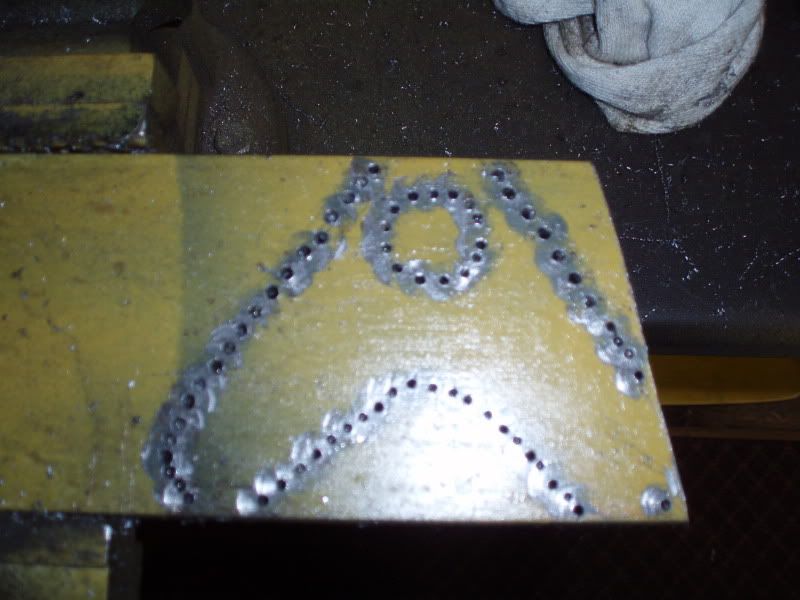
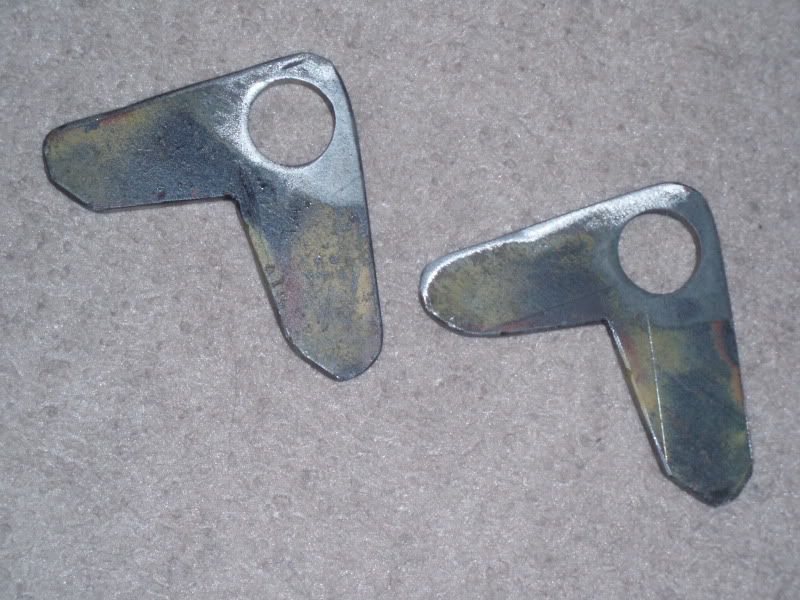
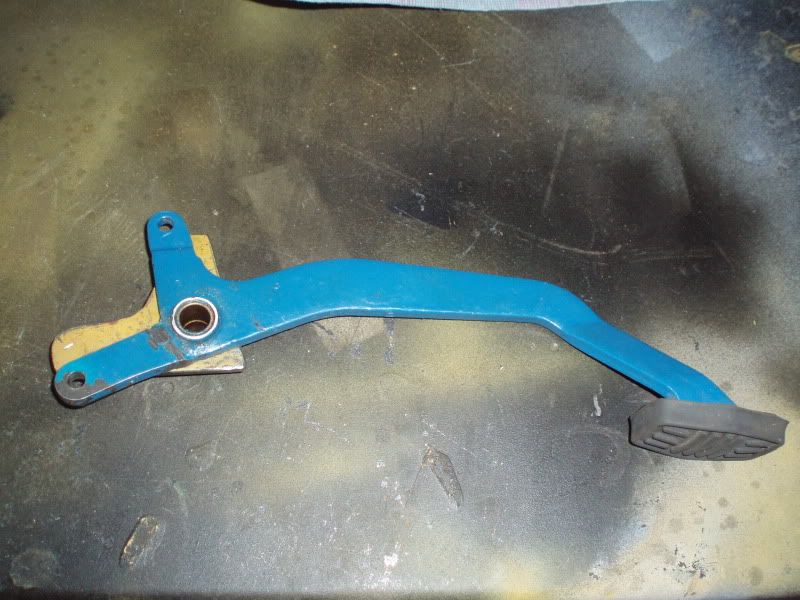
I then focused my attention on the pieces I am fabricating for my pedals so that they align properly since the lugs were welded on incorrectly:
Marked up:
BuggyJan2011012.jpg

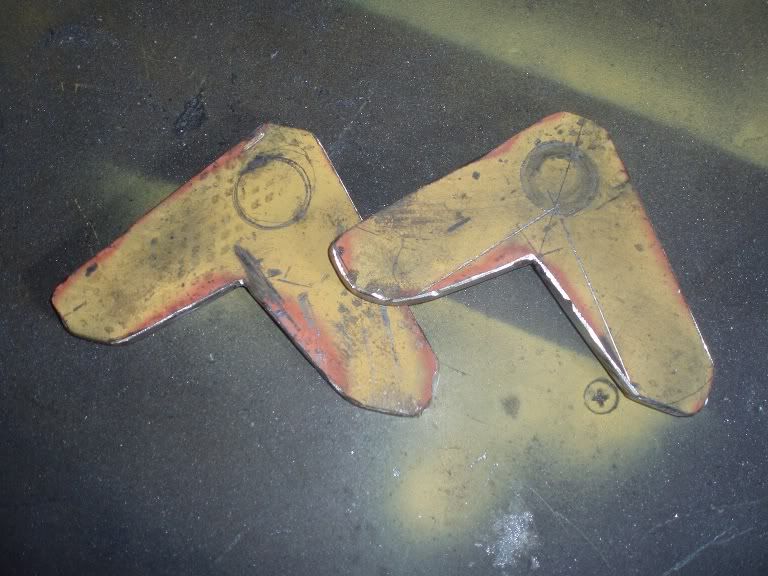
Cut out an test fitted on one of my pedals, you can see where the lug was welded and where it should have been:
BuggyJan2011013.jpg
BuggyJan2011014.jpg

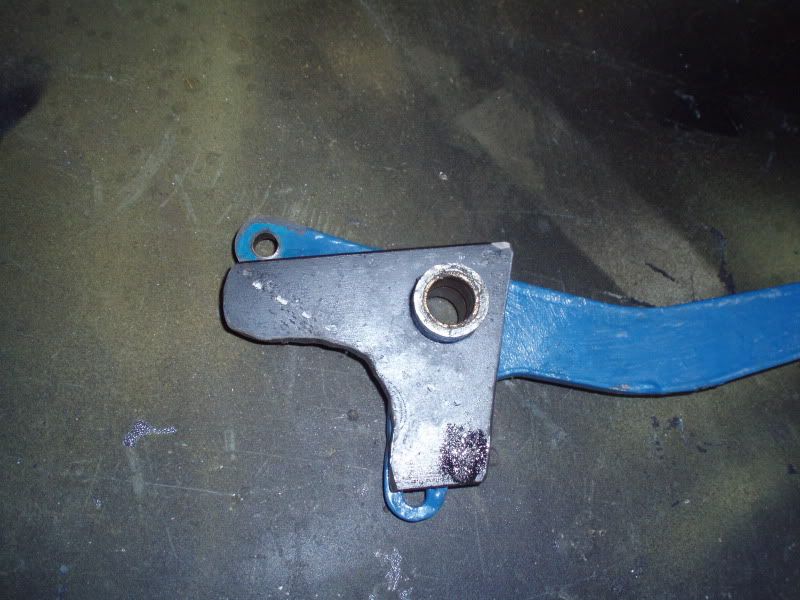
Only managed to fabricate one.  I don't have a bench drill and the old drill I've been using to cut out the hole with the step drill ended up smoking (so it's taking a bit of a battering and I fear it won't last out for the next hole I cut!!)
 

collie

New member
Having had time to consider my design for the lugs, I decided to try again. I decided to extend one end so I could bolt it directly onto the pedal, as can be seen, this end was a bit short:
BuggyJan2011014-1.jpg

Here's my marked up design:
buggy001.jpg

Punched and chain drilled, not bad considering that I don't have all the right tools...  :(
buggy002.jpg

buggy003.jpg

More to come when I am allowed in the Garage again!
 

collie

New member
I've shelved the whole lugs thing, especially since now my angry grinder has busted (the flamin on/off switch on the handle fell off!)
I will revisit when I fix the angry grinder or get a new one and do it properly instead of all the messing about that I posted above!
I spent last saturday morning clearing out the accumulation of wealth in the garage, then had a start at fitting the two bottom gearbox stabiliser arms that I bought previously.
Nearside before:
P8290087a.png

Nearside after:
P8290098a.png

offside before:
P8290085a.png

Offside after:
P8290092a.png

I'm not going to mount them to the subframe until I have the standard (upper) stabilisers fitted.
Still lots of work to do!
 

collie

New member
Half fixed my Angry Grinder, it's now permanently on when I plug it on, so I was careful to keep the extension switch nearby, still needs fixing with a new one.
Any how, spent a couple of hours in the garage today.
I've not been happy with the lug I fabricated, and definitely not happy with the dodgy chaindrilled effort.
I sat down and drew up a new effort, marked it up properly on a piece of steel especially baring in mind I would be cutting it up with my Angry grinder.
2 hours later, and 2 little pieces made up, just need a hole punching out. (As if it were that easy, it's going to take an eternity to drill out the holes especially since I don't have access to a bench drill!
Anyway, here's the part finished article(s):
P9180001a.jpg

Granted they're not fantastic but they're a million times better and have been fabricated quicker than the previous 2 efforts!
 

collie

New member
Spent a little more time in the garage this week, for Xmas i got a new Angry Grinder, Pipe Bender and Cutting and Flaring kit, hope to put them to good use very soon!
As for the buggy, I decided to work on the upper firewall, first task was to cut it to size since it was too wide to fit with the tight'n'fast around the edges.
Then the hard bit of lining it up for the hinges to fit. I've gone against convention and I've used a piano hinge, managed to get as far as to line it up and mount the firewall using a couple of rivets.
Looks good so far, just a bit of drilling and riveting to go so that it's permanently mounted.
Sorry no pictures as yet.
 

collie

New member
Bizarrely I can't edit my own posts?
Mrs Muddy Chick is working so I've only had chance to take some photo's, there will be more to come:
Hinges: Still got to insert one more piece of hinge in the centre, and only added a few rivets to test see how well it fits.
P1150001.jpg

P1150002.jpg

P1150003.jpg

Firewall up:
P1150004.jpg

P1150005.jpg

P1150006.jpg

Almost fits perfect, either the brackets weren't welded on straight or the firewall is slightly twisted, I'm using bonnet pins to attach the firewall to the chassis (this is my plan for now) so should be easy to pull it into shape.
P1150007.jpg

P1150008.jpg

I've got lurgy! Noticed all my carefully applied paint is peeling off, must be down to one thing (Whisper: I neglected to use zinc primer) :-[ . I'm not worried, I have plans for the interior, I just hope the outside holds up!?
P1150009.jpg

P1150010.jpg

Exterior of panels look okay, lets hope they stay that way? ???
Judging by the filth that has accumulated (I didn't notice till I took these pictures!), looks like the garage duster & vacuum needs to be brought into action! :-[
P1150011.jpg
 

collie

New member
Spent more time in the garage today! :eek: Suprise suprise!
Decided to shove the vacuum round the garage and the buggy to clean up all the rubbish and pealing paint which i have rubbed back now as far as it will go, hopefully it won't peel any more?
I'd ordered a few bits and pieces from Moss Europe, specifically the bolts and what nots to fit the top steady, unfortunately they are rubbish and nothing fits as expected! however I managed to find the bit's I needed in my bottomless tin of bits!
P2050039.jpg

I then proceeded to finish off the firewall hinge. Then ran out of time! :'(
P2250011.jpg

P2250012.jpg

P2250015.jpg
 

collie

New member
First of all, apologies to Alan, I couldn't find the time to get to yours bud to borrow the use of your bench drill, however, I got chatting to one of the guys at our Chesterfield works and he offered assistance the other day, to a point where if I supply him a drawing, he will fab it up (within reason of course!). He was telling me he managed to almost build a lotus Super 7 kit from drawings, he ended up with a rolling chassis before it got put into storage for 14 years before his daughter decided to sell it (the car was suposed to be for his daughter). Anyway, been trying to get the Saxo roadworthy, busted handbrake cable and rusted cat to replace.
Here's the lugs, drilled and ready to go back onto my pedals:
P3030001.jpg
 
Top