My new Geep!

BRUC3

New member
Well as im sure you all know I bought Andys 1300.

I picked it up sunday, and arrived back home at 20.30 after a 12 1/2 hour journey!!!

The Geep didn't miss a beat all the way home, and whats more I got home on £30 worth of fuel!

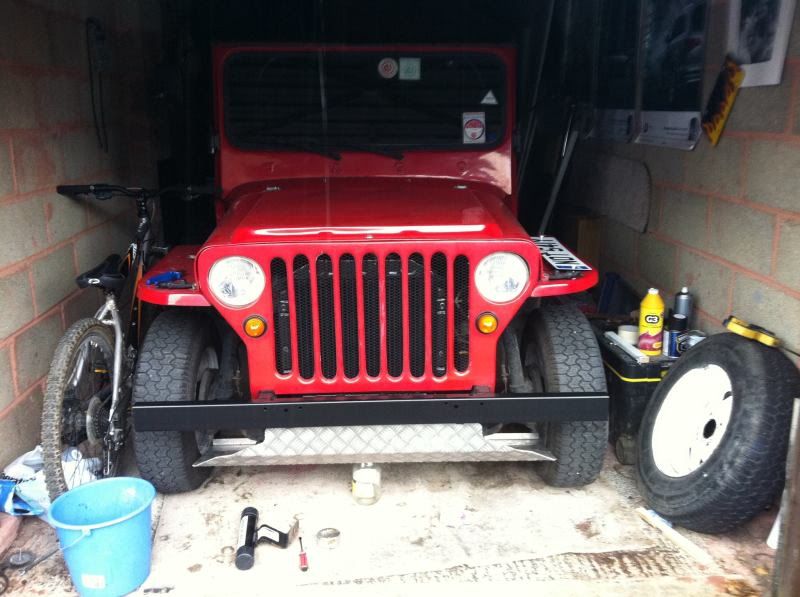
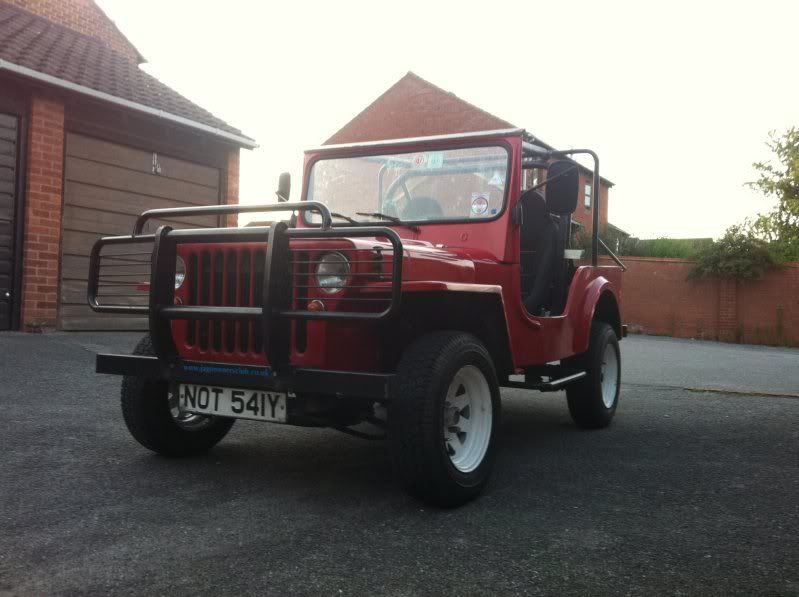
So here he is at his new home...

290239_10150433894059498_599364497_10484920_3281953_o.jpg


289743_10150433903584498_599364497_10484999_3262084_o.jpg


287975_10150433907404498_599364497_10485025_3861783_o.jpg


287888_10150433896224498_599364497_10484960_1672105_o.jpg


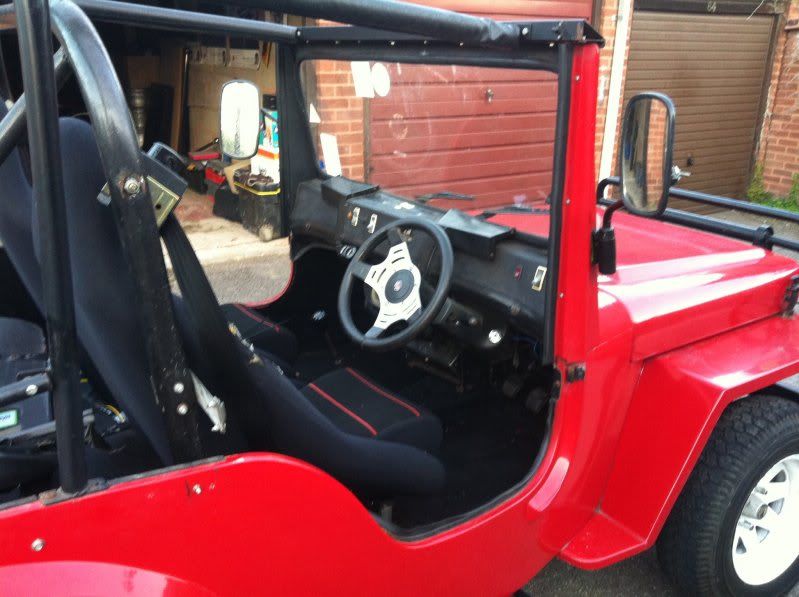
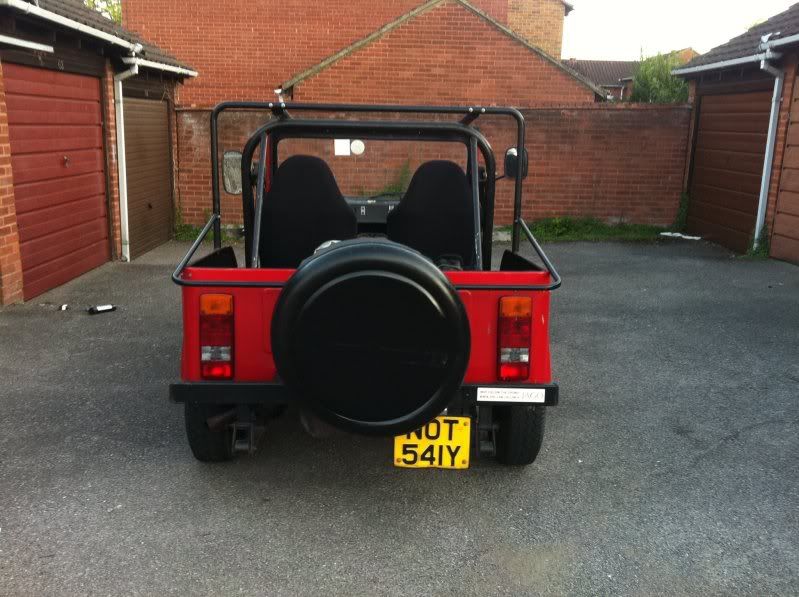
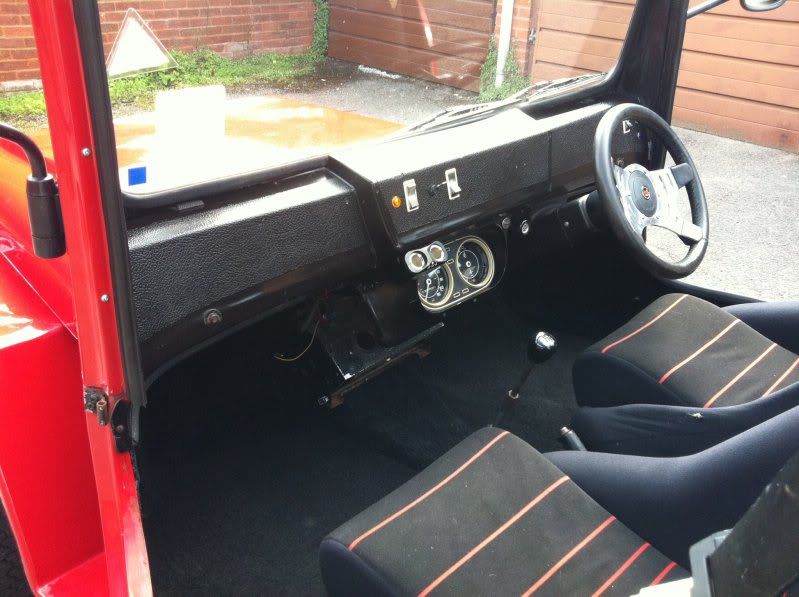
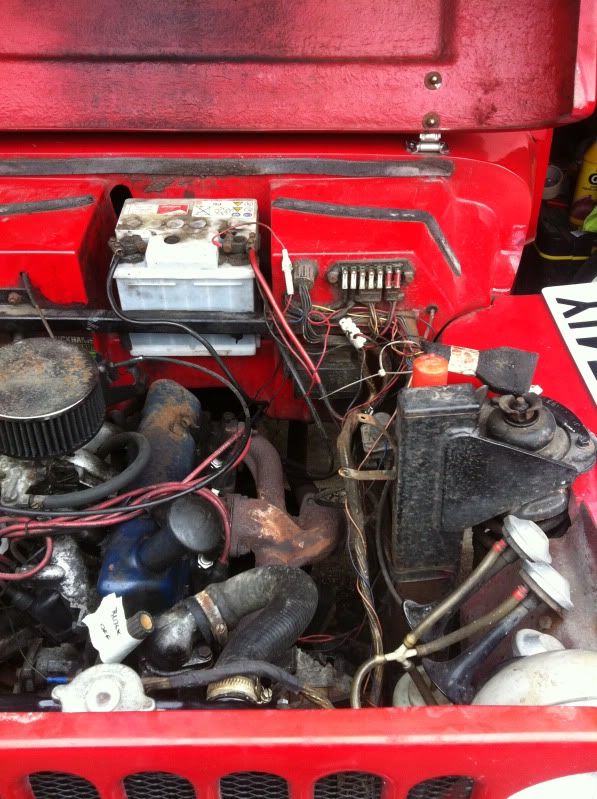
On first glance, i'm over the moon with the Geep! The paintwork is in much better condition than I thought, the engine sounds sweet as a nut, it drives just as I expected, and i'm totally glad I bought one with T and T opposed to a re-build!

I have quite a lot of plans for this Geep, but unfortunately I dont have electric or heat in my garage, so progress will be quite slow during the winter months!

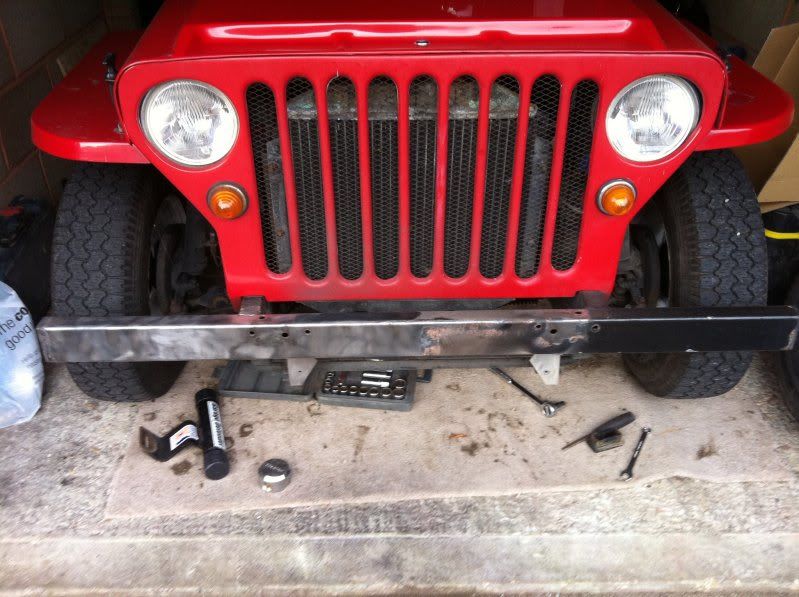
So first things first, I removed the bull bar and spare wheel hanger.

175765_10150434951559498_599364497_10499573_3297914_o.jpg


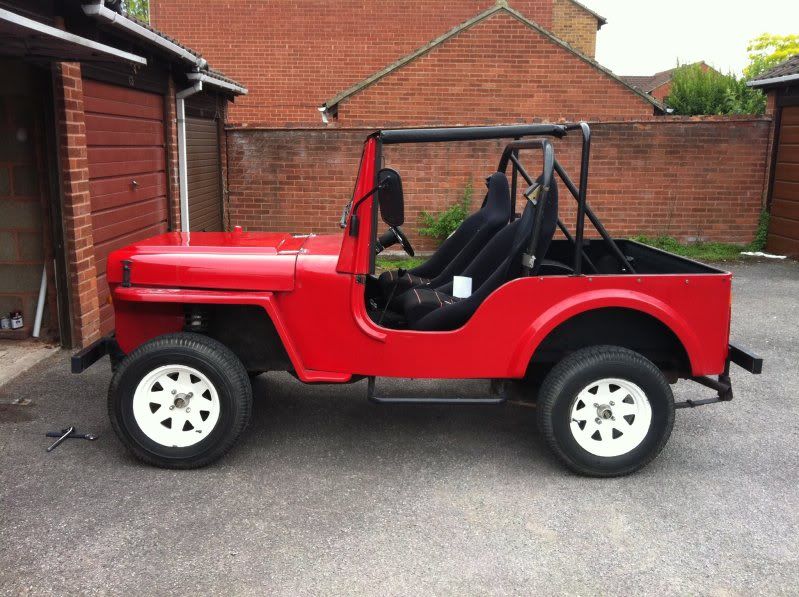
I chose to go this route as I feel it just improves the whole proportions of the Geep!

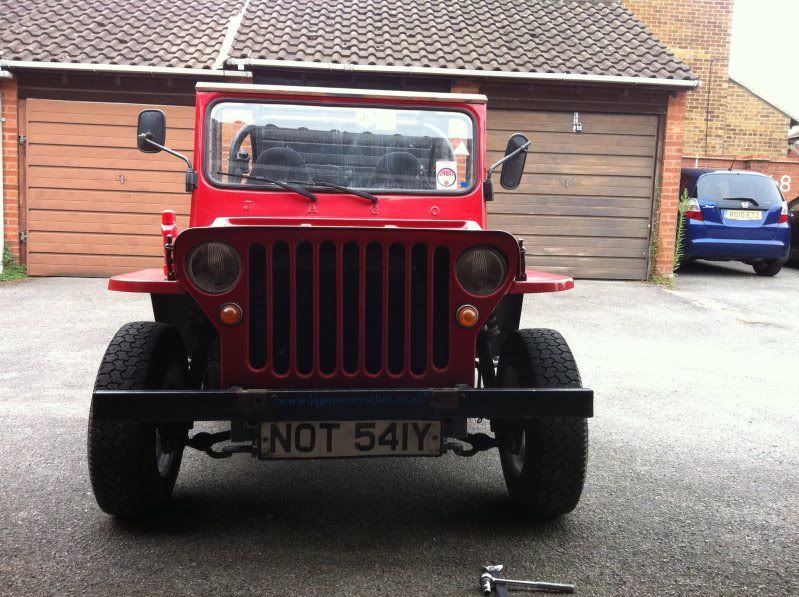
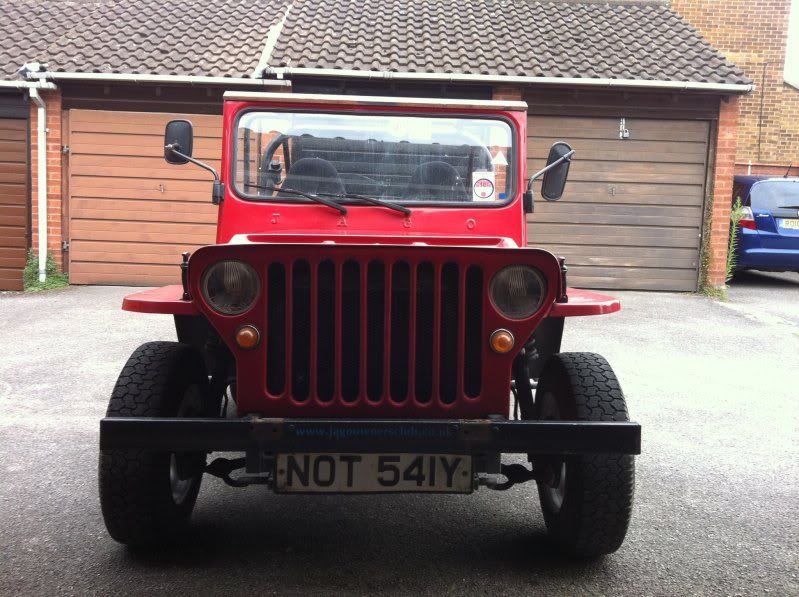
The N/S front headlight was wonky, so I gave the lamp a tweak and et' voila! Straight as a..... kinda' straight thing!? :S

286558_10150434953054498_599364497_10499589_4697065_o.jpg


288641_10150434953714498_599364497_10499591_7538425_o.jpg


I gave the bonnet a quick polish to see how it come up, and it comes up brilliantly! Over the next few weeks I plan to polish the whole car, so will post a pic when its all done!

So that's all I've done so far, but will update this thread as and when I do things to him!

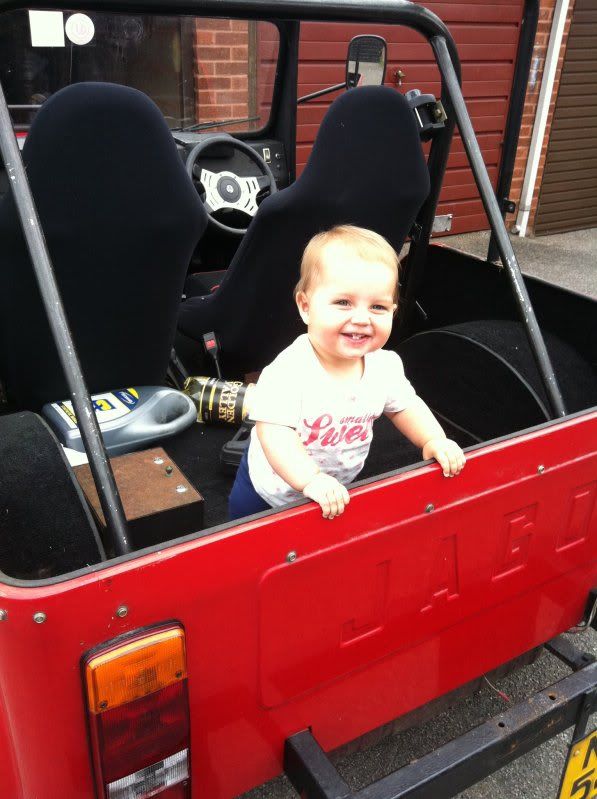
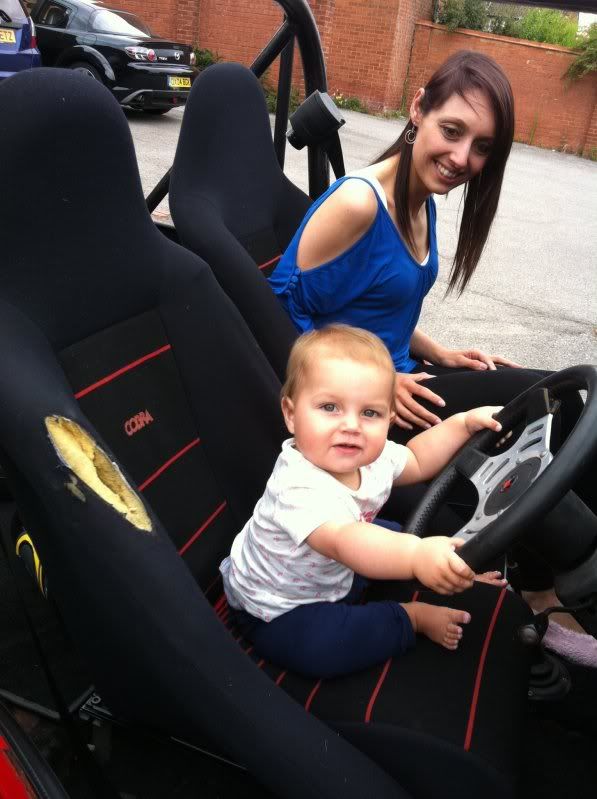
I also showed my daughter it for the first time this evening.... and I think it gets the thumbs up! :)

192797_10150434954324498_599364497_10499596_351105_o.jpg


192984_10150434956024498_599364497_10499613_462268_o.jpg
 

BRUC3

New member
I had a day off on friday, so got busy with the Geep and gave it a bloody good clean!

First in order was a much needed hoover! I don't think he had seen a hoover in years! Maybe Andy can confirm this?! :p

Once he had been given a good hoover, I got busy with the dash. Their was some old sticky pads on the dash which were obviously once holding something on. Over the years these had gone crusty and flakey, so first job was to pick them off!

Once that was done I gave all the dash, roll bar, rubbers etc a good wipe over with a soapy rag!

The colour of the water after was black! Couldn't believe how much better the Geep looked with a simple clean!!!

So once everything was wiped down, I splashed a bit of tyre shine on all the black plastic parts just to give them bit of a shine. Again it made a world of difference!

Next up was the windscreen and mirrors with glass cleaner, and finally I got busy with the red T-Cut!

I will no doubt give the paint a proper hit with some G3 compound, but for the time being red T-Cut will do. It made the world of difference to the Geep and he now looks like a different car!

I will post some pics up once the sun comes out and I can get a few good snaps, but until then you will just have to take my word for it! :p

I have also just ordered a shiny new set of plates as the existing pressed tin ones were bent a good un'!

Next up is a set of 15's which I plan to get sand blasted if needed, although we are yet to decide on black or white...

These will be fitted with an aggresive tyre, in an attempt to beef the old boy up!

As mentioned in another thread, i'm currently sanding years worth of hammerite off the front bumper with a wire wheel, so this will be sprayed satin black once all prepped up...
 

BRUC3

New member
The front bumper as it currently stands...

328274_10150442773614498_599364497_10586929_2146348_o.jpg


Quick interior shot!

332640_10150442785609498_599364497_10587186_7863344_o.jpg


Also gave the wheel a quick polish!

323865_10150442788259498_599364497_10587202_7684371_o.jpg
 

CAW

New member
Fair play to you it dose look in good condition, ........... :eek: I'm old enough to remember them when they came out and always loved the look of them, what engine has it?

Andy
 

Phaeton

Moderator
Staff member
Looks good & as you say at least your road legal & if you get time you can go for a spin. I take it it's based around a MK1 Escort going by the gauges, the 1.3? with a 4 speed box. But it would be an easy convert (relatively) to put a far more modern engine 1.6/2.0 going through a 5 speed box.

I think you're right to take off the bull bars, they did look a bit big, but I also think it would look good with another smaller set on there, needs to have a winch mounted on the bumper, even if only for effect.

Alan...
 

BRUC3

New member
Sorry the details were a bit vague! I quickly copied and pasted it from the jago oc last night!

It is indeed a 1300 crossflow engine from a mk1 escort, so nice and cheap to tax!

All the running gear is mk1 escort, and it was built in 1982.

Paid £560 for it with a years mot and a few months tax so got it for a good price!

I haven't insured it yet as I'm going to wait until next summer. I got a few things I want to do first to smarten it up and make it more ours!

Will keep this post updates like I did with my freestyle build, and hopefully do a couple of shows next year too if you guys will still have me?!!
 

collie

New member
Hey Bruce, Geep looks great, I've restarted the build progress on my "Purple Pony" though I see you took the 'fast track' to get on road. Good to see you opted to remain in the kit car scene!
 

BRUC3

New member
Hey Alex! Was wondering if you had made any progress!

I would of loved to have kept the buggy, but what with our arrival last year I just couldn't put the hours in!

Hope you and family are well :)
 

BRUC3

New member
Another small update!

The front bumper is now painted satin black and looking ten times better! I have a few 'process' pics but wont bore you with em' as its all pretty standard stuff!

I also decided to paint the 'chrome' indicator bezels as they were rusty and rubbish! :)

As I was smartening up the front, I decided to re-paint the rad, and give the front mesh a quick dust with black paint to!

I also had a new front number plate made up, which I have now decided I don't want to use as I need a square one! <rolls eyes>

This is how the front of the old boy now stands!

330195_10150457884664498_599364497_10727314_41817_o-1.jpg


I'm yet to cut the ali bash guard down and mount it, but this is the next job on the hit list!

Seems to be coming together nicely! :)

Got to try and source some nice cheap seats now to replace the manky old buckets, and also get a third to fit in the back! :)
 

Baloo

Member
hi BRUC3

nice
l think l like red the best, if l get that green one it might go red
just need another jago owner or 2 and we can ask danny for a jeep section :eek:

Andy
 

BRUC3

New member
I guess its kind of a muddy buggy? Well, muddy anyways! :p

Would be interesting to see one get re-built, as I havent really seen the insides of mine yet!
 

Baloo

Member
BRUC3

do you know if the body is bolted to the chassis through the wooden floor ?
wood seems an odd choice to me as its always going to rot, l guess it was easy to obtain and easy for the home biulder to cut to size,
l have some sheets of 3mm ally that are looking for a new purpose in life might investigate an ally floor

Andy
 

CAW

New member
Not saying I'm old but when I was young, my mates dads ........sit up and beg Ford Pop had a Plywood Floor, the seats were bolted to that lol. So It's not unusual. Think a lot of the very early kit cars had them.

Andy
 

BRUC3

New member
I think it is Andy. Its meant to be an easy but time consuming job! Apparently a lot of chassis' have been written off due to the damp floor rotting the chassis!

Apparently the kits were sold with an mdf floor! :S

Im sure I could investigate tomorrow for ya if you wanted?
 

collie

New member
BRUC3":4k90j8b2 said:
Hey Alex! Was wondering if you had made any progress!

I would of loved to have kept the buggy, but what with our arrival last year I just couldn't put the hours in!

Hope you and family are well :)

Yes thanks, family is all well, check out my build thread! My son is 2 in November, it's taken me that long to get back to serious buggy time!

Re the questions about the Jago, I assume you guys have joined the owners club?
 

Baloo

Member
BRUC3":2tzbssst said:
I think it is Andy. Its meant to be an easy but time consuming job! Apparently a lot of chassis' have been written off due to the damp floor rotting the chassis!

Apparently the kits were sold with an mdf floor! :S

Im sure I could investigate tomorrow for ya if you wanted?


hi bruc3
dont worry about spending time looking at the body mounts, l will find out when l go and have a look at the one on ebay,
but common sense says it must be bolted through the floor as there is nothing else to bolt through l guess,

an mdf floor, you jest ? first time it got wet it would turn into donkeys breakfast :eek: lol

cheers Andy
 

BRUC3

New member
Glad to hear it Alex! I was on the OC, but decided to delete my account as the people on it weren't for me... lol

And it really was Andy! Well, it was a material similar which just soaked up the water! Think the board of choice these days is 18mm WBP ply.

Let us know how ya get on!
 

BRUC3

New member
I took to stripping a few of the un-neccesary wires today that seemed to lead to no where!

I took a few pics so you can see for yourselves what I have to work with here!

IMG_1050.jpg


IMG_1052.jpg


IMG_1053.jpg


IMG_1058.jpg


On a slightly more interesting note, I pulled the dash forward to see what the wiring was like behind that, and found these...

IMG_1055.jpg


Tickets from 96! But even better, reckon KFC will still give me my free chicken and chips?!

IMG_1056.jpg


Also found this one from 95!

IMG_1057.jpg
 

collie

New member
Wiring looks a bit of a nightmare bud! Good luck with getting KFC to accept those vouchers! lol
 
Top