You are using an out of date browser. It may not display this or other websites correctly.
You should upgrade or use an alternative browser.
You should upgrade or use an alternative browser.
Got a Freestyle Buggy at last!
- Thread starter 250buggys
- Start date
250buggys
Well-known member
Looks like spring may finally be on the way.
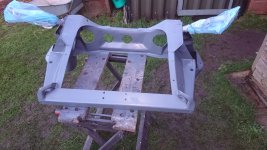
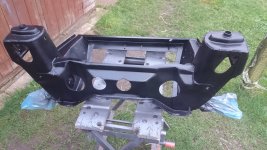
Gave the sub-frame a good clean today, removed at least one birds nest!
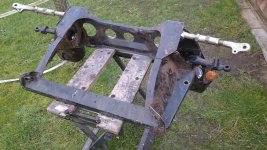
Couldn't find my wire brush so will probably end up tidying the shed to restore some order in there.
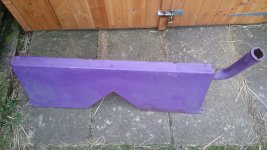
Managed to get hold of one of the original freestyle tanks, mine came with a fire extinguisher conversion which is rusty and only fit for the bin, will chop off the fuel filler neck with cap fitting first as that is worth keeping.
Gave the sub-frame a good clean today, removed at least one birds nest!

Couldn't find my wire brush so will probably end up tidying the shed to restore some order in there.

Managed to get hold of one of the original freestyle tanks, mine came with a fire extinguisher conversion which is rusty and only fit for the bin, will chop off the fuel filler neck with cap fitting first as that is worth keeping.

250buggys
Well-known member
I ordered some steel, 4mm thick, 100 x 100mm to make the spreader plates for the seats.
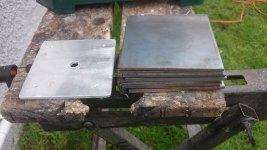
I originally made these out of alloy but as the IVA guidance only gave dimensions I played it safe and went with steel.
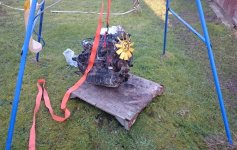
An old swing has so many uses!
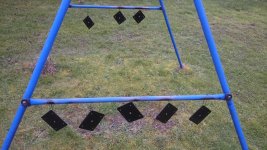
Good to get the paint cans back out after all the cold weather we have had, almost in double figures here today...
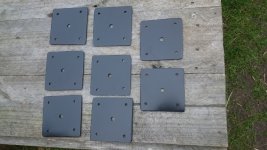
Just need to order some M6 nuts and bolts for the corners and I'll get these fitted.

I originally made these out of alloy but as the IVA guidance only gave dimensions I played it safe and went with steel.
An old swing has so many uses!

Good to get the paint cans back out after all the cold weather we have had, almost in double figures here today...

Just need to order some M6 nuts and bolts for the corners and I'll get these fitted.
250buggys
Well-known member
Stripped some more kit from the sub-frame today,
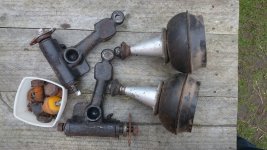
Got busy removing the old flaking paint, no nasty surprises - all serviceable, still some work to do before paint.
While using my grinder and flap disc I wondered how long this would take with a grit blaster...
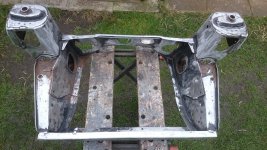
Drilled the 32 odd holes in the floor for the seat spreader plates, forgot to order the M6 x 15 bolts but will get on to my friend ebay in a min.
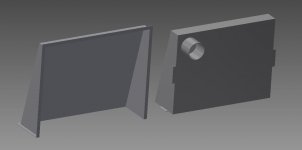
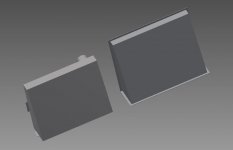
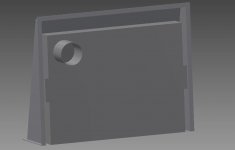
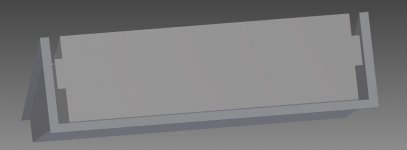
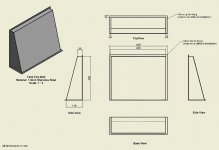
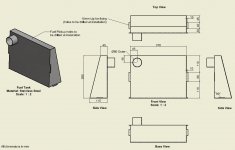
I have been designing an IVA friendly behind the passenger seat fuel tank and fire-wall in Inventor, will get some pics of this up soon, it's pretty much ready for fabrication, just need to run it past a mechanical engineer at work for a double check.
As I have very long legs I have sacrificed room behind the seats for leg room (leg room wins every time, need to have the best driving position possible) I am reluctant to move the passenger seat forwards too much of the drivers seat in order to fit a bigger tank as it would look silly to to have the seats in a different position.
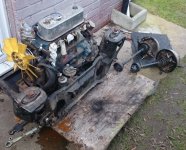
I have fitted the seats as far back as they can go and there is a small amount of wasted room, enough to fit a tank, dual tanks also possible. My model dictates that the tank will be aprox 5.5L which given the 1275 engine will do roughly 30 MPG is not a very good range. At least this tank will get me through the IVA

Got busy removing the old flaking paint, no nasty surprises - all serviceable, still some work to do before paint.
While using my grinder and flap disc I wondered how long this would take with a grit blaster...

Drilled the 32 odd holes in the floor for the seat spreader plates, forgot to order the M6 x 15 bolts but will get on to my friend ebay in a min.
I have been designing an IVA friendly behind the passenger seat fuel tank and fire-wall in Inventor, will get some pics of this up soon, it's pretty much ready for fabrication, just need to run it past a mechanical engineer at work for a double check.
As I have very long legs I have sacrificed room behind the seats for leg room (leg room wins every time, need to have the best driving position possible) I am reluctant to move the passenger seat forwards too much of the drivers seat in order to fit a bigger tank as it would look silly to to have the seats in a different position.
I have fitted the seats as far back as they can go and there is a small amount of wasted room, enough to fit a tank, dual tanks also possible. My model dictates that the tank will be aprox 5.5L which given the 1275 engine will do roughly 30 MPG is not a very good range. At least this tank will get me through the IVA
250buggys
Well-known member
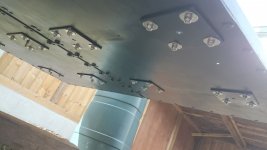
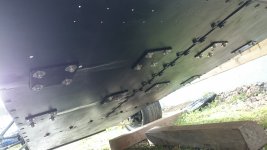
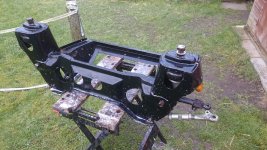
Drilled a series of holes in the floor for the fuel drain.
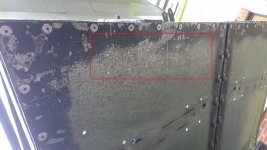
I then got out the Upol Raptor and
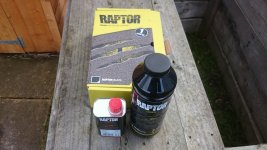
proceeded to give the under-side a nice weather resistant protective coat.
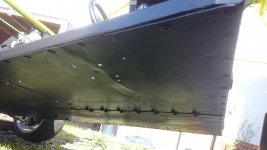
Hope to get the sub-frame finished off next weekend and get those seats back in and then start ticking the other jobs off on my list...

I then got out the Upol Raptor and

proceeded to give the under-side a nice weather resistant protective coat.

Hope to get the sub-frame finished off next weekend and get those seats back in and then start ticking the other jobs off on my list...
250buggys
Well-known member
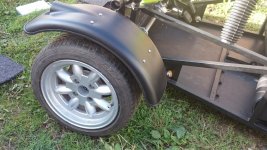
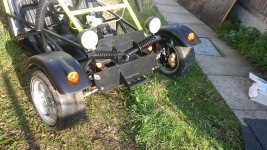
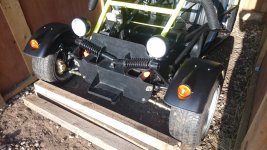
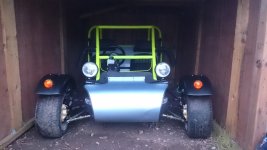
Got the nose out of the shed, keep tripping over that so will be good to get it on the buggy.
My buggy didn't come with the ally lux panels, all galv-mild steel, I wonder how many kg that adds to the buggy overall between the variants?
Gave it a key and ready for a couple of coats of primer.
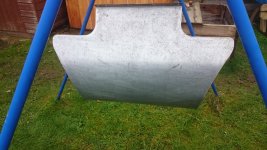
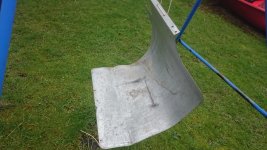
The local tat shop was selling off Holt spray cans for £1 which I thought was a good idea so I grabbed a couple of cans for the above job, usually they are at least £6 so should have been a bargain. A coat front and back then onto the second can which although had the same lid and paint code as the first turned out to be metallic red! someone had decided to swap the lids around, 'grrr'
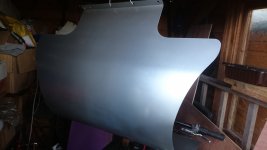
At least it didn't ruin my paint job as I realised, just means I need another can to finish this job.
My buggy didn't come with the ally lux panels, all galv-mild steel, I wonder how many kg that adds to the buggy overall between the variants?
Gave it a key and ready for a couple of coats of primer.


The local tat shop was selling off Holt spray cans for £1 which I thought was a good idea so I grabbed a couple of cans for the above job, usually they are at least £6 so should have been a bargain. A coat front and back then onto the second can which although had the same lid and paint code as the first turned out to be metallic red! someone had decided to swap the lids around, 'grrr'

At least it didn't ruin my paint job as I realised, just means I need another can to finish this job.
250buggys
Well-known member
I have been meaning to have a look at the lights for a while now, they are all misted.
Stripped them down for a good clean.
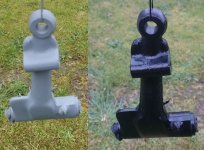
Before
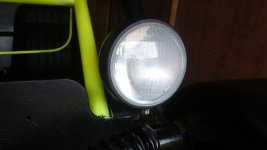
After
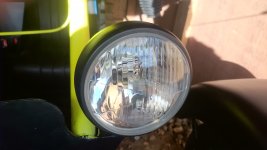
Really pleased with the outcome, turned out well and have given these lights a new lease of life.
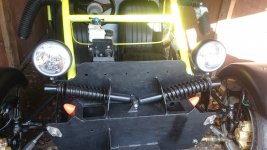
It is great the evenings are now starting to draw out a bit, was working (playing) till 18:00 this evening, soon will be able to do some work on the buggy after work rather than just at the weekends.
Stripped them down for a good clean.
Before

After

Really pleased with the outcome, turned out well and have given these lights a new lease of life.

It is great the evenings are now starting to draw out a bit, was working (playing) till 18:00 this evening, soon will be able to do some work on the buggy after work rather than just at the weekends.
250buggys
Well-known member
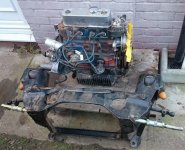
Subframe bolted onto chassis, just made the buggy at least 20kg heavier. Getting more difficult to wheel in and out of it's enclosure to work on. Will be good when it is moving under it's own steam but I will settle with getting the rear wheels on for now!
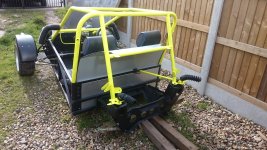
When I offer parts up it always seems to ding the paintwork no matter how careful I am, had to get the paint can out to achieve the finish I had when it was on the bench. I am sure when the engine goes in it will probably have a few more battle scars...
I started to remove the old silver flaking paint from the cones and clean up the donuts, not much point in repainting the cones as they won't rust. One done.
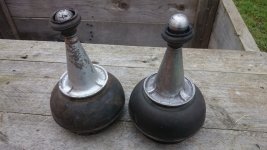
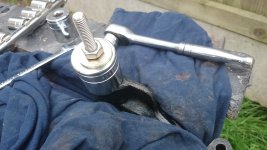
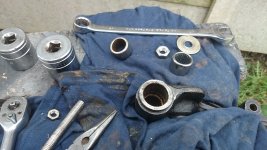
I started to clean up the top arms and noticed one of the roller bearings was U/S, bit of a pain as I haven't got puller to get this out. I tried to entice it out with a long flat blade and a hammer but it was staying put. There is a vid on you-tube where a guy welds an M10 bolt onto the bearing and this does the job, will probably try that method.
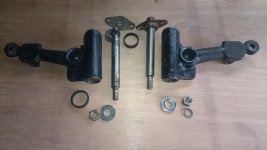

When I offer parts up it always seems to ding the paintwork no matter how careful I am, had to get the paint can out to achieve the finish I had when it was on the bench. I am sure when the engine goes in it will probably have a few more battle scars...
I started to remove the old silver flaking paint from the cones and clean up the donuts, not much point in repainting the cones as they won't rust. One done.

I started to clean up the top arms and noticed one of the roller bearings was U/S, bit of a pain as I haven't got puller to get this out. I tried to entice it out with a long flat blade and a hammer but it was staying put. There is a vid on you-tube where a guy welds an M10 bolt onto the bearing and this does the job, will probably try that method.

250buggys
Well-known member
Where I chopped out that bent bit of pipe from the back of the chassis I am now in the process of making a strut to replace it that will bolt on across the top of the towers. On nearly every single freestyle this pipe is bent out of shape and looks rubbish.
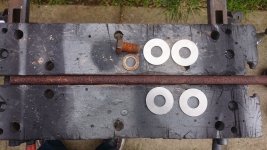
Cleaned up the bar and introduced it to the bender, should beef it up a bit although adding more weight to the wrong end of the buggy. I'll chop the ends down once I've got my dims right.
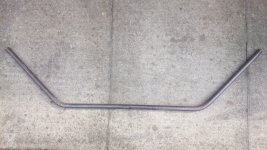

Cleaned up the bar and introduced it to the bender, should beef it up a bit although adding more weight to the wrong end of the buggy. I'll chop the ends down once I've got my dims right.

250buggys
Well-known member
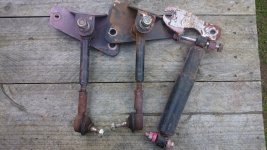
Got the driver side built back up, donut-cone-top arm and upper/lower bump stops fitted.
All 3 dust seals are a right pain to get to stay on while fitting the top arm, you need 3 hands for this job!
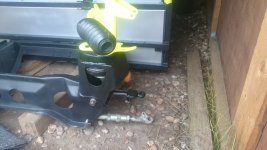
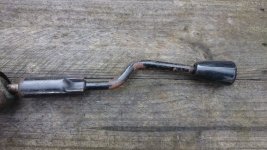
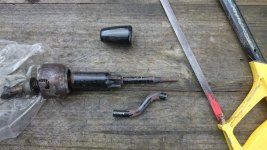
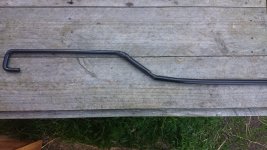
This is the fracture in the shepherds crook
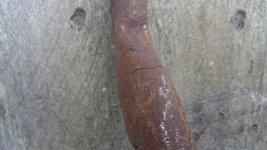
I cut out the damage with the angle grinder and filled it up with weld, I beefed up the bit where the rod meets the tube.
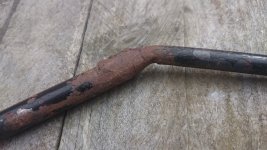
Glad I spotted this as it wouldn't have lasted long!
All 3 dust seals are a right pain to get to stay on while fitting the top arm, you need 3 hands for this job!

This is the fracture in the shepherds crook

I cut out the damage with the angle grinder and filled it up with weld, I beefed up the bit where the rod meets the tube.

Glad I spotted this as it wouldn't have lasted long!
250buggys
Well-known member
The top arm bearing I ordered turned up so fitted that, only thing was the fixing bolt was still grinding as before. My first thoughts were that I must have damaged the new bearing when I tapped it home. I knew it was good when I fitted it as I tested it on the shaft, this left me scratching my head for a bit. Ordered another bearing as this was the cheapest option and used a G clamp to press it home this time, still the same problem so it must be the shaft or the top arm.
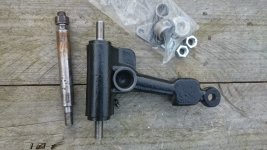
It turned out to be the pin that was bent.
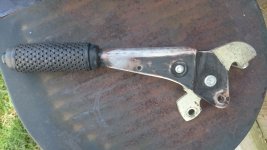
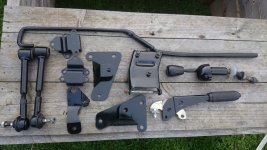
Cleaned up some more parts and got them painted, two new engine mounts arrived and added to the pile of bits.

It turned out to be the pin that was bent.

Cleaned up some more parts and got them painted, two new engine mounts arrived and added to the pile of bits.


